Berry Blush Amigurumi Strawberry Earrings Free Pattern – Crochet Sweetheart Drops
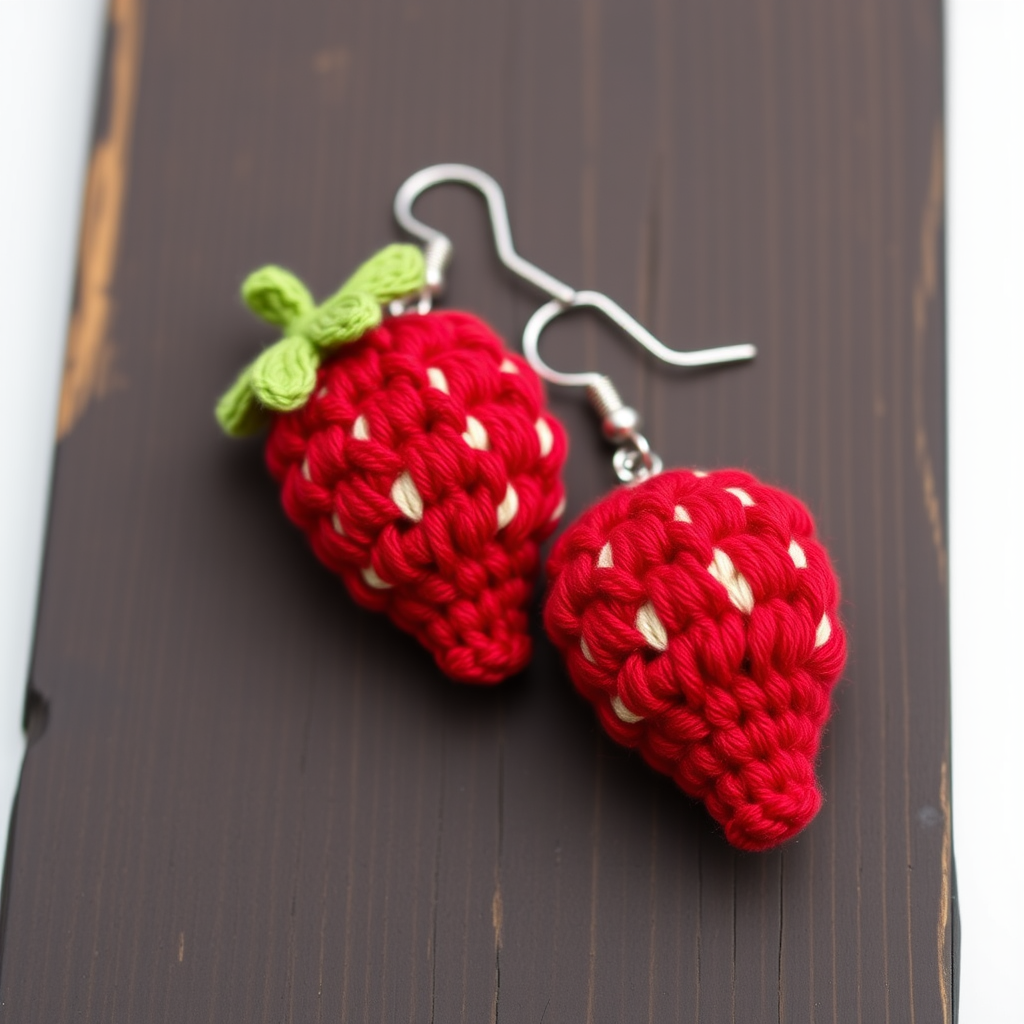
Berry Blush Amigurumi Strawberry Earrings: A Sweet & Simple Crochet Project
Are you ready to add a touch of handmade charm to your accessory collection? These adorable Berry Blush Amigurumi Strawberry Earrings are the perfect project for beginners and seasoned crocheters alike. With a soft blush and cream palette, these sweet little drops are quick to make, use minimal yarn, and result in a whimsical, wearable piece of art. Whether you're looking for a fun gift idea or a delightful treat for yourself, this free pattern will guide you through every step to create your own pair of crocheted strawberry earrings.
Materials Needed
Before you begin, gather your materials. This project is wonderfully portable and requires only a few essentials:
- Yarn: Worsted weight cotton yarn in three colors: Strawberry Red (for the body), Cream (for the seeds), and Leaf Green (for the top). You'll only need small amounts of each.
- Crochet Hook: A 2.5mm crochet hook. This smaller hook size is crucial for creating tight stitches that will hold the stuffing securely.
- Stuffing: Polyester fiberfill for giving your strawberries their plump shape.
- Earring Findings: A pair of earring hooks or posts (silver or gold, depending on your preference).
- Notions: A tapestry needle for weaving in ends and embroidering seeds, and a pair of scissors.
Note on Gauge: Gauge is not critical for this project. The most important thing is to maintain a tight, consistent tension so that the fiberfill doesn't peek through your stitches.
Step-by-Step Instructions
Follow these detailed instructions to create your pair of strawberry earrings. The pattern is worked in continuous rounds (spiral) unless otherwise stated. We'll make two identical strawberries.
Strawberry Body (Make 2)
We'll start with the vibrant red body of the strawberry.
- Round 1: With Strawberry Red yarn, make a magic ring. Work 6 single crochet (sc) into the ring. Pull the tail to close the ring tightly. (6 stitches)
- Round 2: Increase (inc) in each stitch around. This means working 2 sc into every stitch. (12 stitches)
- Round 3: *Sc in the next stitch, inc in the next stitch* — repeat from * to * around. (18 stitches)
- Rounds 4-6: Sc in each stitch around for three rounds. No increases. (18 stitches)
- Round 7: *Sc in the next 2 stitches, inc in the next stitch* — repeat from * to * around. (24 stitches)
- Rounds 8-9: Sc in each stitch around for two rounds. (24 stitches)
- Round 10: *Sc in the next 2 stitches, decrease (dec) in the next stitch* — repeat from * to * around. To decrease, insert your hook into the next stitch, yarn over and pull up a loop, insert into the following stitch, yarn over and pull up a loop, then yarn over and pull through all three loops on your hook. (18 stitches)
- Stuff the strawberry: Now is the time to firmly stuff the body with polyester fiberfill. Make sure it's plump but not so tight that it distorts the shape.
- Round 11: *Sc in the next stitch, dec in the next stitch* — repeat from * to * around. (12 stitches)
- Round 12: Dec around. This means decreasing in every stitch. (6 stitches)
- Fasten Off: Cut the yarn, leaving a long tail (about 8-10 inches). Thread the tail onto your tapestry needle. Weave the needle through the front loops of the remaining 6 stitches and pull tight to close the hole. Secure the tail by weaving it inside the strawberry and trim any excess.
Embroidering the Seeds
Now we'll add the characteristic strawberry seeds using the Cream yarn.
- Thread a tapestry needle with a small piece of Cream yarn.
- Randomly scatter small straight stitches or French knots over the surface of each strawberry. For a simple straight stitch, push the needle from the inside of the strawberry out to the front, then back down a tiny distance away. For a French knot, wrap the yarn around the needle twice before pulling it through.
- Place the seeds in a natural, random pattern, avoiding clustering them too closely together. Once you're happy with the look, weave in the ends securely.
Leaf Top (Make 2)
These little green crowns give the strawberries their finishing touch.
- Round 1: With Leaf Green yarn, make a magic ring. Work 5 sc into the ring. (5 stitches)
- Round 2: *Chain 3 (ch 3), skip the next stitch, sc in the next stitch* — repeat from * to * around. This will create 5 small loops. (5 loops)
- Fasten Off: Cut the yarn, leaving a tail for sewing. Pull the tail to close the magic ring.
- Attach: Use the tapestry needle to sew the leaf top securely onto the top center of each strawberry, right where you closed the body. Make a few firm stitches to ensure it's well-attached.
Finishing Touches
Your strawberries are almost ready to wear!
- Take your earring hook or post.
- Using the tapestry needle and the yarn tail from the leaf, sew the earring finding securely to the top of the strawberry. Pass the needle through the leaf and the top of the body several times to create a strong anchor point.
- Weave in all remaining yarn ends carefully and trim any excess.
- Repeat for the second strawberry to complete your pair.
And there you have it—a beautiful, handmade pair of Berry Blush Amigurumi Strawberry Earrings! These delightful drops are sure to bring a smile to your face and a pop of color to any outfit. They also make wonderful, heartfelt gifts for friends and family. Happy crocheting!



