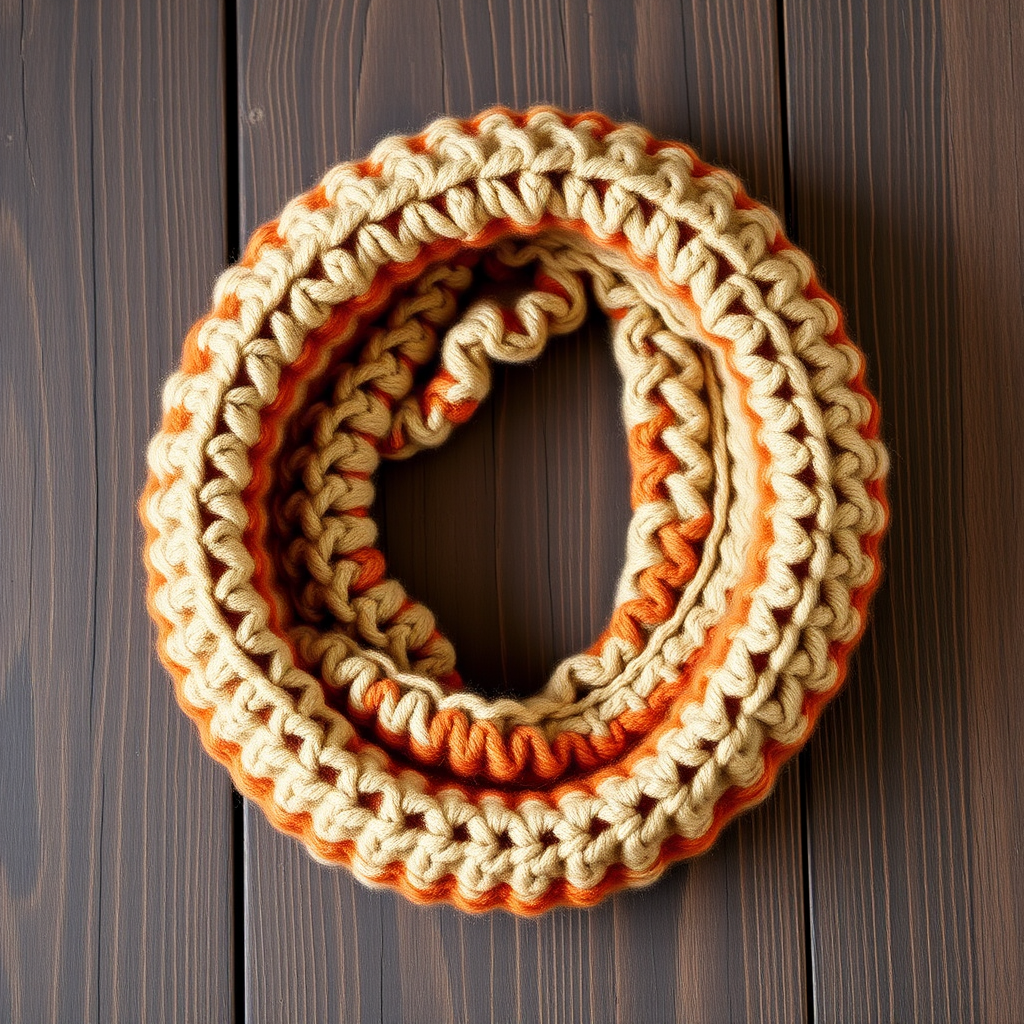
Celestial Button Crochet Cowl Free Pattern

Celestial Button Crochet Cowl: A Free Pattern for Cozy, Cosmic Style
Wrap yourself in the night sky with this stunning Celestial Button Crochet Cowl. This cozy, textured neck warmer features a unique buttoned closure and celestial-inspired buttons that add a touch of cosmic charm to any outfit. Perfect for chilly evenings, this pattern combines the elegant Star Stitch with smooth half-double crochet rows, creating a fabric that's both visually captivating and wonderfully warm. Whether you're a seasoned crocheter or a confident beginner, this free pattern will guide you through every step to create a handmade accessory that's truly out of this world.
Why You'll Love This Pattern
This cowl isn't just another scarf—it's a statement piece. The deep navy blue and silver-gray color palette evokes a starry night sky, while the textured Star Stitch adds dimension and warmth. The buttoned closure means you can wear it snug around your neck or loose and stylish, making it incredibly versatile. Plus, the pattern is designed with simplicity in mind, using basic stitches and a repeating sequence that's easy to memorize.
Materials Needed
Before you begin, gather the following materials. All items are readily available at craft stores or online.
- Yarn: Worsted weight yarn in two colors:
- Main Color (MC): Deep navy blue – approximately 250g (about 500 yards)
- Accent Color (CC): Silver or light gray – approximately 50g (about 100 yards)
- Crochet Hook: 5.5 mm (I-9) crochet hook
- Buttons: 4 large celestial-themed buttons (star, moon, or planet shaped) in a silver tone
- Notions: Yarn needle for weaving in ends, scissors, and a tape measure (optional)
Gauge
14 stitches x 10 rows = 4 inches in half double crochet (hdc). Always check your gauge to ensure your cowl matches the intended size. If your gauge is off, adjust your hook size accordingly.
Special Stitches
This pattern uses one special stitch that creates the beautiful star-like texture. Don't worry—it's easier than it looks!
Star Stitch (StSt)
Step-by-step:
- Insert your hook into the next stitch.
- Yarn over and pull through (2 loops on hook).
- Insert your hook into the same stitch again.
- Yarn over and pull through (3 loops on hook).
- Insert your hook into the next stitch.
- Yarn over and pull through (4 loops on hook).
- Yarn over and pull through all 4 loops on your hook.
- Chain 1 to close the stitch.
Pro tip: The chain 1 at the end is crucial—it creates the "hole" that gives the star its shape and keeps your stitch count correct.
Step-by-Step Instructions
Follow these detailed instructions carefully. The pattern is written in US crochet terms. Take your time, and don't hesitate to refer back to the special stitches section if needed.
Foundation Row
With your Main Color (MC), chain 30. This creates a cowl that's approximately 8-9 inches wide. If you prefer a wider cowl, chain any multiple of 2 + 1 (e.g., 31, 33, 35, etc.).
Row 1
Half double crochet (hdc) in the 3rd chain from your hook. Hdc in each chain across. You should have 28 hdc stitches. Chain 2 and turn your work.
Row 2
The chain 2 counts as your first hdc. Hdc in each stitch across the row. Chain 2 and turn. (28 hdc)
Row 3 – The Star Stitch Row
Chain 2 (counts as first hdc). Now, work the following sequence:
- Skip the next stitch.
- Work a Star Stitch (StSt) into the following stitch (refer to special stitches above).
- Chain 1 (this is part of the StSt).
- Skip the next stitch.
- Hdc in the next stitch.
Repeat from * across the row, ending with a hdc in the last stitch. Chain 2 and turn.
Note: The Star Stitch naturally uses 2 stitches (the one you work into and the one you skip after), so this pattern works perfectly with an even number of stitches.
Row 4
Chain 2 (counts as first hdc). Hdc in each stitch and in each chain-1 space across the row. This fills in the gaps and creates a solid fabric. Chain 2 and turn. (28 hdc)
Rows 5-20 – Creating the Celestial Stripe Effect
Now you'll repeat Rows 2-4, but you'll alternate your yarn colors every 4 rows to create subtle, cosmic stripes. Here's the color sequence:
- Rows 5-8: Work in Accent Color (CC) – Repeat Rows 2, 3, 4, 2.
- Rows 9-12: Work in Main Color (MC) – Repeat Rows 3, 4, 2, 3.
- Rows 13-16: Work in Accent Color (CC) – Repeat Rows 4, 2, 3, 4.
- Rows 17-20: Work in Main Color (MC) – Repeat Rows 2, 3, 4, 2.
Important: When changing colors, do so at the end of a row. Simply finish the last stitch of the row with the new color, pulling the new yarn through the final loop. Cut the old yarn, leaving a 6-inch tail to weave in later.
Row 21 – The Buttonhole Row
This row creates the openings for your buttons. Work in Main Color (MC).
- Chain 2 (counts as first hdc).
- Hdc in the next 3 stitches. (You now have 4 hdc total including the ch-2.)
- Chain 2, skip 2 stitches. (This creates your first buttonhole.)
- Hdc in the next 5 stitches.
- Chain 2, skip 2 stitches. (Second buttonhole.)
- Hdc in the next 5 stitches.
- Chain 2, skip 2 stitches. (Third buttonhole.)
- Hdc in the next 5 stitches.
- Chain 2, skip 2 stitches. (Fourth buttonhole.)
- Hdc in the last 3 stitches.
Chain 2 and turn.
Check: You should have 4 buttonholes evenly spaced across the row. If your stitch count is slightly different, adjust the number of hdc between buttonholes to keep them evenly spaced.
Row 22
Chain 2 (counts as first hdc). Hdc in each stitch and in each chain-2 space across the row. This closes up the buttonholes neatly. Chain 2 and turn. (28 hdc)
Row 23 – Final Row
Switch to your Accent Color (CC). Chain 2 (counts as first hdc). Hdc in each stitch across the row. Fasten off, leaving a 6-inch tail.
Finishing Touches
Your cowl is almost complete! Follow these steps to finish it beautifully.
- Weave in all ends: Using your yarn needle, carefully weave in all loose tails from color changes and the foundation row. Make sure to weave them in securely so they don't unravel.
- Fold the cowl: Lay your cowl flat. Fold it in half lengthwise, bringing the buttonhole row (Row 21) to meet the opposite edge (the foundation chain edge). The right sides should be facing each other.
- Position the buttons: On the edge opposite the buttonholes, mark the spots that align with each buttonhole. These are where you'll sew your buttons.
- Sew the buttons: Thread your yarn needle with a length of MC yarn. Sew each celestial button securely onto the marked spots. Make sure they're tight enough to hold the cowl closed but loose enough to button and unbutton easily.
- Button it up: Button the cowl to create a stylish loop. The buttoned closure creates a beautiful drape and allows you to adjust the fit.
Optional: Add Celestial Appliqués
For extra cosmic flair, you can crochet a small star or moon appliqué and sew it onto the front of your cowl. Here's a quick star pattern:
- Make a magic ring.
- Round 1: Chain 3 (counts as dc), 11 dc into the ring. Slip stitch to join. (12 dc)
- Round 2: *Chain 5, slip stitch in the 2nd chain from hook, hdc in the next chain, dc in the next chain, tr in the last chain, skip 1 dc, slip stitch in the next dc. Repeat from * 5 more times. Fasten off.
Sew this star onto the center front of your cowl for a personalized touch.
Care Instructions
To keep your Celestial Cowl looking its best, hand wash it in cold water with a gentle detergent. Lay it flat to dry, reshaping it as needed. Avoid wringing or twisting the fabric, as this can damage the stitches and the buttons.
Final Thoughts
Congratulations! You've just created a beautiful, one-of-a-kind Celestial Button Crochet Cowl. This pattern is perfect for gifting, and once you master the Star Stitch, you'll find yourself reaching for this pattern again and again. The combination of texture, color, and celestial charm makes this cowl a true wardrobe treasure. Happy crocheting, and may your days be filled with starry skies and cozy stitches!