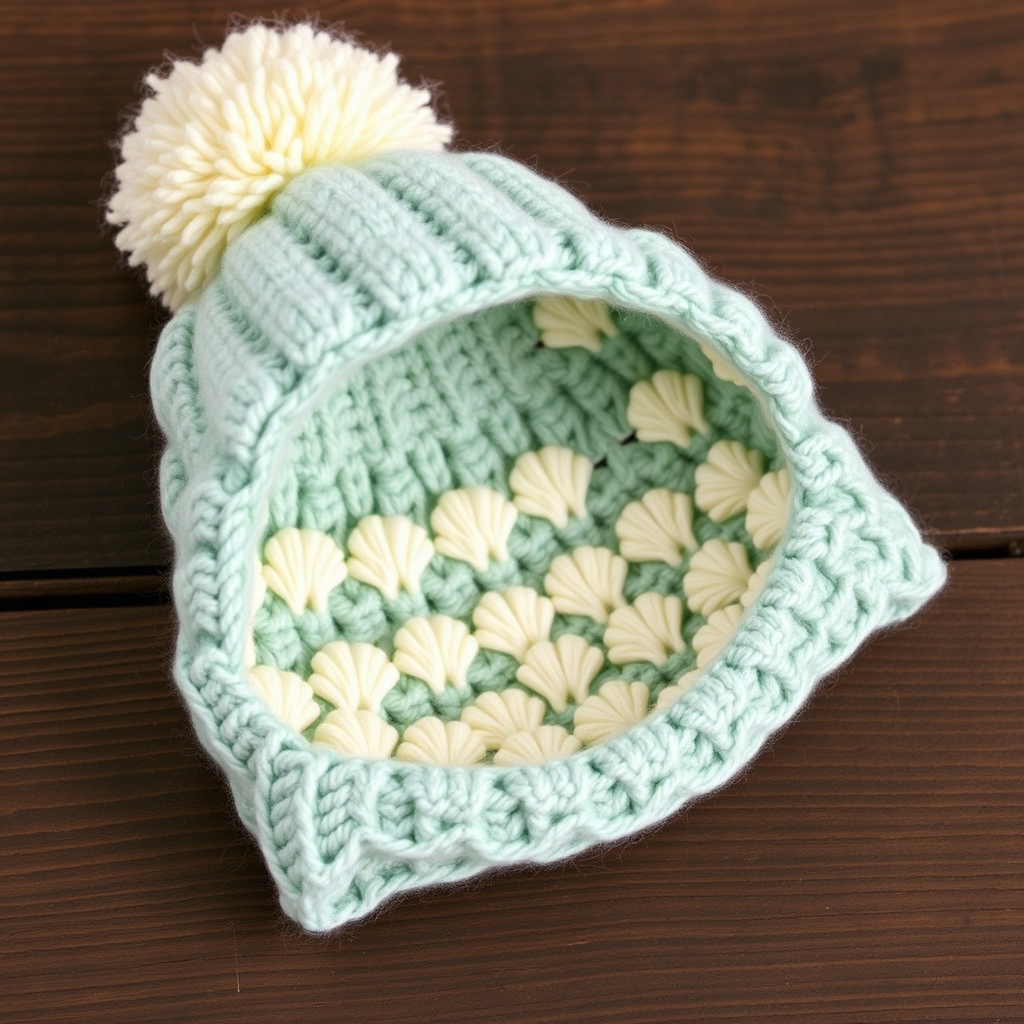
Cobalt Bobble Seal Beanie Free Pattern: A Knit Toddler Hat with Orange Bobbles

Cobalt Bobble Seal Beanie: Your First Toddler Hat
If you have never knitted a single stitch before, this is the project I want you to make first. The Cobalt Bobble Seal Beanie is a straight tube of soft cobalt cotton with a stretchy ribbed brim, one cheerful band of plump orange bobbles, and a little knitted seal appliqué that makes everyone smile. It is worked entirely in the round, so there is no seaming of the hat itself and no purling except on the brim and the tiny appliqué pieces. The finished hat is about 7 inches tall and 17 inches around, sized for a toddler with an 18–19 inch head, and it feels smooth, matte, and gentle against the skin because cotton does not itch. By the end you will have learned casting on, knitting, purling, increasing, decreasing, and making a bobble — the whole beginner toolkit in one small, adorable project.
Materials Needed
- Yarn (main color, MC): Sport weight (CYC 2 / fine) cotton, approximately 120 yd (110 m) in cobalt blue.
- Yarn (contrast color, CC): Sport weight cotton, approximately 25 yd (23 m) in orange, plus a small extra length of orange for embroidery.
- Main needles: US 4 (3.5 mm) circular needle, 16 in (40 cm) long, plus one set of US 4 (3.5 mm) double-pointed needles (DPNs) for the top of the crown.
- Appliqué needles: US 3 (3.25 mm) straight needles (or a pair of DPNs used as straights) for the seal, nose, and flippers.
- Cable needle or spare DPN: used to hold stitches while you make bobbles.
- Stitch markers: at least 1, ideally 4.
- Tapestry needle: a blunt, large-eyed needle for sewing and weaving in ends.
- Scissors and a small amount of polyester fiberfill for the seal's nose.
- Finished size: to fit head circumference 18–19 in (46–48 cm). Finished hat circumference 17 in (43 cm) unstretched; height 7 in (18 cm) from cast-on edge to crown.
Abbreviations and Beginner Glossary
- st / sts – stitch / stitches. One loop of yarn on your needle is one stitch.
- k – knit. Insert the right needle into the front of the stitch from left to right, wrap yarn around, pull a loop through, and slide the old stitch off.
- p – purl. Insert the right needle into the front of the stitch from right to left, wrap yarn around, pull a loop through toward you, and slide the old stitch off.
- k2, p2 – knit two stitches, then purl two stitches.
- * … * – repeat everything between the asterisks as many times as the instruction says.
- rnd / rnds – round / rounds. One complete pass around the circular knitting.
- k2tog – knit two stitches together. Insert the needle into two stitches at once and knit them as one; this decreases by one stitch.
- M1 – make one. Lift the horizontal strand between two stitches onto the left needle and knit it through the back loop, creating a new stitch (an increase).
- yo – yarn over. Wrap the yarn once over the right needle to create an extra loop (an increase).
- BOB – bobble. A small round bump made by working extra stitches into one stitch, turning back and forth a few times, then closing them together. Full instructions are in the Stitch Guide below.
- MC / CC – main color (cobalt) / contrast color (orange).
- DPN – double-pointed needle, a short needle with points at both ends.
- stockinette stitch – in the round, knit every round; worked flat, knit one row and purl the next.
- bind off – the way to finish stitches so they do not unravel: knit two, lift the first over the second, and repeat across.
Gauge
24 sts and 32 rnds = 4 in (10 cm) in stockinette stitch on US 4 (3.5 mm) needles, blocked.
Gauge means how many stitches and rounds fit into 4 inches of fabric. It matters because it decides whether the hat actually fits a toddler's head: too many stitches per inch and the hat will be too small, too few and it will slide off. To check, cast on about 30 stitches with your US 4 needles and knit in stockinette for about 4 inches, then bind off. Lay the swatch flat, gently press it with a warm iron (or wash and dry it flat), and count the stitches across 4 inches in the middle. If you have more than 24, go up a needle size; if fewer, go down. Knit a new swatch and check again before you begin the hat.
Beginner Tips Before You Start
- Place a stitch marker at the beginning of the round. When you join the cast-on into a circle, slip a marker on the needle. Every time you reach it, you know one round is finished — this is how you keep count.
- Do not pull your yarn tight. Beginners often tug each stitch, which makes the fabric stiff and the hat too small. Let the yarn rest loosely and slide stitches along the needle easily.
- Check for a twist before joining. After casting on, lay the needle on the table and make sure all cast-on bumps face the same way before you knit the first stitch. A twist cannot be fixed later without ripping out.
- Make one practice bobble first. Work a single BOB on a scrap of yarn before the bobble round so your hands know the motion. Bobbles feel awkward the first time and easy the second.
- Count your stitches at the end of every decrease round. The numbers in parentheses tell you exactly how many stitches you should have. If the count is off, fix it right away rather than later.
- Keep the appliqué pieces separate. The seal, nose, and flippers are made flat and sewn on at the end. Do not try to knit them into the hat.
Step-by-Step Instructions
Stitch Guide: The Bobble (BOB)
Work into one stitch as follows: knit into the front, back, front, back, and front of the same stitch (5 sts on the right needle). Turn your work; p5. Turn; k5. Turn; p5. Turn; slip 2 sts together knitwise, k3tog, then pass the 2 slipped sts over the k3tog. One bobble is made. Slide the finished bobble back onto the working needle and continue the round.
Hat Body
With MC and the US 4 circular needle, cast on 104 sts. Join to work in the round, being careful not to twist, and place a marker for the beginning of the round.
Rnds 1–8: *K2, p2; repeat from * to end. (104 sts)
Rnd 9: Knit. (104 sts)
Rnd 10: Knit. (104 sts)
Work in stockinette (knit every round) until the piece measures 3 in (7.5 cm) from the cast-on edge.
Bobble Band
Rnd 1 (bobble round): *K1, BOB, k1; repeat from * to end. (104 sts, 26 bobbles)
Rnds 2–3: Knit. (104 sts)
Continue in stockinette until the piece measures 6 in (15 cm) from the cast-on edge.
Crown Shaping
Change to DPNs when the stitches no longer fit comfortably around the circular needle.
Rnd 1: *K11, k2tog; repeat from * to end. (96 sts)
Rnd 2: Knit. (96 sts)
Rnd 3: *K10, k2tog; repeat from * to end. (88 sts)
Rnd 4: Knit. (88 sts)
Rnd 5: *K9, k2tog; repeat from * to end. (80 sts)
Rnd 6: Knit. (80 sts)
Rnd 7: *K8, k2tog; repeat from * to end. (72 sts)
Rnd 8: Knit. (72 sts)
Rnd 9: *K7, k2tog; repeat from * to end. (64 sts)
Rnd 10: Knit. (64 sts)
Rnd 11: *K6, k2tog; repeat from * to end. (56 sts)
Rnd 12: Knit. (56 sts)
Rnd 13: *K5, k2tog; repeat from * to end. (48 sts)
Rnd 14: Knit. (48 sts)
Rnd 15: *K4, k2tog; repeat from * to end. (40 sts)
Rnd 16: Knit. (40 sts)
Rnd 17: *K3, k2tog; repeat from * to end. (32 sts)
Rnd 18: Knit. (32 sts)
Rnd 19: *K2, k2tog; repeat from * to end. (24 sts)
Rnd 20: Knit. (24 sts)
Rnd 21: *K1, k2tog; repeat from * to end. (16 sts)
Rnd 22: Knit. (16 sts)
Rnd 23: *K2tog; repeat from * to end. (8 sts)
Break yarn, leaving a 6 in (15 cm) tail. Thread the tail through the remaining 8 sts with the tapestry needle, pull tight, and secure on the wrong side.
Seal Appliqué
Worked flat in stockinette on US 3 needles with CC.
Cast on 3 sts.
Row 1: Purl. (3 sts)
Row 2: K1, M1, k1, M1, k1. (5 sts)
Row 3: Purl. (5 sts)
Row 4: K1, M1, k3, M1, k1. (7 sts)
Row 5: Purl. (7 sts)
Row 6: K1, M1, k5, M1, k1. (9 sts)
Row 7: Purl. (9 sts)
Row 8: Knit. (9 sts)
Row 9: Purl. (9 sts)
Row 10: K1, k2tog, k3, k2tog, k1. (7 sts)
Row 11: Purl. (7 sts)
Row 12: K1, k2tog, k1, k2tog, k1. (5 sts)
Row 13: Purl. (5 sts)
Row 14: K1, k2tog, k2tog, k1. (3 sts)
Row 15: Purl. (3 sts)
Bind off all sts. Weave in ends.
Bobble Nose for the Seal
With CC and US 3 needles, cast on 1 st. Work as follows: k1, yo, k1, yo, k1 (5 sts). Turn; p5. Turn; k5. Turn; p5. Turn; k2tog, k1, k2tog (3 sts). Turn; p3. Turn; k3tog. Fasten off. Stuff lightly with a tiny piece of fiberfill and shape into a small round nose. Sew it to the pointed end of the seal appliqué.
Flippers (make 2)
With CC and US 3 needles, cast on 4 sts.
Row 1: Purl. (4 sts)
Row 2: K1, M1, k2, M1, k1. (6 sts)
Row 3: Purl. (6 sts)
Row 4: Knit. (6 sts)
Row 5: Purl. (6 sts)
Row 6: K1, k2tog, k2tog, k1. (4 sts)
Row 7: Purl. (4 sts)
Bind off. Sew one flipper to each side of the seal body, angling outward slightly.
Assembly and Finishing
Block first. Soak the hat and the appliqué pieces in cool water for 10 minutes, press gently in a towel to remove water, then lay them flat and pat into shape to the measurements given. Let them dry completely.
Sew on the seal. Pin the seal appliqué to the front of the hat, centered between the bobble band and the crown. Using the tapestry needle and a length of CC, sew small invisible stitches around the outer edge, catching only a few yarn strands of the hat each time so the stitches do not show on the inside.
Add the face. With orange yarn and the tapestry needle, embroider two small straight-stitch eyes above the nose, then three short whisker stitches on each side of the nose.
Weave in all ends. Thread each tail onto the tapestry needle and run it through the wrong side of the fabric for about 1 inch, changing direction once so it cannot work loose. Trim close to the fabric.
Steam the bobbles. Hold a steam iron just above (never touching) the bobble band for a few seconds to encourage the bobbles to pop out. Care: hand wash cold, reshape, and dry flat.
Pro Tips and Variations
- Change the colors. Swap cobalt for navy or teal and orange for mustard or coral. Keep one color dark and one bright so the bobbles and seal stand out.
- Adjust the size. For a smaller baby hat, cast on 88 sts and begin crown decreases at Rnd 1 with *K9, k2tog. For a larger child, cast on 120 sts and begin with *K13, k2tog. Keep the same decrease pattern of one fewer knit stitch every other round.
- Substitute yarn. Any sport weight cotton works; a cotton-blend is softer and slightly stretchier. Always knit a new gauge swatch, because a different yarn can change your stitch count.
- Make a plain version. Skip the bobble band and seal for a simple ribbed beanie, or replace the seal with a knitted star or heart using the same appliqué method.