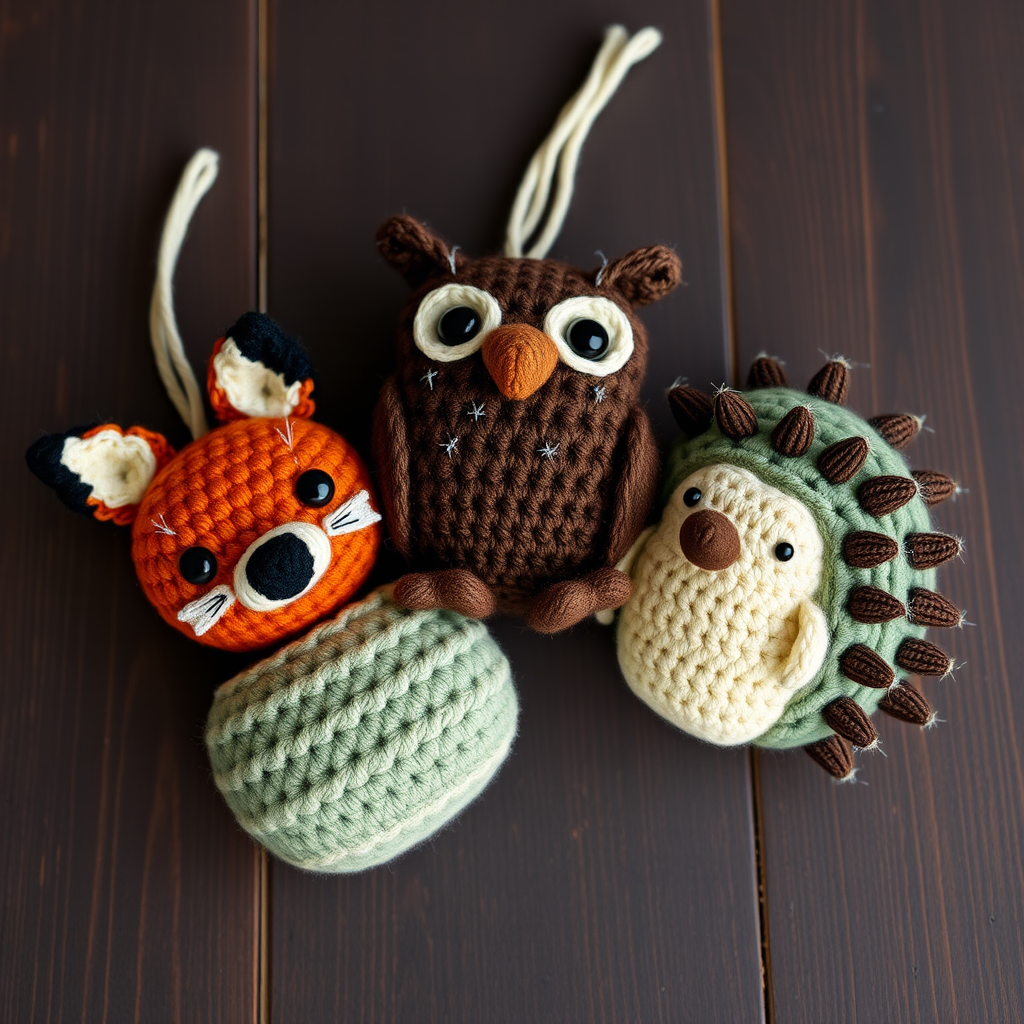
Cotton Candy Lamb Bauble Free Crochet Pattern
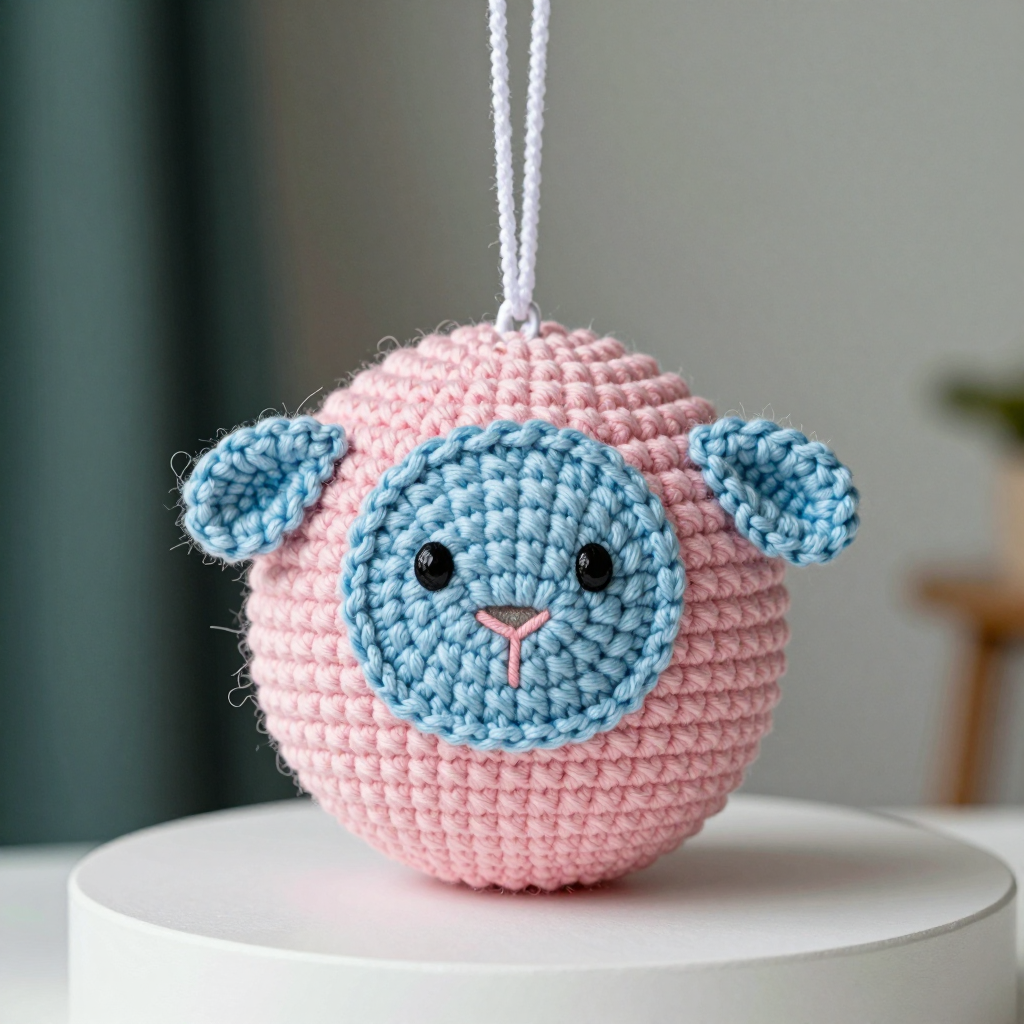
Cotton Candy Lamb Bauble Free Crochet Pattern
Introduction
If you have never held a crochet hook before, this little lamb is the perfect first friend to make. The Cotton Candy Lamb Bauble is a round, palm-sized sheep ornament with a soft pink body, a smooth baby blue face, two tiny ears, and a white loop on top for hanging. It works up in a single evening, uses only small amounts of yarn, and teaches you the handful of stitches that every beginner pattern is built from. The finished bauble feels light and slightly squishy, about the size of a large plum, and looks charming hanging on a farmhouse-style tree, tied to a gift, or sitting on a shelf. Best of all, you cannot really go wrong: even a slightly lumpy lamb is an adorable lamb.
Materials Needed
- Yarn: Fine (2) weight cotton yarn — approximately 25 yards of cotton candy pink (body), 10 yards of baby blue (face and ears), and a small amount of white (hanging loop). Cotton gives crisp, neat stitches; a cotton-blend also works.
- Crochet hooks: C/2 (2.75 mm) for the body, and B/1 (2.25 mm) for the face, ears, and hanging loop.
- Stitch marker (or a scrap of contrasting yarn) to mark the first stitch of each round.
- Tapestry needle (also called a yarn needle — a big needle with a blunt tip and a large eye) for sewing pieces together and weaving in ends.
- Scissors for cutting yarn.
- Polyester fiberfill (toy stuffing) — a small handful.
- Black embroidery floss for the eyes, plus a tiny bit of pink or black floss for the nose.
- Optional: a garment steamer for light finishing, and pins to hold pieces in place while sewing.
- Finished size: Body about 2.5 inches (6.5 cm) tall and 2.5 inches (6.5 cm) wide; face circle about 1.25 inches (3 cm) across; each ear about 0.75 inch (2 cm) long.
Abbreviations and Beginner Glossary
- ch – chain: wrap the yarn over the hook and pull it through the loop on your hook. This makes a small link.
- sc – single crochet: insert the hook into the stitch, wrap yarn over the hook and pull up a loop (2 loops on hook), wrap yarn over again and pull through both loops (1 loop remains).
- 2 sc in next st – work two single crochets into the same stitch. This increases your stitch count by one.
- sc2tog – single crochet two stitches together: insert hook into the first stitch, pull up a loop, insert hook into the next stitch, pull up a loop (3 loops on hook), wrap yarn over and pull through all three loops. This decreases your stitch count by one.
- sl st – slip stitch: insert the hook into the stitch, wrap yarn over and pull it straight through both the stitch and the loop on your hook in one motion.
- st / sts – stitch / stitches.
- rnd / rnds – round / rounds: one complete circle of stitches worked around and around.
- row – one straight line of stitches worked back and forth (turning at the end).
- magic ring – an adjustable loop of yarn that you crochet into, then pull tight so there is no hole in the center.
- fasten off – cut the yarn a few inches from your work and pull the tail all the way through the last loop to lock it.
- weave in ends – thread a yarn tail onto a tapestry needle and run it back and forth through the inside of the work so it disappears.
- whipstitch – a simple sewing stitch: bring the needle up through both layers, over the edge, and down again, repeating around the edge.
- French knot – a tiny raised dot made by wrapping the floss around the needle once or twice before pulling it through the fabric.
Gauge
Gauge: 24 single crochet stitches x 26 rounds = 4 inches (10 cm) using the 2.75 mm hook.
Gauge simply means how big your stitches come out. If your stitches are bigger than this, your lamb will be larger than 2.5 inches and may run out of yarn; if smaller, it will be tiny. To check, make a small flat swatch: chain 26, then single crochet into each chain and work about 26 rows, then measure a 4-inch square in the middle. If you have more stitches than 24 in 4 inches, switch to a larger hook; if fewer, switch to a smaller hook. For a small ornament, close is good enough — just aim to be within a stitch or two.
Beginner Tips Before You Start
- Use a stitch marker. Because the body is worked in a spiral (continuous rounds), the first stitch of each round drifts. Place a marker in the first stitch of every round and move it up as you go, or you will lose your place.
- Do not pull the yarn too tight. Keep an even, relaxed tension. Tight stitches are hard to insert the hook into and make a stiff, lumpy lamb.
- Count out loud. Count your stitches at the end of every increase and decrease round to match the number in parentheses before moving on.
- Stuff late, not early. The pattern tells you exactly when to add stuffing — stuffing too soon makes the remaining rounds awkward to work.
- Keep your magic ring tail. Leave a long tail on the magic ring so you can pull the center hole completely closed later.
- Work the small pieces first if you are nervous. The ears are only four rows — a perfect warm-up before the body.
Step-by-Step Instructions
Body (make 1 with cotton candy pink yarn and C/2 2.75 mm hook)
Work in continuous rounds (a spiral). Do not join or turn unless told. Place a stitch marker in the first stitch of each round.
- Rnd 1: Make a magic ring, work 6 sc into the ring. (6 sts)
- Rnd 2: 2 sc in each st around. (12 sts)
- Rnd 3: [Sc in next st, 2 sc in next st] repeat around. (18 sts)
- Rnd 4: [Sc in next 2 sts, 2 sc in next st] repeat around. (24 sts)
- Rnd 5: [Sc in next 3 sts, 2 sc in next st] repeat around. (30 sts)
- Rnd 6: [Sc in next 4 sts, 2 sc in next st] repeat around. (36 sts)
- Rnd 7: [Sc in next 5 sts, 2 sc in next st] repeat around. (42 sts)
- Rnd 8: [Sc in next 6 sts, 2 sc in next st] repeat around. (48 sts)
- Rnds 9–20: Sc in each st around. (48 sts for 12 rounds)
- Rnd 21: [Sc in next 6 sts, sc2tog] repeat around. (42 sts)
- Rnd 22: [Sc in next 5 sts, sc2tog] repeat around. (36 sts)
- Rnd 23: [Sc in next 4 sts, sc2tog] repeat around. (30 sts)
- Rnd 24: [Sc in next 3 sts, sc2tog] repeat around. (24 sts)
Stuff the body firmly now with polyester fiberfill, shaping it into a round egg-sphere about 2.5 inches (6.5 cm) tall and wide.
- Rnd 25: [Sc in next 2 sts, sc2tog] repeat around. (18 sts)
- Rnd 26: [Sc in next st, sc2tog] repeat around. (12 sts)
Add more stuffing if needed so the shape stays smooth and round.
- Rnd 27: Sc2tog around. (6 sts)
Fasten off, leaving a 6-inch tail. Thread the tail onto a tapestry needle, run it through the front loops of the last 6 stitches, and pull tight to close the hole. Weave in the end securely.
Face (make 1 with baby blue yarn and B/1 2.25 mm hook)
Work in continuous rounds.
- Rnd 1: Make a magic ring, work 6 sc into the ring. (6 sts)
- Rnd 2: 2 sc in each st around. (12 sts)
- Rnd 3: [Sc in next st, 2 sc in next st] repeat around. (18 sts)
- Rnd 4: Sc in each st around. (18 sts)
Fasten off, leaving a 10-inch tail for sewing. Do not stuff. The face is a flat circle about 1.25 inches (3 cm) across.
Ears (make 2 with baby blue yarn and B/1 2.25 mm hook)
Work in rows (back and forth, turning at the end of each row).
- Row 1: Ch 3, sc in the 2nd ch from the hook and in the next ch. (2 sts)
- Row 2: Ch 1, turn, 2 sc in each st across. (4 sts)
- Row 3: Ch 1, turn, sc in each st across. (4 sts)
- Row 4: Ch 1, turn, sc2tog twice. (2 sts)
Fasten off, leaving a 6-inch tail for sewing. Each ear is about 0.75 inch (2 cm) long.
Hanging Loop (make 1 with white yarn and B/1 2.25 mm hook)
- Rnd 1: Ch 12, sl st into the first ch to form a ring. Fasten off, leaving a 4-inch tail. Set aside.
Assembly and Finishing
- Sew on the face. Place the blue face circle on the front of the pink body, centered side to side and about 0.5 inch (1.25 cm) below the top of the body. Pin it in place. Thread the 10-inch tail onto a tapestry needle and whipstitch around the edge (up through both layers, over the edge, down again), leaving a small opening. If you like, tuck a tiny pinch of fiberfill under the face for slight padding, then sew the opening closed. Weave in the end.
- Attach the ears. Fold each ear in half lengthwise and pinch the base. Position one ear on each side of the face, about 0.25 inch (6 mm) from the face edge, angled slightly outward. Sew securely with the 6-inch tails, going through the ear base several times. Weave in ends.
- Embroider the face. With black embroidery floss and a tapestry needle, make two small French knots for the eyes, spaced about 0.5 inch (1.25 cm) apart and centered on the face. Below them, make a tiny straight-stitch nose (one short stitch) in pink or black. Keep the stitches small and neat.
- Add the hanging loop. Thread the white tail onto a tapestry needle and sew the loop to the top center of the body, passing through the ring several times to anchor it firmly. Weave in the end.
- Finish and block. Use the 2.25 mm hook to gently tuck any stray fibers or stuffing back inside. Lightly steam the face and ears with a garment steamer held about 6 inches away to smooth the stitches — do not steam or flatten the body. Let the bauble dry completely before hanging.
Pro Tips and Variations
- Change the colors. Swap the pink for mint green or lavender for a different pastel lamb, or use a cream body with a grey face for a classic farmhouse look. Keep the face and ears a contrasting color so they stand out.
- Make it bigger or smaller. Use a thicker yarn (like worsted weight) with a 4 mm hook for a larger bauble, or thread-weight yarn with a 1.75 mm hook for a mini. Just remember that a different yarn and hook means a different gauge, so the finished size will change.
- Add texture. Work the body in a fluffy or bouclé yarn to mimic real fleece, or add a few surface slip stitches in white around the body for a woolly look.
- Turn it into a gift tag or keychain. Shorten the hanging loop to 6 chains for a keychain, or leave it off entirely and sew the lamb onto a wrapped present as a gift topper.