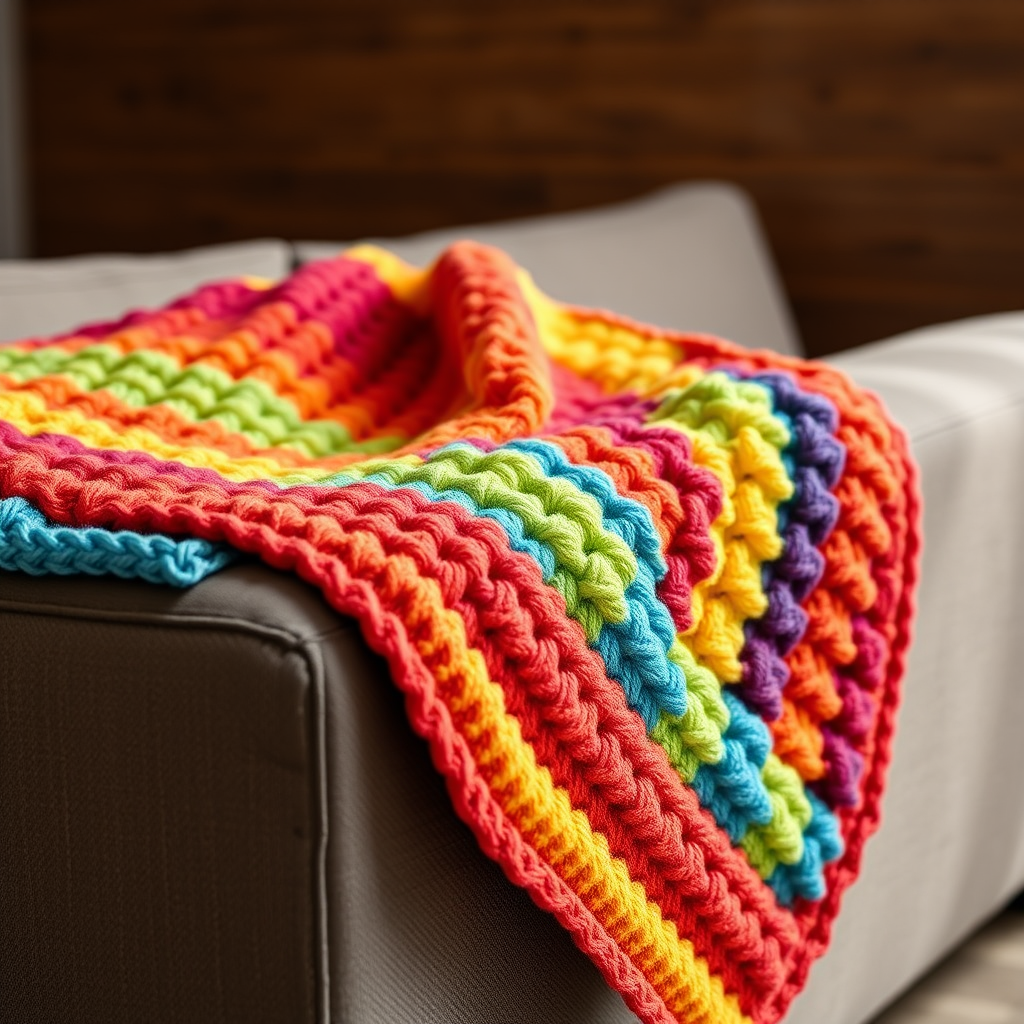
Crochet Leaf Appliqué

Crochet Leaf Appliqué Pattern
Materials Needed:
- Worsted weight yarn in green (approx. 50g)
- Crochet hook size H (5.0 mm)
- Scissors
- Tapestry needle for weaving in ends
Gauge:
Not crucial for this project, but a 4x4 inch square should have about 8 stitches and 6 rows of double crochet.
Abbreviations:
- ch = chain
- sc = single crochet
- dc = double crochet
- sl st = slip stitch
- st(s) = stitch(es)
- sk = skip
Instructions:
Leaf Shape
1. Make a Slip Knot: Begin by making a slip knot and chaining 10.
2. Row 1: Starting in the 2nd chain from the hook, work 1 sc in each chain until the end. You should have 9 sc. Turn your work.
3. Row 2: Ch 1 (this does not count as a stitch). Now, work 1 sc in the first st, *1 dc in the next st, 1 sc in the next st*, repeat from * to * until you've reached the end. You should have a total of 18 stitches, with a peak in the middle. Turn your work.
4. Row 3: Ch 1, *1 sc in the first st, 3 dc in the next st (this creates the leaf point), 1 sc in the next st*. Repeat from * to * until the end. Finish with 1 sc in the last stitch. Turn your work.
5. Row 4: Now we will shape the leaf. Ch 1, sk the first st, *1 sc in the next 3 sts, 1 dc in the next st, 1 sc in the next 3 sts. Skip the last 2 stitches and sl st into the last stitch to close the leaf*. Fasten off and leave a long tail for attaching or sewing on later.
Finishing:
6. Weaving in Ends: Use the tapestry needle to weave in all loose ends. Make sure to weave along the edge to conceal the ends well.
7. Use Your Appliqué! You can sew these leaves onto hats, bags, or even use them as a decoration for a nature-themed project.
Tips:
- Experiment with different shades of green for a more layered look!
- Add a contrasting color for the stem for extra detail.
Happy crocheting!