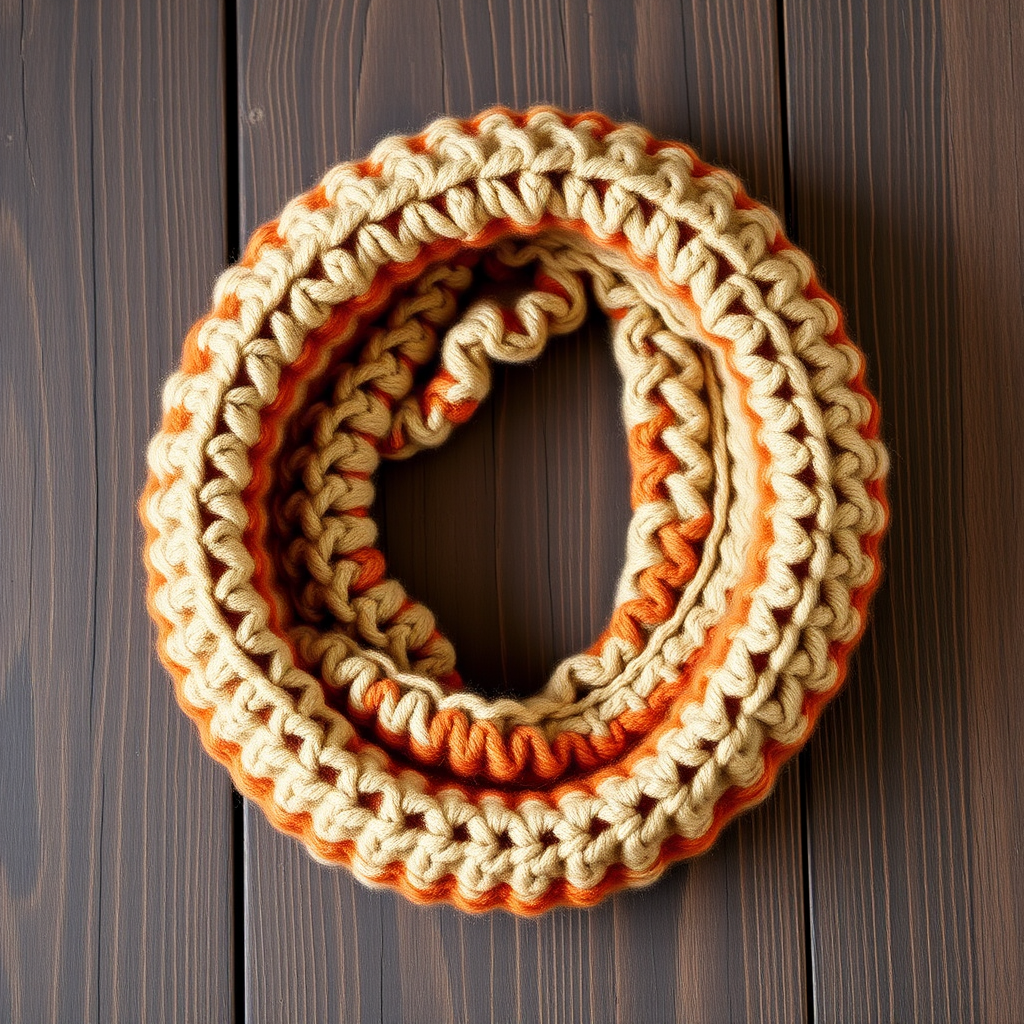
Emerald Isle Textured Crochet Cowl Free Pattern

Emerald Isle Textured Crochet Cowl: A Free Pattern for a Cozy, Luxurious Winter Accessory
Wrap yourself in the lush, rolling hills of Ireland with this richly textured cowl. Featuring a unique combination of front post double crochet and shell clusters, this pattern creates a dimensional, woven-like fabric that is both sophisticated and deeply cozy. The deep emerald green yarn evokes mossy landscapes and evergreen forests, making this the perfect statement piece to elevate any winter outfit. Best of all, this pattern is beginner-friendly, using only basic stitches and simple repeats to achieve a stunning, high-end look.
Materials Needed
Before you begin, gather the following supplies. This project is wonderfully portable and works up quickly with worsted weight yarn.
- Yarn: Worsted weight yarn in deep emerald green (approx. 250-300 yards). A soft acrylic or wool blend will give the best drape and stitch definition.
- Crochet Hook: US Size I/9 (5.5 mm) crochet hook.
- Other Tools: Yarn needle for weaving in ends, scissors, and a tape measure (optional, for checking gauge).
Gauge: 14 dc x 8 rows = 4 inches (10 cm) in double crochet. Matching gauge is important for achieving the correct finished size, but this cowl is forgiving—a slightly looser or tighter tension will simply alter the drape slightly.
Stitches & Abbreviations
This pattern uses standard US crochet terminology. If you are a beginner, review these stitches before starting. The front post double crochet (fpdc) is the key to the beautiful texture.
- ch: chain
- sl st: slip stitch
- sc: single crochet
- dc: double crochet
- fpdc: front post double crochet (yarn over, insert hook from front to back to front around the post of the stitch below, yarn over, pull up loop, complete as a dc)
- shell: 5 dc worked into the same stitch or space
Step-by-Step Instructions
This cowl is worked in the round from the bottom up, creating a seamless, drapey fabric. The stitch pattern alternates between two rounds to build the dimensional, woven-like texture. Follow along carefully, and you'll have a gorgeous accessory in no time.
Round 1: The Foundation Ring
Ch 4, sl st to first ch to form a ring. Ch 3 (counts as first dc), work 11 dc into the ring. Sl st to top of ch-3 to join. (12 dc)
Tip: Ensure your ring is snug but not too tight, so the center closes neatly.
Round 2: Building the Post Stitch Base
Ch 3 (counts as first dc), fpdc around the same stitch (the base of ch-3), *fpdc around the next dc, dc in the next dc*; repeat from * to * around, ending with fpdc around the last dc. Sl st to top of ch-3 to join. (12 fpdc, 12 dc)
Note: This round establishes the alternating post and regular double crochet columns that will anchor the shells.
Round 3: Creating the Shell Clusters
Ch 3 (counts as first dc), dc in the next fpdc, *skip next dc, shell in the next fpdc, skip next dc, dc in the next fpdc, dc in the next dc*; repeat from * to * around, ending with skip next dc, shell in the last fpdc, skip next dc. Sl st to top of ch-3 to join. (12 shells, 24 dc)
Important: The shell is worked into the post stitch from the previous round, which pushes it forward and creates the fan-like texture.
Round 4: Shaping the Woven Texture
Ch 3 (counts as first dc), fpdc around the next dc, *dc in the next 2 dc (the first two dc of the shell), fpdc around the center dc of the shell, dc in the next 2 dc (the last two dc of the shell), fpdc around the next dc, dc in the next dc*; repeat from * to * around, ending with dc in the next 2 dc, fpdc around the center dc of the shell, dc in the next 2 dc. Sl st to top of ch-3 to join. (12 fpdc, 48 dc)
Tip: When working the fpdc around the center dc of the shell, insert your hook around the post of that middle stitch, not into the top loops. This pulls the shell together and creates the woven effect.
Round 5: Alternating the Shells
Ch 3 (counts as first dc), dc in the next fpdc, *skip next dc, shell in the next dc, skip next dc, dc in the next fpdc, dc in the next dc*; repeat from * to * around, ending with skip next dc, shell in the next dc, skip next dc. Sl st to top of ch-3 to join. (12 shells, 24 dc)
Note: Notice that the shells are now worked into the regular dc stitches, offsetting them from the previous round's shells. This staggered placement is what creates the beautiful, all-over texture.
Rounds 6-17: Repeating the Pattern
Repeat Rounds 4 and 5 alternately (i.e., Round 6 = Round 4, Round 7 = Round 5, etc.) until the cowl measures approximately 9 inches (23 cm) from the starting ring.
Pro Tip: To keep track of your rounds, place a stitch marker at the beginning of each round. The pattern is highly repetitive, so it's easy to lose count—markers are your best friend here.
Finishing Round: A Neat Edge
Ch 1, sc in each stitch around. Sl st to first sc to join. Fasten off and weave in all ends.
This final round of single crochet gives the top and bottom edges a clean, polished finish that prevents stretching.
Optional Blocking
Block the cowl lightly to open up the stitch pattern and enhance drape. To block, gently wet the cowl, squeeze out excess water (do not wring), lay it flat on a towel, and shape it to the desired dimensions. Allow it to dry completely before wearing.
Final Thoughts
Your Emerald Isle Textured Crochet Cowl is now complete! This lush, cozy accessory is perfect for chilly days, and the rich texture will make it a favorite in your winter wardrobe. The pattern is forgiving and fun to work, making it an excellent project for a relaxing afternoon. Enjoy your handmade creation, and don't be surprised if you find yourself making one in every color!