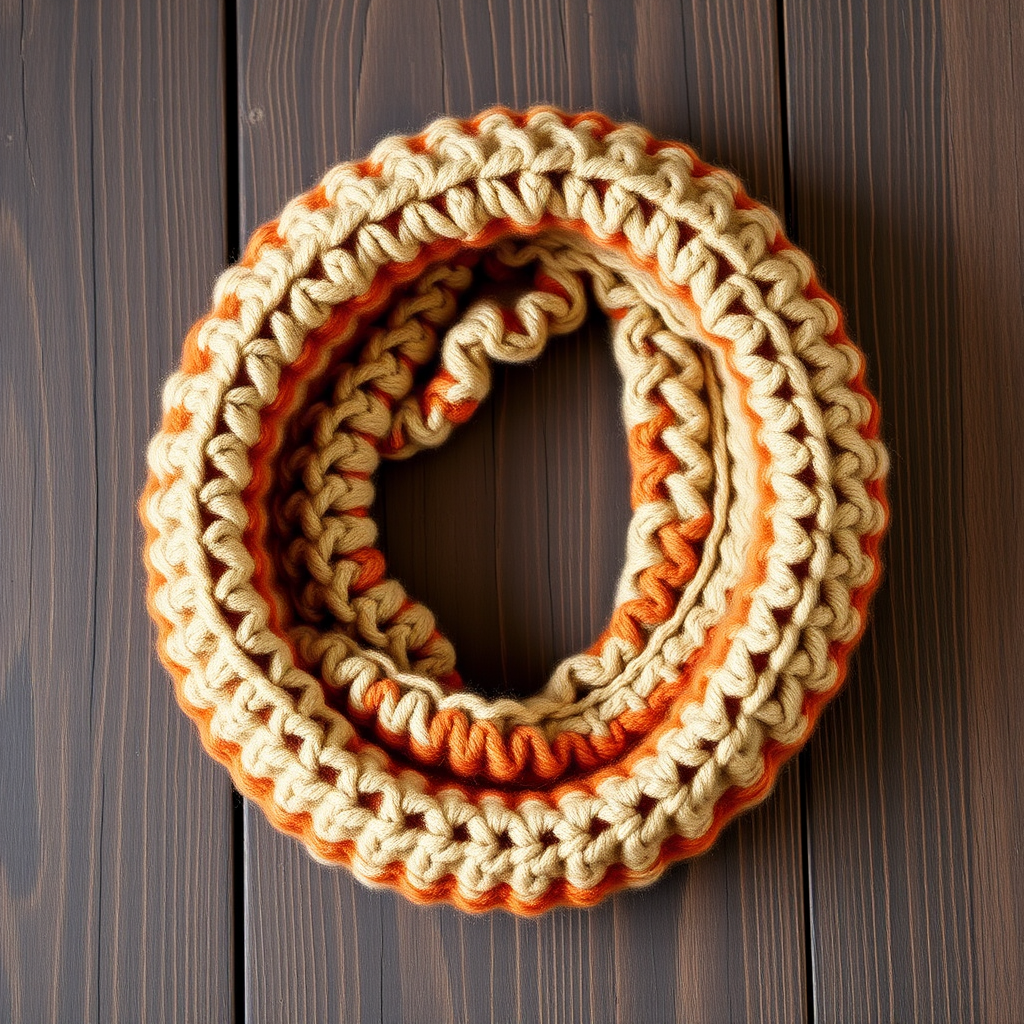
Enchanted Bloom Granny Square Cowl Free Pattern

Wrap Yourself in Handmade Charm: The Enchanted Bloom Granny Square Cowl
There's something truly magical about wrapping yourself in a piece of art you've created with your own hands. The Enchanted Bloom Granny Square Cowl is more than just a winter accessory—it's a wearable garden of handcrafted flowers that combines the timeless appeal of classic granny squares with a modern, dimensional twist. This beginner-friendly pattern is perfect for those chilly days when you want to feel cozy, creative, and connected to the rich tradition of crochet.
Each square features a stunning 3D flower center, surrounded by delicate petals and leaves, all set against a creamy background of classic granny clusters. The result is a textured, botanical masterpiece that looks far more complex than it actually is. Whether you're a seasoned crocheter looking for a satisfying project or a confident beginner ready to expand your skills, this cowl pattern will guide you through every step with clarity and ease.
Materials Needed
Before we dive into the creative process, let's gather everything you'll need for this project. The beauty of this pattern is that it uses simple, readily available materials that you can find at any craft store.
Yarn Requirements
You'll need worsted weight yarn in four beautiful colors to bring the Enchanted Bloom to life:
- Main Color (MC) - Cream: Approximately 250-300 yards. This forms the background of your squares and the edging.
- Color A - Dusty Rose: Approximately 100-120 yards. This creates the romantic flower petals.
- Color B - Sage Green: Approximately 80-100 yards. This forms the delicate leaves.
- Color C - Mustard Yellow: Approximately 40-50 yards. This creates the sunny flower centers.
Hook and Notions
- 5.5 mm (I-9) crochet hook - The perfect size for worsted weight yarn to achieve the right drape and texture.
- Tapestry needle - For weaving in ends and joining your squares.
- Scissors - For cutting yarn.
- Stitch markers (optional but helpful) - To keep track of your rounds.
Gauge
One granny square motif measures approximately 4 inches x 4 inches. This gauge is important to ensure your cowl comes out the right size. If your squares are significantly larger or smaller, try adjusting your hook size accordingly.
Step-by-Step Instructions
This cowl is constructed by crocheting 12 individual floral granny squares, then joining them together in a circle. Don't worry if you've never made a granny square before—we'll walk through every single step in detail. Take your time, enjoy the process, and remember that each square is a small victory.
Floral Granny Square Motif (Make 12)
You'll be making 12 identical squares. Once you've mastered the first one, the rest will fly by! Let's break down each round carefully.
Round 1: The Sunny Center
With Color C (Mustard Yellow), we'll create the heart of your flower.
- Make a magic ring. If you're new to this technique, wrap the yarn around your fingers twice, insert your hook, and pull up a loop. This creates an adjustable ring that you can tighten later.
- Chain 3 (this counts as your first double crochet).
- Work 11 double crochets (dc) into the ring. You should now have 12 dc total (including the chain 3).
- Pull the tail of the magic ring to tighten it closed.
- Slip stitch (sl st) to the top of the beginning chain-3 to join. You should have 12 dc in this round.
Round 2: Creating the Petal Base
Now we'll set up the structure for your flower petals using Color A (Dusty Rose).
- Attach Color A in any double crochet stitch. You can do this by making a slip knot on your hook, inserting it into the stitch, and pulling up a loop.
- Chain 3.
- Skip the next dc.
- Slip stitch in the next dc.
- Repeat from * around: Chain 3, skip next dc, slip stitch in next dc. You should create 6 chain loops total.
- Fasten off Color A. You'll have 6 chain-3 loops that will form the base for your petals.
Round 3: The Dusty Rose Petals
This is where your flower really starts to bloom!
- Attach Color A in any chain-3 loop.
- Work the following all into the same chain-3 loop: 1 single crochet (sc), 1 half double crochet (hdc), 3 double crochets (dc), 1 half double crochet (hdc), 1 single crochet (sc). This creates a beautiful petal shape.
- Slip stitch in the next slip stitch between the loops (this is the slip stitch you made in Round 2).
- Repeat from * around: Work the petal sequence into the next chain-3 loop, slip stitch in the next slip stitch between loops. You should have 6 beautiful petals.
- Fasten off Color A. Admire your gorgeous flower!
Round 4: Preparing for Leaves
Now we'll work behind the flower to set up the leaf layer with Color B (Sage Green).
- Attach Color B in any slip stitch between petals (you'll be working behind the flower, in the spaces between the petals).
- Chain 4.
- Slip stitch in the next slip stitch between petals.
- Repeat from * around: Chain 4, slip stitch in next slip stitch between petals. You should have 6 chain-4 loops.
- Fasten off Color B.
Round 5: The Sage Green Leaves
Time to add the foliage that makes this flower truly enchanting.
- Attach Color B in any chain-4 loop.
- Work the following all into the same chain-4 loop: 1 sc, 1 hdc, 5 dc, 1 hdc, 1 sc. This creates a slightly larger, leaf-shaped petal.
- Slip stitch in the next slip stitch between loops.
- Repeat from * around: Work the leaf sequence into the next chain-4 loop, slip stitch in the next slip stitch between loops. You should have 6 leaves.
- Fasten off Color B. Your flower now has a beautiful green backdrop.
Round 6: Setting Up the Square
Now we'll transition from flower to granny square using your Main Color (Cream).
- Attach MC in any slip stitch between leaves.
- Chain 5.
- Skip the next leaf.
- Slip stitch in the next slip stitch between leaves.
- Repeat from * around: Chain 5, skip next leaf, slip stitch in next slip stitch between leaves. You should have 6 chain-5 loops.
- Fasten off MC.
Round 7: The Classic Granny Square
This is the final round that transforms your flower into a square. Pay close attention to the corner placements!
- Attach MC in any chain-5 loop.
- Work (3 dc, chain 2, 3 dc) in the same chain-5 loop. This creates your first corner.
- Chain 1.
- Work 3 dc in the next chain-5 loop.
- Chain 1.
- Now, here's where we make the square shape: In the next chain-5 loop, work (3 dc, chain 2, 3 dc) for your second corner.
- Chain 1.
- Work 3 dc in the next chain-5 loop.
- Chain 1.
- In the next chain-5 loop, work (3 dc, chain 2, 3 dc) for your third corner.
- Chain 1.
- Work 3 dc in the next chain-5 loop.
- Chain 1.
- In the next chain-5 loop, work (3 dc, chain 2, 3 dc) for your fourth corner.
- Chain 1.
- Work 3 dc in the next chain-5 loop.
- Chain 1.
- Slip stitch to the top of the beginning chain-3 to join.
- Fasten off and weave in all ends.
Pro tip: You should now have 4 corners (each with 2 groups of 3 dc separated by chain 2) and 2 side groups of 3 dc on each side. This creates a perfect square shape!
Joining the Squares
Congratulations! You've completed all 12 squares. Now it's time to bring them together into a beautiful cowl.
- Arrange your squares in a rectangle formation: 3 squares wide by 4 squares tall. Play with the arrangement to make sure the flowers are facing the direction you like.
- Thread your tapestry needle with a long piece of MC yarn (about 18 inches should work for each seam).
- Whip stitch the squares together through the back loops only. This creates a nearly invisible seam on the front. Match the corners and side groups carefully.
- Join all squares to form one long strip. You'll have a strip that is 3 squares wide and 4 squares tall.
Finishing the Cowl
Now we'll transform your beautiful strip into a wearable cowl.
- Fold the strip in half so the short ends meet. The wrong side should be facing out.
- Using MC and your tapestry needle, whip stitch the short ends together to form a circle. Make sure your stitches are secure.
- Turn the cowl right side out and marvel at your handiwork!
- Weave in all remaining ends carefully to ensure your cowl is durable and neat.
Edging
The final touch—a clean, scalloped edge that gives your cowl a professional finish.
Round 1: Foundation Scallop
- With MC, attach yarn to any edge of the cowl.
- Work 1 single crochet (sc) in each stitch around the entire top edge of the cowl.
- Slip stitch to the first sc to join.
Round 2: Clean Finish
- Chain 1.
- Work 1 sc in each sc around.
- Slip stitch to join.
- Fasten off and weave in all ends.
Repeat the edging process on the bottom edge of the cowl for a symmetrical, polished look.
Your Enchanted Bloom Awaits
And there you have it—your very own Enchanted Bloom Granny Square Cowl! This stunning accessory is approximately 24 inches in circumference and 10 inches tall, making it the perfect cozy wrap for chilly autumn days or frosty winter mornings.
The dimensional flowers, created with their mustard yellow centers, dusty rose petals, and sage green leaves, create a truly unique texture that will draw compliments wherever you go. The cream background keeps the design elegant and versatile, allowing you to pair it with almost anything in your wardrobe.
This pattern is not just about creating a beautiful accessory—it's about the joy of making something with your own hands, the satisfaction of mastering a new technique, and the warmth of wrapping yourself in your own creativity. Each square is a small piece of art, and together they create something truly magical.
We'd love to see your Enchanted Bloom creations! Share your finished cowl with us and inspire others in the crafting community. Happy crocheting, and may your days be filled with warmth and beautiful blooms!