Honeycomb Hideaway Bear C2C Baby Blanket Free Pattern
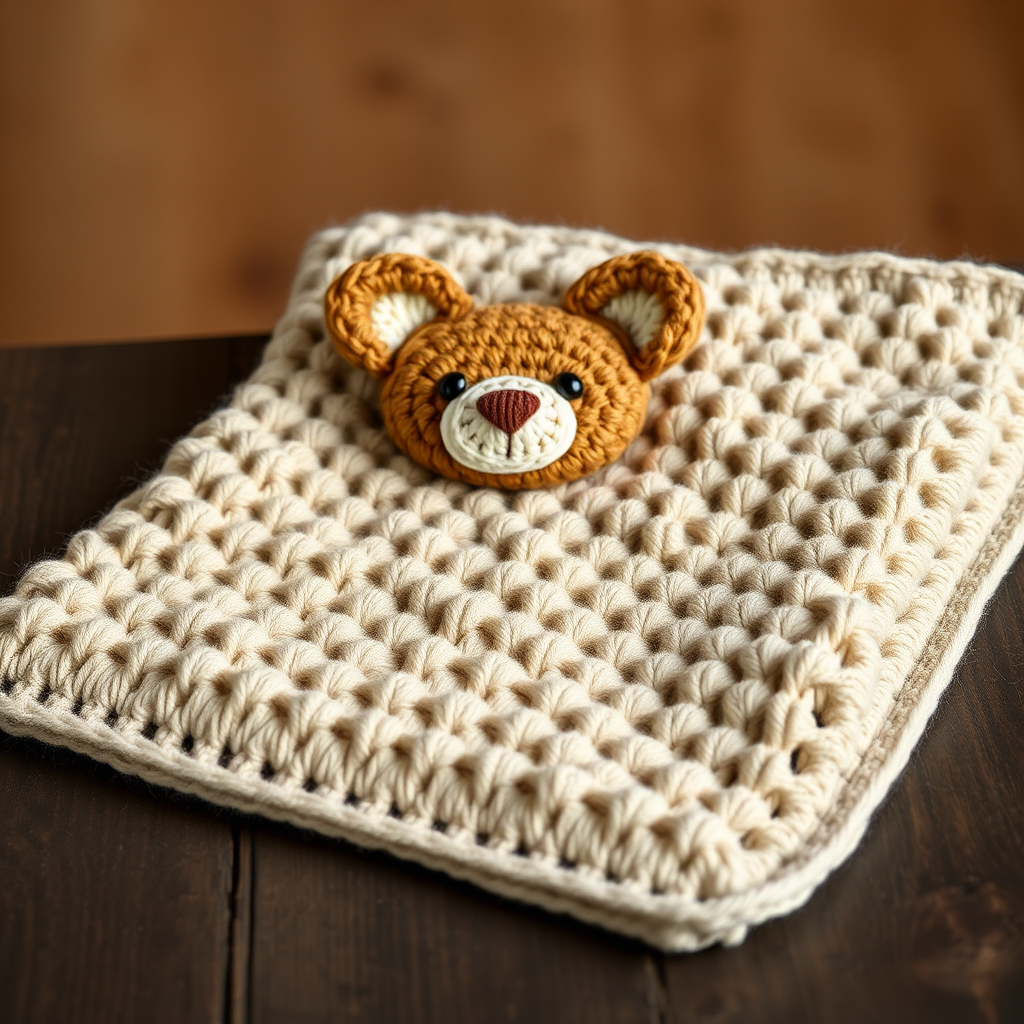
Honeycomb Hideaway Bear C2C Baby Blanket: A Free Beginner-Friendly Pattern
Are you ready to create a truly special heirloom piece for the little one in your life? The Honeycomb Hideaway Bear C2C Baby Blanket is the perfect project for crafters looking to combine a classic, beloved motif with a modern, textured technique. Using the corner-to-corner (C2C) method, you'll build a stunning, geometric bear face that feels both contemporary and timeless. The plush, worsted-weight yarn and the subtle honeycomb-like texture make this blanket as delightful to snuggle as it is to create. Whether you're a seasoned crocheter or a confident beginner ready for a new challenge, this pattern will guide you through every step to craft a cozy, handmade treasure.
This pattern is designed to be accessible, with clear instructions and a simplified chart. The result is a perfect 36x36 inch square blanket, featuring a stylized bear with distinct ears, a rounded head, and a sweet, lighter muzzle. Let's gather your materials and get started on this rewarding project!
Materials Needed
Before you begin, make sure you have all the necessary supplies. Using the recommended yarn weight and hook size is crucial to achieving the correct gauge and the perfect, plush texture.
- Yarn: Worsted weight (#4) cotton or cotton-blend yarn in three colors:
- Main Color (MC) - Soft Oatmeal: Approximately 900g (This is your background color).
- Contrast Color 1 (CC1) - Toasted Almond: Approximately 300g (This is for the bear's ears, face outline, nose, and eyes).
- Contrast Color 2 (CC2) - Creamy White: Approximately 200g (This is for the bear's muzzle).
- Crochet Hook: 5.5mm (I-9) crochet hook, or the size needed to obtain the correct gauge.
- Other Tools: Yarn needle for weaving in ends, scissors, and a stitch marker (optional, but helpful for counting rows).
Gauge & Finished Size
- Gauge: 4 C2C blocks = 4 inches (10 cm) in the C2C pattern. Always check your gauge to ensure your blanket turns out the correct size.
- Finished Size: Approximately 36 x 36 inches (91 x 91 cm).
Step-by-Step Instructions
This blanket is worked diagonally from corner to corner (C2C) using the double crochet (dc) block method. Each "block" is a cluster of 3 dc worked into a chain space. The bear motif is created by following the chart and changing colors as indicated. Let's break it down into manageable parts.
Abbreviations (US Terms)
- ch: chain
- dc: double crochet
- sl st: slip stitch
- MC: Main Color
- CC1: Contrast Color 1
- CC2: Contrast Color 2
- c2c: corner to corner
C2C Basics: How to Make a Block
Before you start, it's essential to understand the basic C2C block. There are two types of blocks you'll use: the increase block (used at the start of rows) and the regular block (used across the row).
- Increase Block (First block of a row): Ch 6, dc in the 4th ch from hook, 2 dc in the same ch. This forms your first block.
- Regular Block (Subsequent blocks in a row): Ch 3 (counts as first dc), work 2 dc into the same ch-3 space (or ch-6 space for increases).
Part 1: The Increase Section (Rows 1-18)
We'll start by building the bottom-left corner of the blanket, increasing one block per row until we reach the widest point.
- Row 1: With MC, ch 6, dc in 4th ch from hook, 2 dc in same ch. (1 block)
- Row 2: Ch 6, dc in 4th ch from hook, 2 dc in same ch (this is your first block of the row). Then, work 1 regular block into the ch-3 space of the previous row's first block. (2 blocks)
- Row 3: Increase as before (ch 6, dc in 4th ch, 2 dc in same ch), then work 1 regular block into each ch-3 space across. (3 blocks)
- Rows 4-18: Continue increasing in this manner, adding 1 block each row, until you have 18 blocks across the row. Pro Tip: Place a stitch marker on the "increasing" side of your work to help you keep track.
Part 2: The Bear Motif (Rows 19-36)
Now for the fun part! You will now follow the chart to create the bear. Each square on the chart represents one C2C block. You will be working both increase and decrease rows during this section. To change colors, simply pull the new color through the last yarn over of the previous dc.
Simplified Chart Reference (36x36 grid): The bear motif occupies the center 18x18 area of the blanket.
- Rows 19-24 (Increase Rows): Work the bear's ears and the top of the head.
- Ears: Use CC1 for the ear blocks. They are located at rows 19-20, columns 8-10 and columns 27-29.
- Head Top: Use MC for the background, and CC1 for the top of the head between the ears.
- Rows 25-30 (Work Even): No increases or decreases. Continue the bear's face.
- Face Outline: Use CC1 to outline the bear's face shape.
- Eyes: Use CC1 for the eyes. They are located at rows 24-25, columns 12-13 and columns 24-25.
- Muzzle: Use CC2 for the muzzle area. It is located at rows 26-28, columns 14-23.
- Nose: Use CC1 for the nose. It is located at row 27, columns 17-20.
- Rows 31-36 (Decrease Rows): Complete the bear's face and taper down to the bottom corner. Follow the chart to finish the chin and the background.
Part 3: The Decrease Section (Rows 37-36)
Wait, you might be thinking, "Rows 37-36?" This is a common typo in patterns. After Row 36, you will continue decreasing one block each row until only 1 block remains. This will form the bottom-right corner of the blanket.
- Decrease Row: Sl st into the first ch-3 space of the previous row. Then, work a regular block into each ch-3 space across, omitting the last block. This will decrease your row count by one.
- Repeat this decrease row until you have just 1 block left. Fasten off and weave in all your ends carefully.
Part 4: The Border
A clean border frames your beautiful work and gives it a professional finish.
- With MC, attach your yarn to any corner of the blanket.
- Round 1: Work 1 round of single crochet (sc) evenly around the entire blanket. Work 3 sc in each corner to ensure the corners lay flat.
- Round 2: Work 1 round of reverse single crochet (crab stitch) for a finished, twisted edge. To do this, work single crochets from left to right instead of right to left.
- Fasten off and weave in all ends. Give your blanket a gentle block if desired, and it's ready to be loved!
Congratulations! You've just completed a stunning, heirloom-quality baby blanket. The combination of the textured C2C stitch and the adorable bear motif creates a piece that is both modern and timeless. This blanket is sure to be a cherished keepsake for years to come. Happy crocheting!



