Jolly Belly Santa Cozy Free Pattern
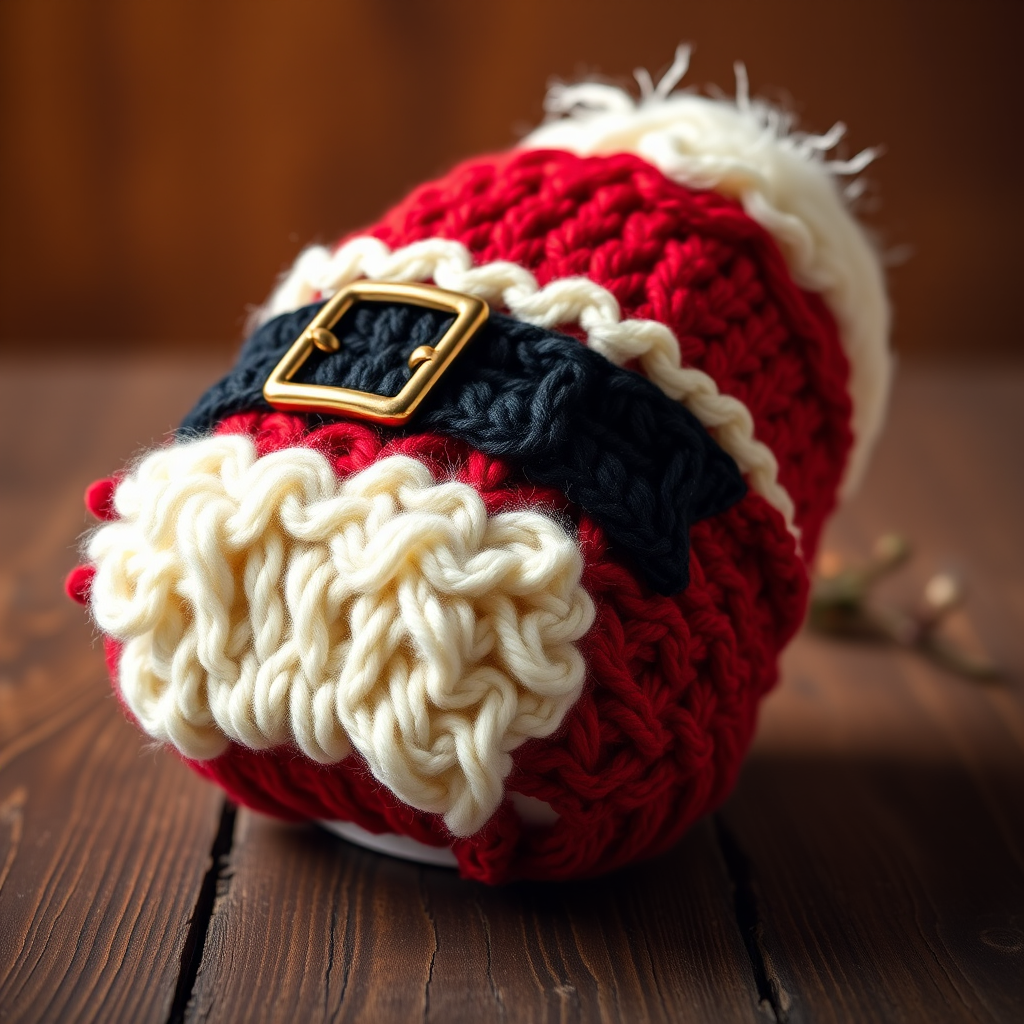
Jolly Belly Santa Cozy Free Knitting Pattern
Wrap your favorite mug in this charming Santa belly cozy, complete with a fluffy white beard and a shiny black belt. This quick, whimsical knit brings festive cheer to your morning coffee or tea and makes a delightful handmade gift for the holiday season. Perfect for beginners, this pattern uses simple knit and purl stitches with a few easy decreases to shape the cozy to your mug.
Whether you're looking for a fun weekend project or a thoughtful stocking stuffer, this Jolly Belly Santa Cozy is sure to spread holiday joy. The cozy fits a standard 10-12 oz mug (approximately 8 inches in circumference) and works up in just a few hours.
Materials Needed
Before you begin, gather the following materials:
- Yarn: Worsted weight yarn in the following colors:
- Red (MC - Main Color): approximately 50g
- White (CC1 - Contrast Color 1): approximately 30g
- Black (CC2 - Contrast Color 2): approximately 10g
- Gold (CC3 - Contrast Color 3): approximately 5g
- Needles: US Size 6 (4.0 mm) knitting needles, or size needed to obtain gauge
- Notions: Tapestry needle for weaving in ends and seaming, stitch markers (optional but helpful)
- For Pompom: A pompom maker or a piece of cardboard to create a 1.5-inch pompom
Gauge: 20 stitches and 26 rows = 4 inches in Stockinette stitch (knit one row, purl one row). Always check your gauge to ensure a proper fit for your mug.
Step-by-Step Instructions
This cozy is knitted flat and seamed, with the beard and belt added as you go. Follow these detailed instructions carefully, and you'll have a delightful Santa cozy in no time.
Abbreviations
- K = Knit
- P = Purl
- K2tog = Knit two stitches together (decrease)
- KFB = Knit front and back (increase) - Note: This pattern does not require increases, but it's good to know for other projects.
- BO = Bind off
- St(s) = Stitch(es)
- MC = Main Color (Red)
- CC1 = Contrast Color 1 (White)
- CC2 = Contrast Color 2 (Black)
- CC3 = Contrast Color 3 (Gold)
- RS = Right Side (the front of the work)
- WS = Wrong Side (the back of the work)
Body (Worked in One Piece)
Step 1: With MC (Red), cast on 40 stitches.
Step 2: Begin working in Stockinette stitch:
- Row 1 (RS): Knit all stitches.
- Row 2 (WS): Purl all stitches.
Step 3: Repeat Rows 1-2 until the piece measures 6 inches from the cast-on edge, ending with a WS row. This forms the main body of Santa's belly.
Shape Top (Decrease for Mug Rim)
Now we'll shape the cozy so it tapers slightly to fit the rim of your mug.
Step 4: Begin decreasing:
- Next Row (RS): K2, K2tog, K to last 4 sts, K2tog, K2. (You will have 38 stitches)
- Next Row (WS): Purl all stitches.
Step 5: Repeat these two rows until 30 stitches remain, ending with a WS row. This creates a gentle taper at the top of the cozy.
Beard (Worked in CC1 - White)
Time to add Santa's fluffy white beard!
Step 6: Switch to CC1 (White).
- Row 1 (RS): Knit all stitches.
- Row 2 (WS): Purl all stitches.
Step 7: Repeat Rows 1-2 until the beard measures 1.5 inches from the color change, ending with a WS row.
Shape Beard Top
We'll now shape the top of the beard to fit snugly around the mug.
Step 8: Begin decreasing for the beard top:
- Next Row (RS): K2, K2tog, K to last 4 sts, K2tog, K2. (You will have 28 stitches)
- Next Row (WS): Purl all stitches.
Step 9: Repeat these two rows until 20 stitches remain, ending with a WS row.
Belt (Worked in CC2 - Black)
Now for Santa's iconic black belt.
Step 10: Switch to CC2 (Black).
- Knit every row (garter stitch) for 4 rows. (You will still have 20 stitches)
Belt Buckle (Worked in CC3 - Gold)
Add the shiny gold buckle detail.
Step 11: Switch to CC3 (Gold).
- Knit every row for 2 rows.
Step 12: Switch back to CC2 (Black).
- Knit every row for 4 rows.
Finishing
Step 13: Bind off all stitches in CC2 (Black). Weave in all loose ends using your tapestry needle.
Assembly
Step 14: Fold the piece in half with right sides together, matching the cast-on edge and the bind-off edge.
Step 15: Sew the side seam from the bottom up to the start of the beard (about 4 inches). Leave the top open. This creates the opening for your mug.
Step 16: Turn the cozy right side out.
Pompom (For Beard)
Step 17: Using CC1 (White), make a 1.5-inch pompom. You can use a pompom maker or a piece of cardboard cut into a donut shape.
Step 18: Attach the pompom to the center of the beard's bottom edge (the cast-on edge) with your yarn needle. This gives Santa a cute, fluffy beard tip.
Optional Embroidery
Step 19: With CC2 (Black), embroider a small smile on the beard using a backstitch, about 1 inch below the belt. This adds a charming, friendly face to your Santa cozy.
Your Jolly Belly Santa Cozy is ready to hug your mug! Slip it over your favorite ceramic mug, pour yourself a warm drink, and enjoy the festive cheer. This pattern makes a wonderful handmade gift for friends, family, teachers, or anyone who loves a cozy holiday drink. Happy knitting!


