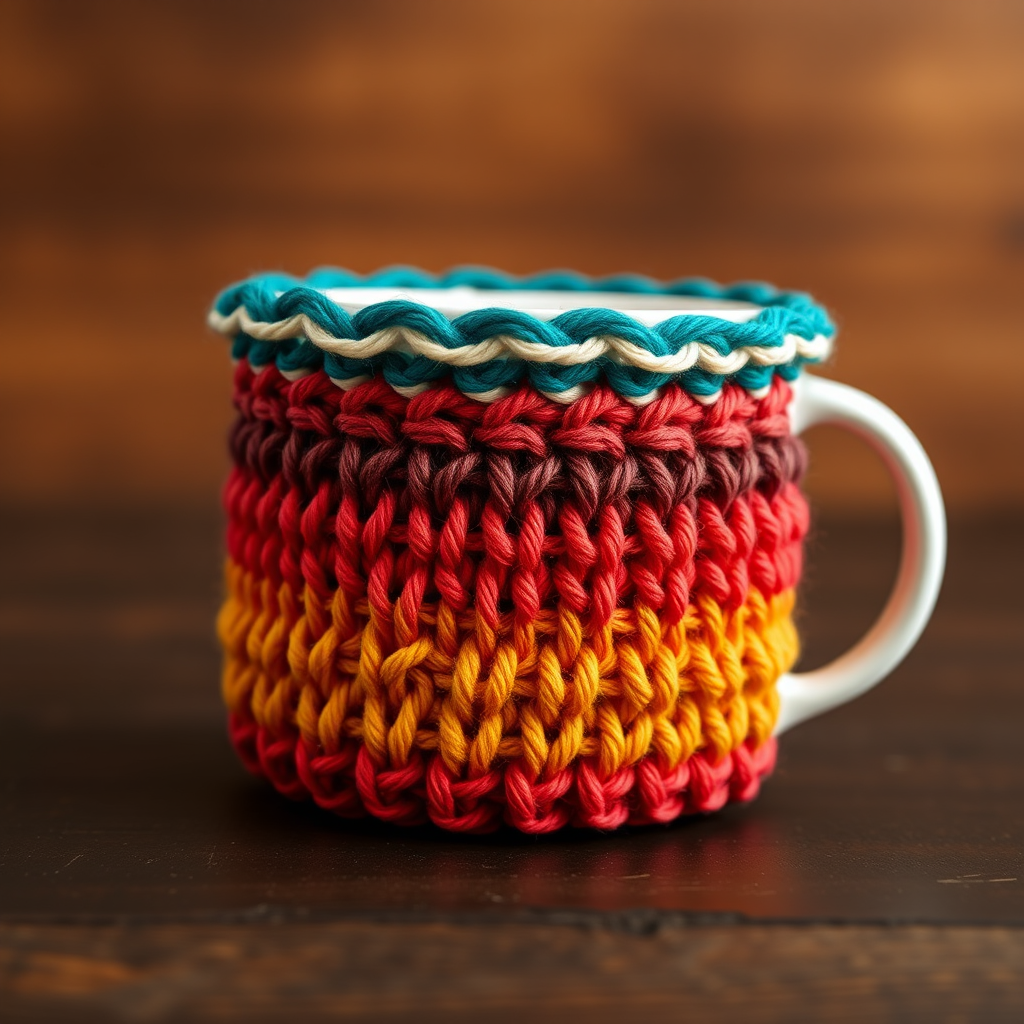
Orange Blossom Mug Hug Wrap Free Crochet Pattern

Orange Blossom Mug Hug Wrap: A Beginner's First Crochet Project
If you have never held a crochet hook before, this is the perfect place to start. The Orange Blossom Mug Hug Wrap is a small, flat rectangle of simple single crochet stitches that you seam into a cozy little tube, then finish with a yarn button loop and a cheerful orange flower appliqué. It works up in an afternoon, uses only a few yards of cotton yarn, and gives you a finished, useful object you can hold in your hands the very same day. The cobalt blue body has neat horizontal ridges and a soft matte cotton texture, while the raised orange blossom with its tiny white center gives it a crisp, coastal-grandmother charm. Wrap it around your favorite mug, fasten the loop over the button, and every cup of tea feels like a small gift.
Materials Needed
- Yarn: Worsted weight (medium, CYC #4) cotton yarn. You need approximately 55 yards of cobalt blue (MC), plus small amounts of bright orange (A) and soft white (B) for the flower. Cotton is best because it does not stretch or melt near hot drinks.
- Crochet hook: US H-8 / 5.0 mm.
- Stitch marker (one, or a scrap of contrasting yarn) to mark your first stitch.
- Tapestry needle (a large, blunt needle with an eye big enough for yarn) for seaming and weaving in ends.
- Scissors for cutting yarn.
- One 3/4-inch button (any flat button with a shank or two holes).
- Finished size: about 9 inches (23 cm) long x 3.5 inches (9 cm) tall before seaming. Once seamed it forms a tube about 3.5 inches tall with a 3.25-inch opening, sized for a standard 11–12 oz mug with a 3.5-inch diameter.
Abbreviations and Beginner Glossary
- ch – chain. Make a loop of yarn on your hook (a slip knot), then wrap yarn over the hook and pull it through the loop on your hook. That is one chain.
- sc – single crochet. Insert your hook into the stitch, wrap yarn over the hook, pull up a loop (you now have 2 loops on the hook), wrap yarn over again, and pull through both loops. One single crochet made.
- sl st – slip stitch. Insert hook into the stitch, wrap yarn over, and pull it straight through both the stitch and the loop on your hook in one motion. It makes a nearly invisible joining stitch.
- dc – double crochet. Wrap yarn over the hook first, insert hook into the stitch, wrap yarn over and pull up a loop (3 loops on hook), wrap yarn over and pull through 2 loops, wrap yarn over and pull through the last 2 loops.
- dc2tog – double crochet 2 together. This is a cluster decrease that makes one petal shape. In the same stitch: wrap yarn over, insert hook, pull up a loop, pull through 2 loops (2 loops remain). Wrap yarn over, insert hook in the same stitch, pull up a loop, pull through 2 loops (3 loops remain). Wrap yarn over and pull through all 3 loops. One dc2tog made.
- st(s) – stitch or stitches.
- sp – space (the gap between stitches).
- MC – main color, the cobalt blue.
- A – color A, the bright orange.
- B – color B, the soft white.
- magic ring – an adjustable loop of yarn you make by wrapping yarn around your fingers, then working stitches into it and pulling the tail tight to close the hole. If this feels tricky, chain 4 and join with a sl st into a ring instead.
- turn – flip your work over so you can work back along the row you just made.
- fasten off – cut the yarn a few inches from your work, pull the tail all the way through the last loop, and tug gently to lock it.
- whipstitch – a simple seaming stitch: pass the needle over the edge of both pieces and back through, over and over, like lacing.
Gauge
Gauge: 14 single crochet stitches x 16 rows = 4 inches (10 cm).
Gauge simply means how big your stitches come out. It matters because it decides whether your cozy fits a mug or comes out too loose or too tight. To check it, crochet a small square about 5 inches wide in single crochet, then lay a ruler across the middle and count how many stitches fit in 4 inches and how many rows fit in 4 inches. If you have more stitches than 14, your stitches are tight — try a larger hook. If you have fewer, your stitches are loose — try a smaller hook. Gauge is not critical for this project's fit, but a slightly tighter gauge gives a snugger hug.
Beginner Tips Before You Start
- Count your first row. After Row 1 you must have exactly 32 single crochet. Count them before you go on — every later row depends on it.
- Use a stitch marker. Place it in the very first stitch of each row so you never lose your place, especially when working the border around the corners.
- Do not pull the yarn too tight. Keep your loops relaxed and even. Tight, grippy stitches make the border and seaming much harder.
- Always chain 1 at the start of a row. That chain is a little "step up" and does not count as a stitch — do not work into it when you come back.
- Work the border slowly at the corners. The short sides have 14 row-ends each; put exactly one single crochet into each row end so the edge stays flat and does not ruffle.
- Try the cozy on the mug before you sew the button. Cotton can relax a little, so check the fit first and adjust the loop length if needed.
Step-by-Step Instructions
Note: The wrap body is worked flat in rows, then seamed into a short tube. The flower is made separately and sewn on at the end.
Wrap Body (with MC)
Row 1: Ch 33. Sc in the 2nd ch from hook and in each ch across. (32 sc)
Row 2: Ch 1, turn. Sc in each st across. (32 sc)
Rows 3–14: Repeat Row 2. (32 sc per row) You now have 14 rows total, and the piece measures about 9 inches long x 3.5 inches tall. Do not fasten off yet.
Border (with MC, worked around the entire rectangle)
Rnd 1: Ch 1, turn to work along the long edge. Work 1 sc in each row end along the first short side (14 sc), 1 sc in each st along the bottom edge (32 sc), 1 sc in each row end along the second short side (14 sc), and 1 sc in each st along the top edge (32 sc). Join with a sl st to the first sc. (92 sc)
Rnd 2: Ch 1, sc in each st around. Join with a sl st to the first sc. (92 sc) Fasten off MC and weave in the ends.
Button Loop (with MC)
Join MC with a sl st at one short end of the wrap, about 1 inch from the top edge. Ch 10, then sl st back into the same stitch to form a loop. Fasten off and weave in the ends. The loop should comfortably pass over a 3/4-inch button.
Flower Appliqué (with A)
Make a magic ring.
Rnd 1: Ch 2 (counts as the first dc), work 5 dc into the ring, join with a sl st to the top of the beginning ch-2. (6 dc)
Rnd 2 (petals): Ch 3, dc2tog in the same st (this starts the first petal), ch 3, sl st in the next st. *Ch 3, dc2tog in the next st, ch 3, sl st in the next st; repeat from * around. (6 petals) Fasten off A, leaving a 10-inch tail for sewing.
Flower Center (with B)
Make a magic ring. Ch 1, work 6 sc into the ring, join with a sl st to the first sc. (6 sc) Fasten off B, leaving a 6-inch tail.
Assembly and Finishing
- Sew the center to the flower. Thread the white B tail onto your tapestry needle and stitch the small white circle to the middle of the orange flower, catching the back loops only so the stitches hide. Weave in the tail.
- Place the flower. Lay the wrap flat with the right side facing you. Position the flower centered about 2 inches from one short end and 1.75 inches from the bottom edge.
- Sew the flower down. Thread the orange A tail and sew around the back of the petals only, taking small stitches into the wrap. This keeps the sewing invisible from the front. Weave in the tail.
- Add the button. Sew the 3/4-inch button to the opposite short end, centered about 1 inch from the top edge, lining it up with the button loop. Pass the needle through the buttonholes several times and finish with a small knot on the wrong side.
- Seam the tube. Fold the wrap so the two short ends meet, right sides together. With a length of MC and your tapestry needle, whipstitch the short ends together: pass the needle over the edge of both pieces and back through, over and over, keeping the stitches even and snug but not tight. Fasten off and weave in all ends on the wrong side.
- Block the cozy. Dampen the cozy lightly with water (a spray bottle is perfect), shape it into a neat tube, and lay it flat to dry. Cotton blocks beautifully and this step smooths the border and makes the flower sit flat.
- Finish. Slip the cozy onto a mug, wrap the loop over the button, and turn the flower to the front.
Pro Tips and Variations
- Change the colors. Swap the cobalt blue for sage green, cream, or dusty rose for a different coastal palette. Use any scrap of worsted cotton for the flower — a mustard yellow blossom looks lovely on navy.
- Adjust the size. For a wider mug, add chains in multiples of 2 to Row 1 (for example, ch 37 for 36 sc) and add matching stitches to the border rounds. For a taller cozy, work more repeat rows before the border.
- Substitute the yarn. Any worsted weight (CYC #4) yarn works, but choose cotton or a cotton-blend for heat safety and easy washing. Acrylic is fine for a gift cozy that will not sit against a hot mug for long.
- Make a matching set. Crochet three cozies in different colors and tie them together with a ribbon for a quick handmade gift. Each one takes under an hour once you know the pattern.