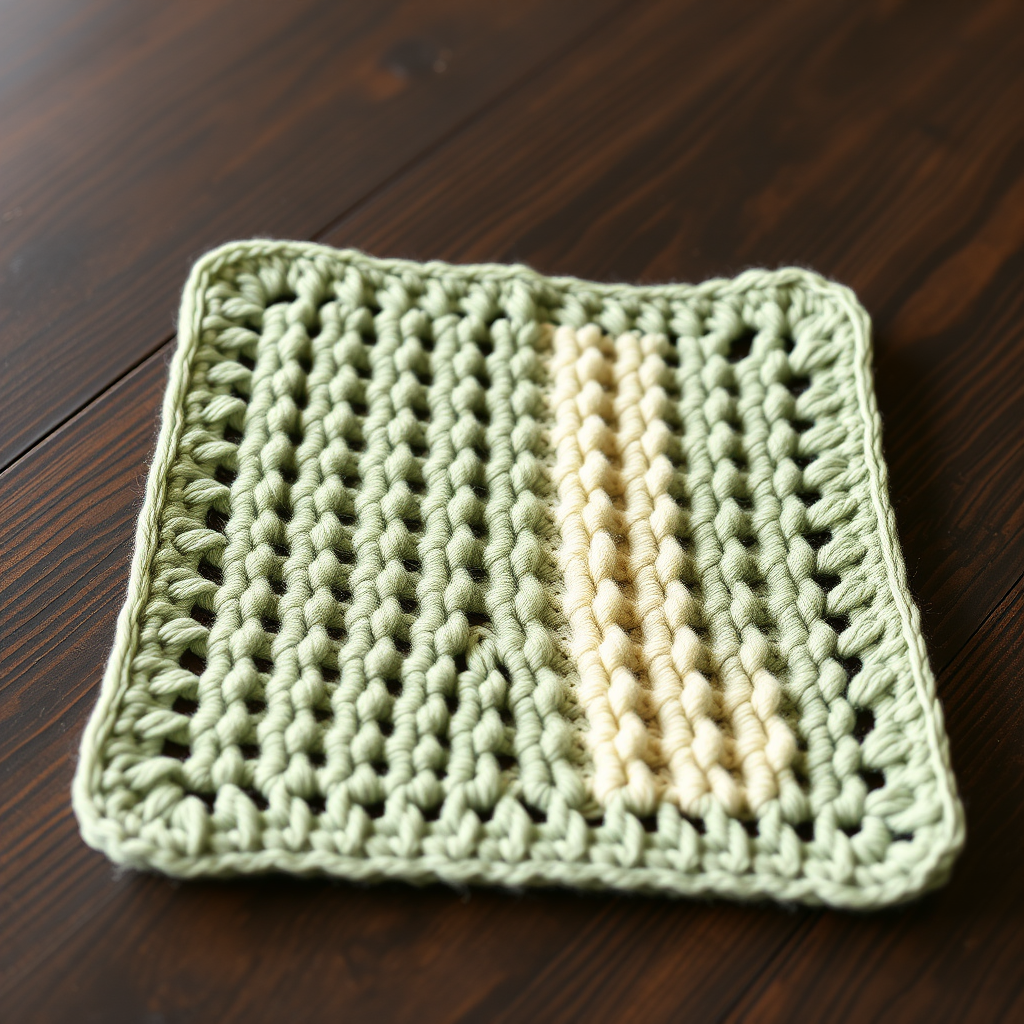
The Citrus Grove Lemon Crochet Dish Scrubby Free Pattern – A Zesty Kitchen Essential

The Citrus Grove Lemon Crochet Dish Scrubby Free Pattern – A Zesty Kitchen Essential
Brighten up your dishwashing routine with this cheerful lemon-shaped scrubby, featuring a textured, exfoliating surface that's as functional as it is adorable. This quick and easy crochet project uses cotton yarn for durability and a touch of lemon-slice charm for your sink. Whether you're looking for a thoughtful handmade gift or a fun way to upgrade your own kitchen tools, this pattern delivers both style and substance. The bumpy single crochet texture naturally lifts food residue while being gentle on your favorite cookware, and the lemon design adds a pop of sunshine to even the dreariest washing-up session.
This pattern is perfect for beginners and experienced crocheters alike. With just a few basic stitches and a couple of hours of your time, you'll have a durable, reusable scrubby that replaces disposable sponges and adds a handmade touch to your home. Plus, it's an excellent stash-buster project—you likely already have the yarn in your collection!
Materials Needed
Before you begin, gather the following supplies. All items are readily available at craft stores or online, and you may already have most of them on hand.
Yarn
- Worsted weight cotton yarn (e.g., Lily Sugar'n Cream) in the following colors:
- Lemon Yellow – approximately 60 yards (for the main body)
- White – small amount (for the lemon slice detail)
- Green – small amount (for the leaf and stem)
Why cotton? Cotton yarn is highly absorbent, durable, and machine-washable, making it the ideal choice for kitchen items. It also holds its shape well and provides the firm texture needed for effective scrubbing. Avoid acrylic or wool, as they won't perform as well in wet, soapy conditions.
Hook and Notions
- US G/6 (4.0 mm) crochet hook – or whatever size needed to achieve a firm fabric
- Yarn needle (tapestry needle) for weaving in ends and embroidery
- Stitch marker (or a scrap of contrasting yarn) to track your rounds
- Scissors
- Optional: A small piece of sponge or extra cotton yarn for light stuffing
Gauge
4 sc x 4 rows = 1 inch (gauge is not critical for this project, but aim for a firm, tight fabric so the scrubby holds its shape and provides good scrubbing power). If your stitches are loose, try going down a hook size.
Step-by-Step Instructions
Follow these detailed instructions carefully, and you'll have a beautiful lemon scrubby in no time. The pattern is written in standard US crochet terminology.
Abbreviations
- ch = chain
- sc = single crochet
- hdc = half double crochet
- dc = double crochet
- sl st = slip stitch
- rnd = round
- st(s) = stitch(es)
- inc = increase (2 sc in same st)
- dec = decrease (sc 2 together)
Important Notes Before You Start
- Finished Size: Approximately 4 inches in diameter.
- Construction: Work in a continuous spiral for rounds 1-8 (do not join with a slip stitch at the end of these rounds). Use a stitch marker to keep track of where each round begins. For round 9, you will join with a slip stitch.
- Two Pieces: You will make two identical lemon body pieces (front and back), then join them together.
- Stitch Tension: Keep your tension consistent throughout. A firm fabric is essential for a good scrubby—if your work feels floppy, tighten up your tension or use a smaller hook.
LEMON BODY (Make 2 Pieces – Front and Back)
Rnd 1: With Lemon Yellow yarn, make a magic ring. Work 6 sc into the ring. Pull the tail to close the ring tightly. (6 sts)
Rnd 2: Inc in each st around. (12 sts)
Rnd 3: *Sc in next st, inc in next st*; repeat from * to * around. (18 sts)
Rnd 4: *Sc in next 2 sts, inc in next st*; repeat from * to * around. (24 sts)
Rnd 5: *Sc in next 3 sts, inc in next st*; repeat from * to * around. (30 sts)
Rnd 6: *Sc in next 4 sts, inc in next st*; repeat from * to * around. (36 sts)
Rnd 7: *Sc in next 5 sts, inc in next st*; repeat from * to * around. (42 sts)
Rnd 8: *Sc in next 6 sts, inc in next st*; repeat from * to * around. (48 sts)
Rnd 9: Sc in each st around. (48 sts) – This is the last round for the front piece. Fasten off and weave in the end securely.
Repeat Rounds 1-9 for the second piece, but do NOT fasten off. Leave the working yarn attached—you'll use it to join the two pieces together.
JOINING THE PIECES
Now it's time to bring your lemon to life by joining the two circles.
- Place the two pieces together with wrong sides facing each other (right sides facing out). The piece with the working yarn should be on top.
- Insert your hook through both layers (through the first stitch of the top piece and the corresponding stitch of the bottom piece).
- Work a round of single crochet through both thicknesses to join them. Work 1 sc in each st around (48 sts total).
- Important: As you work around, lightly stuff the scrubby with a scrap of cotton yarn or a small piece of sponge before you close the last few stitches. This gives the scrubby a bit of padding and makes it more comfortable to hold. Don't overstuff—you want it to remain flat-ish and flexible.
- After completing the join, do not fasten off yet. You'll use this yarn to create the hanging loop.
LEMON SLICE DETAIL (on one side)
This charming detail makes your scrubby look like a real lemon slice. You have two options:
Option 1: Embroidery (Recommended for Beginners)
- Thread a yarn needle with White yarn.
- Locate the center of the front piece (where the magic ring was).
- Create a small circle in the center by making a few small straight stitches in a circular pattern.
- From this center circle, make 6-8 straight stitches radiating outward to mimic lemon segments. Keep them evenly spaced.
- Weave in the ends on the inside of the scrubby.
Option 2: Crocheted Circle (Alternative)
- With White yarn, make a magic ring and work 6 sc into it. Join with a sl st.
- Rnd 2: Inc in each st around (12 sts). Fasten off, leaving a long tail.
- Sew this small white circle to the center of the front piece, then embroider radiating lines with white yarn if desired.
LEAF AND STEM
Add the finishing botanical touches to your lemon.
Leaf:
- With Green yarn, ch 6.
- Sc in the 2nd ch from the hook.
- Hdc in the next ch.
- Dc in the next ch.
- Hdc in the next ch.
- Sc in the last ch.
- Fasten off, leaving a long tail (about 8 inches) for sewing.
- Shape the leaf gently and sew it to the top of the lemon (where the rounds started, at the center of the spiral).
Stem:
- With Green yarn, ch 4.
- Fasten off, leaving a long tail.
- Attach the stem just above the leaf, curling it slightly for a natural look.
FINISHING
You're almost done! Just a few final touches.
- Weave in all ends using your yarn needle. Make sure to secure them well so they don't come loose during washing.
- Create a hanging loop: Using the working yarn from the joining round, ch 10. Sl st to the top of the lemon (near the leaf/stem area) to form a loop. Fasten off and weave in the ends.
- Shape and fluff: Gently shape the scrubby with your hands, making sure the lemon slice detail is centered and the leaf sits nicely at the top.
Care Instructions & Tips
To keep your lemon scrubby in tip-top shape:
- Machine wash in cold or warm water with like colors.
- Tumble dry low or lay flat to dry. Cotton can shrink slightly, so air drying is safest.
- Hang it up between uses to allow it to dry completely—this prevents bacteria growth and extends its life.
- Replace when it starts to look worn or loses its scrubbing texture (typically after several months of regular use).
This lemon scrubby also makes a wonderful gift! Pair it with a bottle of eco-friendly dish soap and a pretty ribbon for a thoughtful, practical present. You can even make a whole "citrus grove" by creating orange, lime, or grapefruit versions—just swap the yarn colors and adjust the slice detail accordingly.
Happy crocheting, and enjoy your zesty new kitchen companion!