The Driftwood Dune Rug: A Free Knitting Pattern for a Textured, Chunky Alpaca Floor Accent
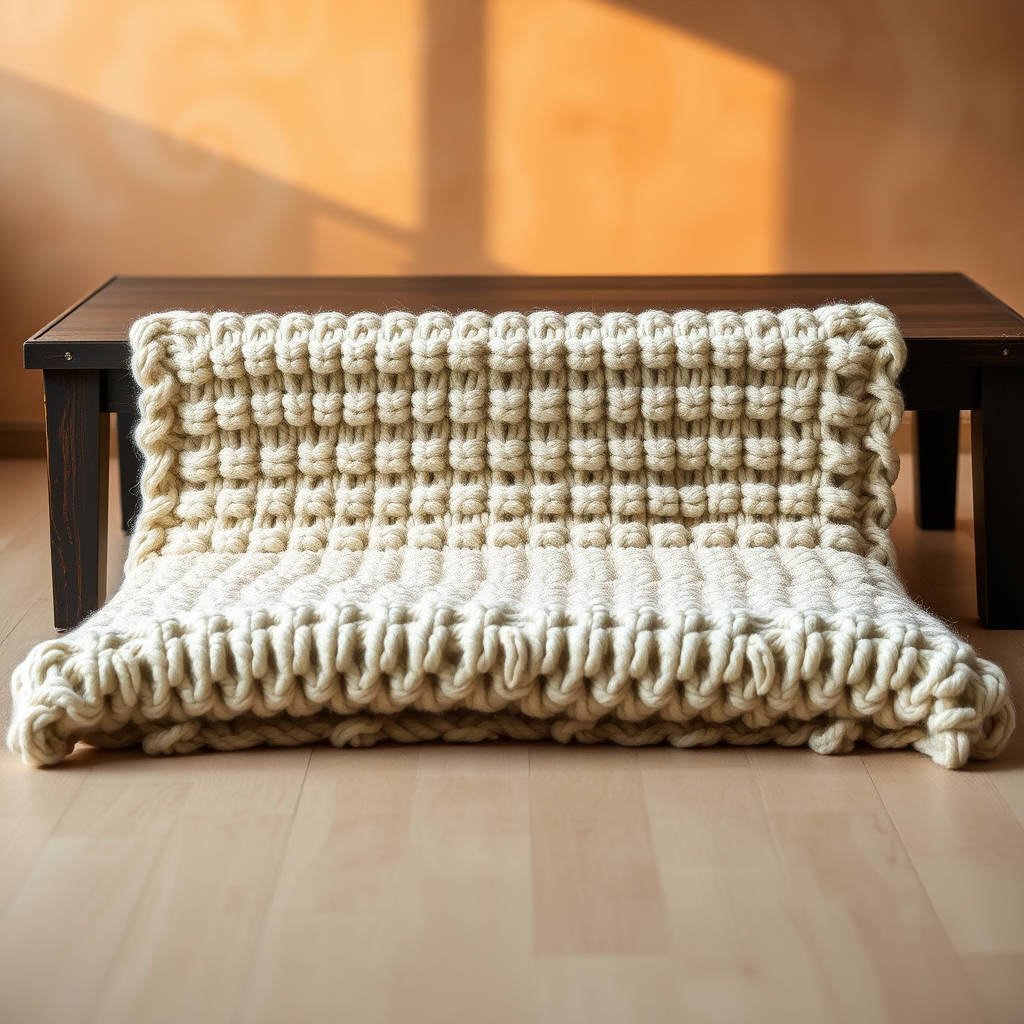
Introduction: Bring the Serenity of Sand Dunes Indoors
Imagine a floor accent so plush and inviting that it transforms your living space into a cozy, modern sanctuary. The Driftwood Dune Rug is exactly that—a luxuriously thick, hand-knitted rug that mimics the organic curves of wind-swept sand dunes. Using super-bulky alpaca yarn and a simple slipped-stitch pattern, you'll create a durable, textured floor piece that adds warmth and modern texture to any room. This pattern is beginner-friendly, requiring only basic knit and purl stitches, plus the technique of slipping stitches. The result is a dense, cushioned fabric that lies flat and feels incredible underfoot. Whether you place it in a reading nook, beside the bed, or in a minimalist entryway, this rug will become a cherished handmade heirloom.
Materials Needed
To create your own Driftwood Dune Rug, gather the following materials. The specifications are designed for a rug approximately 24 inches wide by 36 inches long, but you can easily adjust the size by adding or repeating pattern repeats.
Yarn
- Weight: Super Bulky (weight 6) 100% Alpaca Yarn
- Amount: Approximately 400 yards (365 meters) in a natural cream or light grey heather
- Note: The alpaca fibers will bloom and become even softer after blocking, so choose a color that complements your decor.
Needles & Notions
- Needle: US 19 (15 mm) circular knitting needle, 40-inch (100 cm) cable, or straight needles
- Optional for bind-off: US 35 (20 mm) needle or larger for a stretchy edge
- Notions: Tapestry needle for weaving in ends, scissors, measuring tape
- For fringe (optional): Crochet hook (size J/6 mm or similar)
Gauge
- Gauge: 6 stitches and 8 rows = 4 inches (10 cm) in slipped stitch pattern (lightly stretched)
- Why it matters: Achieving the correct gauge ensures your rug is the right size and has the proper density. Always knit a gauge swatch before starting.
Step-by-Step Instructions
Follow these detailed instructions carefully. The pattern is worked flat from the bottom edge upward. The slipped stitches create a dense, cushioned fabric that lies flat. Always slip stitches purlwise to maintain the correct orientation. The pattern is reversible; both sides have a beautiful, subtle texture.
Size & Abbreviations
- Finished Size: Approximately 24 inches (61 cm) wide x 36 inches (91 cm) long (adjustable by adding or repeating pattern repeats)
- Abbreviations:
- CO: Cast on
- K: Knit
- P: Purl
- Sl1 wyif: Slip 1 stitch purlwise with yarn in front
- Sl1 wyib: Slip 1 stitch purlwise with yarn in back
- Rep: Repeat
- St(s): Stitch(es)
Pattern Notes
- Use a long-tail cast on for a stretchy edge. This will help the rug lie flat and prevent curling.
- Always slip stitches purlwise to maintain the correct orientation of the stitch.
- The pattern is reversible; both sides have a beautiful, subtle texture.
- Work the pattern in rows, turning your work at the end of each row.
Instructions
Step 1: Cast On
CO 36 stitches using the long-tail method. This will give you a width of approximately 24 inches.
Step 2: Work the Pattern
Repeat the following 4-row pattern until the rug measures approximately 34 inches (86 cm) from the cast-on edge, ending with a Row 4.
- Row 1 (Right Side): K1, *Sl1 wyif, K1; rep from * to last st, K1.
- Row 2 (Wrong Side): K1, *Sl1 wyib, K1; rep from * to last st, K1.
- Row 3: K1, *K1, Sl1 wyif; rep from * to last st, K1.
- Row 4: K1, *K1, Sl1 wyib; rep from * to last st, K1.
Detailed Explanation of Each Row:
- Row 1: Knit the first stitch. Then, *slip the next stitch purlwise with the yarn in front (Sl1 wyif), knit the next stitch. Repeat from * across the row until you have one stitch left. Knit that last stitch.
- Row 2: Knit the first stitch. Then, *slip the next stitch purlwise with the yarn in back (Sl1 wyib), knit the next stitch. Repeat from * across the row until you have one stitch left. Knit that last stitch.
- Row 3: Knit the first stitch. Then, *knit the next stitch, slip the next stitch purlwise with the yarn in front (Sl1 wyif). Repeat from * across the row until you have one stitch left. Knit that last stitch.
- Row 4: Knit the first stitch. Then, *knit the next stitch, slip the next stitch purlwise with the yarn in back (Sl1 wyib). Repeat from * across the row until you have one stitch left. Knit that last stitch.
Step 3: Bind Off (Loosely)
Bind off knitwise on the right side. To keep the edge stretchy, use a larger needle (e.g., US 35/20 mm) or bind off with a yarn-over method:
- K2, *pass the first stitch over the second, yo, K1, pass the yo and the previous stitch over the new stitch; rep from * to last st, cut yarn and pull through.
- Alternatively, use a standard knitwise bind-off but work it very loosely, or use a needle two sizes larger.
Step 4: Finishing
Weave in all ends with a tapestry needle. Gently block the rug by wetting it with cool water and laying it flat to dry, stretching it to the desired dimensions. Do not wring or twist. The alpaca fibers will bloom and become even softer.
Optional Fringe
For a bohemian touch, add fringe to the cast-on and bind-off edges:
- Cut 12-inch (30 cm) lengths of yarn. For each fringe, fold a length in half.
- Insert a crochet hook through an edge stitch, hook the folded loop, and pull it through the stitch.
- Pull the ends of the yarn through the loop and tighten gently.
- Space fringe every 2-3 stitches along the cast-on and bind-off edges.
- Trim the fringe evenly to your desired length.
Your Driftwood Dune Rug is now complete! Enjoy the plush, organic texture and the serene, modern aesthetic it brings to your home.


