The Hygge Diamond Pillow: A Free Knitting Pattern for a Textured, Modern Cushion
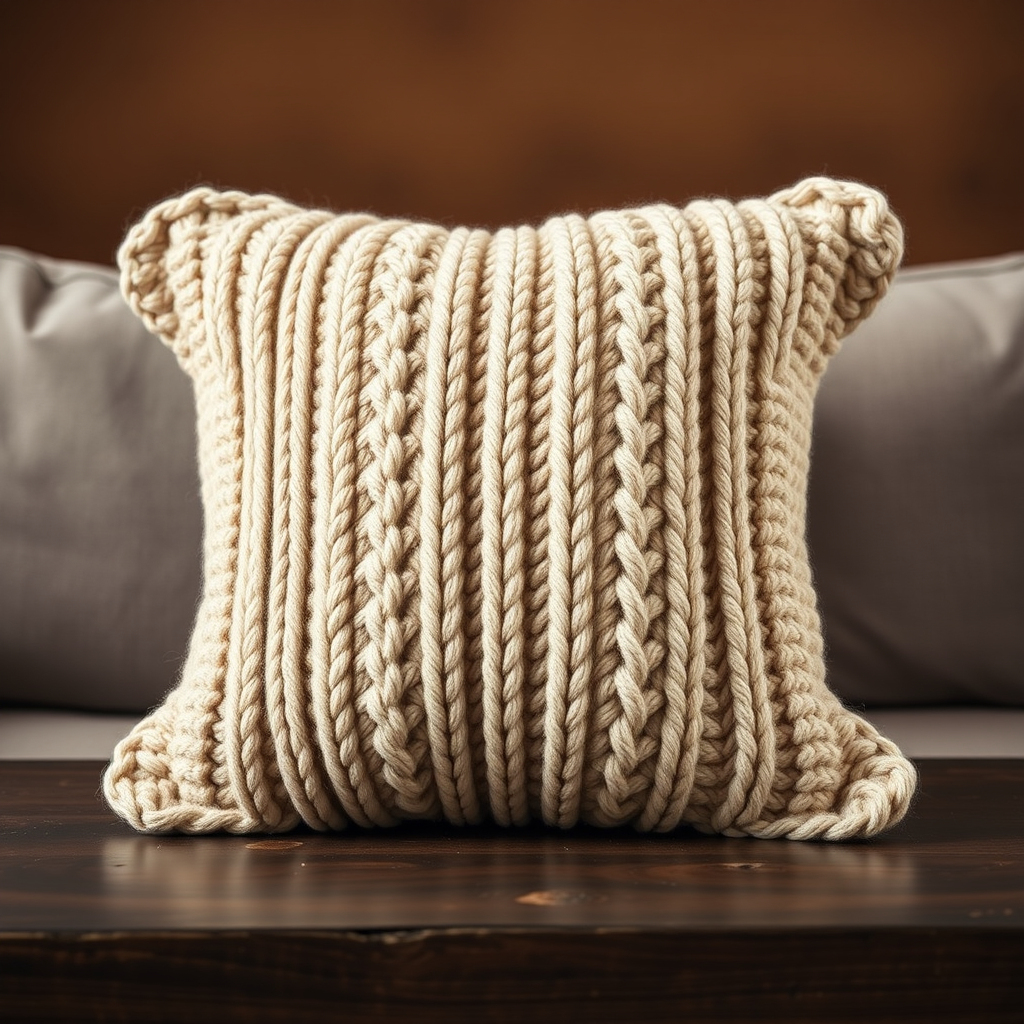
Wrap Your Home in Hygge: The Diamond Cable Knit Pillow Pattern
There's nothing quite like the feeling of a soft, chunky knit pillow to transform a room into a cozy sanctuary. This free knitting pattern for the Hygge Diamond Pillow combines a stunning, textured diamond cable pattern with the warmth of super bulky yarn. The result is a modern, plush accent piece that adds depth and comfort to any sofa, bed, or reading nook. Whether you're a confident beginner looking to try cables or an experienced knitter wanting a quick, satisfying project, this pillow is the perfect way to bring a touch of handmade hygge into your home.
Materials Needed
Before you begin, gather the following supplies to ensure a smooth and enjoyable knitting experience.
- Yarn: Super bulky weight yarn (size 6), approximately 250-300 yards. Suggested: Lion Brand Wool-Ease Thick & Quick in 'Oatmeal' or any similar chunky yarn in your preferred neutral tone.
- Knitting Needles: US 13 (9 mm) straight or circular needles (for working flat).
- Cable Needle: A small cable needle or double-pointed needle for holding stitches.
- Tapestry Needle: For weaving in ends and seaming.
- Pillow Form: One 18-inch square pillow insert.
- Optional: Stitch markers to help track pattern repeats.
Step-by-Step Instructions
This pattern creates a 18-inch square pillow. The front features a beautiful diamond cable design, while the back is a simple stockinette stitch for a clean, modern finish. Follow these detailed instructions carefully, and you'll have a gorgeous, textured cushion in no time.
Pillow Front (Make 1)
The front panel uses a repeating cable pattern to create the diamond texture. Pay close attention to the cable cross rows (Row 3 and Row 9).
- Cast on 40 stitches using your preferred method. A long-tail cast-on works well.
- Set-up Row (WS): Purl all stitches. This is your wrong side row to establish the base.
Pattern Repeat (10 rows):
- Row 1 (RS - Right Side): K2, p2, k12, p2, k12, p2, k2, p2, k2. (Total: 40 stitches)
- Row 2 (WS - Wrong Side): P2, k2, p12, k2, p12, k2, p2, k2, p2.
- Row 3 (RS - Cable Cross Row): K2, p2, C6F (slip next 3 stitches onto cable needle and hold in front of work, knit the next 3 stitches from left needle, then knit the 3 stitches from cable needle), C6B (slip next 3 stitches onto cable needle and hold in back of work, knit the next 3 stitches from left needle, then knit the 3 stitches from cable needle), p2, C6F, C6B, p2, k2, p2, k2.
- Row 4 (WS): Repeat Row 2.
- Row 5 (RS): K2, p2, k12, p2, k12, p2, k2, p2, k2.
- Row 6 (WS): Repeat Row 2.
- Row 7 (RS): K2, p2, k12, p2, k12, p2, k2, p2, k2.
- Row 8 (WS): Repeat Row 2.
- Row 9 (RS - Cable Cross Row): Repeat Row 3.
- Row 10 (WS): Repeat Row 2.
Continue the pattern: Repeat Rows 3 through 10 until the piece measures approximately 18 inches from the cast-on edge, ending after completing a wrong side row (Row 2, 4, 6, 8, or 10).
Bind off: Bind off loosely in pattern (knit the knits and purl the purls) to maintain the fabric's stretch. Cut yarn, leaving a long tail for seaming.
Pillow Back (Make 1)
The back is worked in simple stockinette stitch for a smooth, contrasting texture.
- Cast on 40 stitches.
- Row 1 (RS): Knit all stitches.
- Row 2 (WS): Purl all stitches.
- Repeat Rows 1 and 2 until the piece measures 18 inches from the cast-on edge, ending with a wrong side row.
- Bind off: Bind off loosely in knit on the right side. Cut yarn, leaving a long tail for seaming.
Assembly
Follow these steps to turn your knitted panels into a beautiful pillow.
- Block both pieces: Wet block or steam block the front and back panels to the exact 18x18 inch dimensions. This evens out the stitches and sets the cable pattern. Lay flat to dry completely.
- Seam three sides: With right sides of the front and back panels facing each other, use a tapestry needle and the mattress stitch to sew together three sides. Start at one corner and sew along the edge, matching stitches carefully. Leave one side completely open.
- Insert pillow form: Turn the pillow cover right side out. Gently insert the 18-inch pillow form into the opening, pushing it into the corners.
- Sew the fourth side: Fold the raw edges of the open side inward so they align with the seamed edges. Use the mattress stitch to close the opening neatly, weaving the yarn through the edge stitches to create an invisible seam.
- Weave in ends: Use the tapestry needle to weave in all remaining yarn tails on the inside of the pillow. Trim any excess yarn.
Your Hygge Diamond Pillow is now complete! Fluff it up and place it on your favorite chair or sofa to enjoy the cozy, textured warmth it brings to your space.


