The Mariner's Meridian Coasters Free Pattern – A Knitted Compass Rose in Rope Stitch
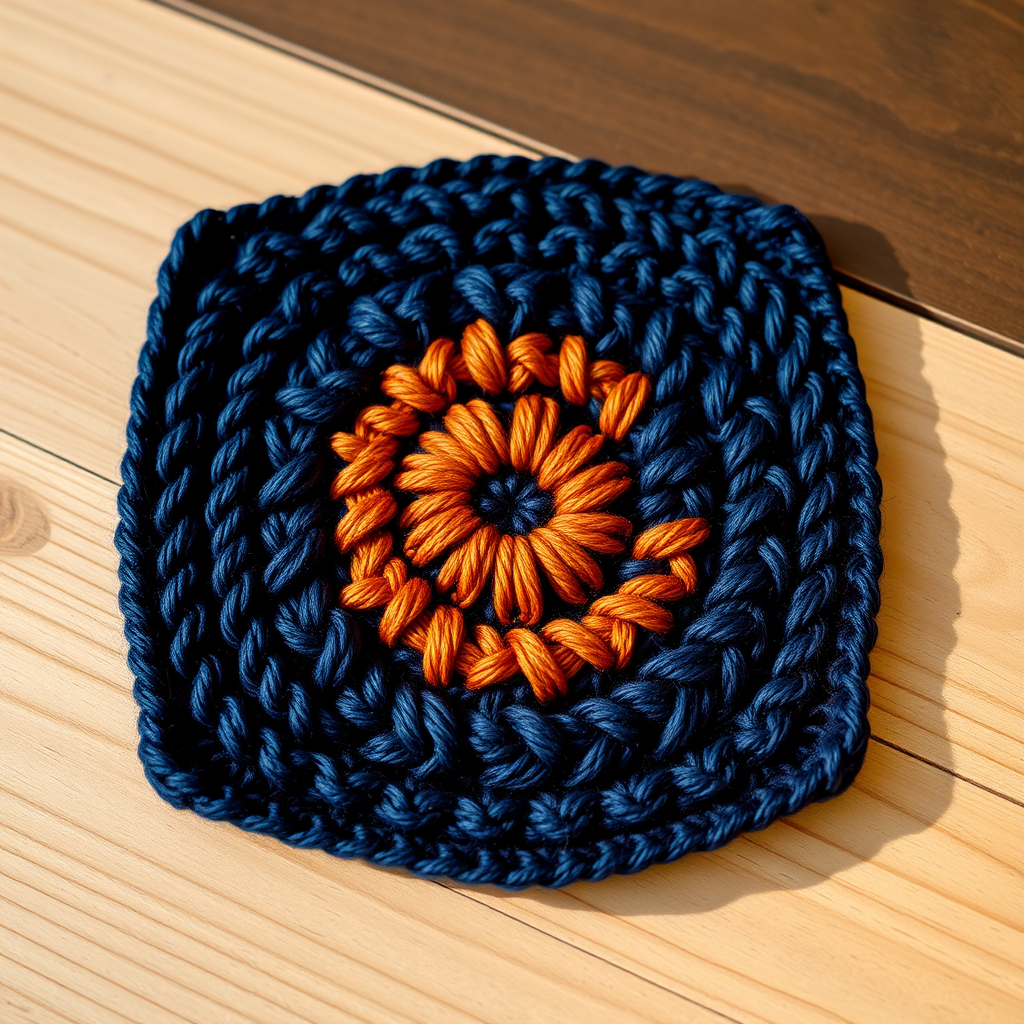
The Mariner's Meridian Coasters: A Knitted Compass Rose in Rope Stitch
Chart a course for cozy coastal style with these knitted rope coasters, where a textured compass rose emerges from thick, nautical cotton. Each coaster is a tiny tapestry of braided cables and seed-stitch seas, perfect for anchoring your favorite mug. Whether you're a seasoned sailor or simply love the calming aesthetic of the sea, this free knitting pattern will guide you to create a set of stunning, functional home decor pieces that add a touch of maritime charm to any table.
This pattern is an excellent intermediate project that introduces you to the rewarding world of cable knitting. The result is a highly textured, dimensional coaster that is as beautiful as it is practical. The thick cotton yarn is absorbent and durable, making these coasters perfect for everyday use. Let's set sail and cast on!
Materials Needed
Before we embark on this knitting voyage, gather your supplies. This project requires a small amount of yarn, making it a great stash-buster or a perfect introduction to working with multiple colors.
- Yarn: Worsted weight cotton yarn (e.g., Lion Brand 24/7 Cotton) in three colors:
- Main Color (MC) - Navy: Approximately 30 yards per coaster.
- Contrast Color 1 (CC1) - Oatmeal: Approximately 10 yards per coaster.
- Contrast Color 2 (CC2) - Rust: Approximately 10 yards per coaster.
- Knitting Needles: US Size 6 (4.0 mm) knitting needles, or the size needed to obtain gauge.
- Cable Needle: A small cable needle to hold stitches while working the cables.
- Tapestry Needle: For weaving in the ends and finishing.
- Stitch Markers: Two stitch markers to define the center chart section.
Gauge: 20 stitches and 28 rows = 4 inches in stockinette stitch. Gauge is not critical for this project, but maintaining consistent tension will ensure your coasters are uniform in size and shape.
Step-by-Step Instructions
This pattern creates a square coaster with a central compass rose motif. The coaster is worked flat, back and forth, and each finished coaster measures approximately 4.5 inches square. The design features a garter stitch border, a braided cable diamond, and a colorful center that expands outward.
Special Stitches
Before you begin, familiarize yourself with these special stitches. They are the building blocks of the beautiful cable pattern.
- C4B (Cable 4 Back): Slip the next 2 stitches onto your cable needle and hold it in the back of your work. Knit the next 2 stitches from your left needle, then knit the 2 stitches from the cable needle.
- C4F (Cable 4 Front): Slip the next 2 stitches onto your cable needle and hold it in the front of your work. Knit the next 2 stitches from your left needle, then knit the 2 stitches from the cable needle.
- M1 (Make 1): Increase one stitch by lifting the horizontal bar between the stitch you just worked and the next stitch onto your left needle, then knitting into the back of this new loop.
The Coaster Pattern
With MC, cast on 28 stitches.
Rows 1 & 2 (Foundation):
Row 1 (RS): Knit all stitches.
Row 2 (WS): Purl all stitches.
Setting Up the Pattern:
Row 3: K4, place marker, work Row 1 of the Center Chart (see below for written instructions for the center 20 stitches), place marker, K4.
Row 4: K4, slip marker, work Row 2 of the Center Chart, slip marker, K4.
Edge Stitches: Continue in this manner, working the 4 edge stitches on each side as follows: On RS rows, knit these 4 stitches. On WS rows, knit these 4 stitches. This creates a neat, sturdy garter stitch border that frames the design.
Center Chart (20 stitches wide, 24 rows tall)
Work the following rows for the center 20 stitches between your markers. The pattern is written row by row for clarity.
Rows 1-12 (The Cable Diamond):
Row 1 (RS): P2, C4B, P2, K4, P2, C4F, P2
Row 2 (WS): K2, P4, K2, P4, K2, P4, K2
Row 3: P2, K4, P2, C4B, P2, K4, P2
Row 4: K2, P4, K2, P4, K2, P4, K2
Row 5: P2, C4F, P2, K4, P2, C4B, P2
Row 6: K2, P4, K2, P4, K2, P4, K2
Row 7: P2, K4, P2, C4F, P2, K4, P2
Row 8: K2, P4, K2, P4, K2, P4, K2
Row 9: P2, C4B, P2, K4, P2, C4F, P2
Row 10: K2, P4, K2, P4, K2, P4, K2
Row 11: P2, K4, P2, C4B, P2, K4, P2
Row 12: K2, P4, K2, P4, K2, P4, K2
Rows 13-24 (The Expanding Center):
In these rows, you will switch colors and use M1 increases to expand the center of the coaster, creating a beautiful, layered effect.
Row 13 (RS): With CC1, K1, M1, K18, M1, K1 (22 stitches in center)
Row 14 (WS): With CC1, Purl all center stitches.
Row 15: With CC1, K1, M1, K20, M1, K1 (24 stitches)
Row 16: With CC1, Purl all center stitches.
Row 17: With CC1, K1, M1, K22, M1, K1 (26 stitches)
Row 18: With CC1, Purl all center stitches.
Row 19: With CC2, K1, M1, K24, M1, K1 (28 stitches)
Row 20: With CC2, Purl all center stitches.
Row 21: With CC2, K1, M1, K26, M1, K1 (30 stitches)
Row 22: With CC2, Purl all center stitches.
Row 23: With CC2, K1, M1, K28, M1, K1 (32 stitches)
Row 24: With CC2, Purl all center stitches.
Bind off loosely with CC2.
Finishing
Weave in all loose ends with your tapestry needle, being careful to secure them on the wrong side of the coaster. Block the coaster lightly to even out the stitches and define the cables beautifully. To block, simply wet the coaster, gently squeeze out excess water, and lay it flat to dry, shaping it into a perfect square. Repeat the entire pattern to make a set of four or six coasters for your home or as a thoughtful, handmade gift.
Enjoy your beautiful, nautical-inspired coasters! They are sure to be a conversation starter and a lovely addition to your home decor.


