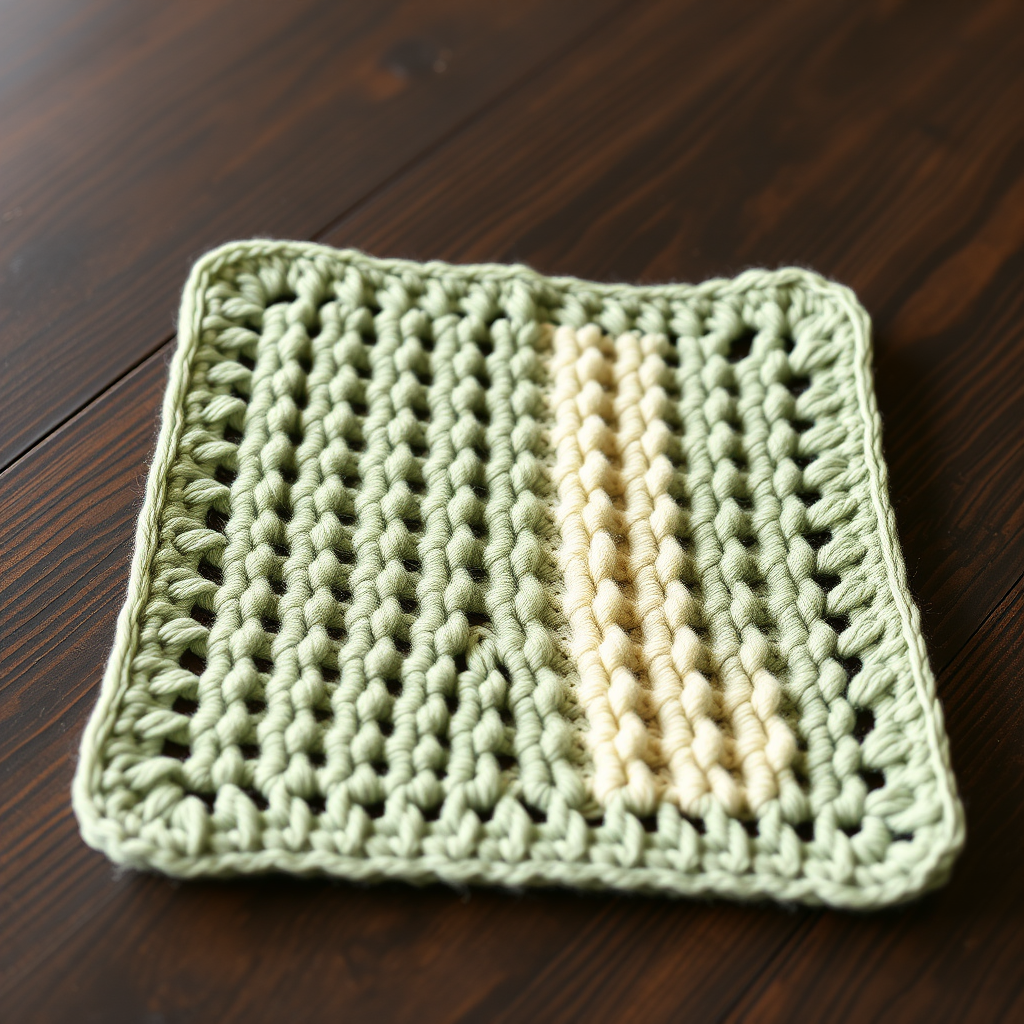
The Whimsical Woodland Scrubber: A Free Crochet Pattern for a Textured, Owl-Inspired Dish Scrubbie

Transform Your Kitchen Chores with a Whimsical Woodland Scrubber
Bring a touch of woodland magic to your daily dishwashing routine with this charming owl-inspired dish scrubbie. This free crochet pattern combines functional texture with adorable design, creating a scrubber that's as delightful to make as it is to use. The unique combination of textured stitches and clever shaping results in a durable, eye-catching kitchen accessory that makes a perfect handmade gift or a cheerful addition to your own sink area.
Materials Needed
Yarn Requirements
- Main Color (MC) - Warm Brown: Lily Sugar 'n Cream or similar 100% cotton worsted weight yarn, approximately 30 yards
- Contrast Color 1 (CC1) - Cream: Approximately 15 yards
- Contrast Color 2 (CC2) - Golden Yellow: Approximately 5 yards
Tools & Notions
- Crochet Hook: US Size G/6 (4.0 mm)
- Stitch markers (to track beginning of rounds)
- Polyester fiberfill for stuffing
- Yarn needle for sewing pieces together
- Black embroidery floss or small amount of black yarn for nostrils
- Scissors
Gauge
Gauge is not critical for this project, but aim for a tight fabric to ensure durability. Approximately 4 single crochet stitches = 1 inch.
Step-by-Step Instructions
Important Notes Before You Begin
This pattern is worked in continuous rounds (spiral) unless otherwise stated. Do not join at the end of rounds unless specified. Use a stitch marker to keep track of the beginning of each round.
Abbreviations (US Terms)
- MR: Magic Ring
- sc: single crochet
- inc: increase (2 sc in same stitch)
- dec: decrease (single crochet 2 together)
- sl st: slip stitch
- ch: chain
- hdc: half double crochet
- dc: double crochet
- BLO: back loop only
- FLO: front loop only
Head (Make 1 with MC)
Round 1: MR, 6 sc into ring. (6 stitches)
Round 2: inc around. (12 stitches)
Round 3: (sc, inc) around. (18 stitches)
Round 4: (2 sc, inc) around. (24 stitches)
Round 5: (3 sc, inc) around. (30 stitches)
Round 6-10: sc around. (30 stitches) – Complete 5 rounds
Round 11: (3 sc, dec) around. (24 stitches)
Round 12: (2 sc, dec) around. (18 stitches)
Round 13: (sc, dec) around. (12 stitches)
Fasten off, leaving a long tail for sewing. Stuff firmly with polyester fiberfill.
Body (Make 1 with MC)
Round 1: MR, 6 sc into ring. (6 stitches)
Round 2: inc around. (12 stitches)
Round 3: (sc, inc) around. (18 stitches)
Round 4: (2 sc, inc) around. (24 stitches)
Round 5-8: sc around. (24 stitches) – Complete 4 rounds
Round 9: (2 sc, dec) around. (18 stitches)
Round 10: sc around. (18 stitches)
Fasten off, leaving a long tail for sewing. Stuff firmly.
Wings (Make 2 with MC)
Round 1: MR, 6 sc into ring. (6 stitches)
Round 2: inc around. (12 stitches)
Round 3: (sc, inc) around. (18 stitches)
Round 4-5: sc around. (18 stitches) – Complete 2 rounds
Round 6: (sc, dec) around. (12 stitches)
Round 7: sc around. (12 stitches)
Do not stuff. Flatten the piece and sew closed with a whip stitch. Leave a tail for attaching to body.
Eyes (Make 2 with CC1)
Round 1: MR, 6 sc into ring. (6 stitches)
Round 2: inc around. (12 stitches)
Round 3: (sc, inc) around. (18 stitches)
Fasten off, leaving a long tail for sewing.
Eye Pupils (Make 2 with CC2)
Round 1: MR, 6 sc into ring. (6 stitches)
Fasten off, leaving a long tail for sewing. Sew pupils to the center of the eyes.
Beak (Make 1 with CC2)
Round 1: MR, 4 sc into ring. (4 stitches)
Round 2: (sc, inc) twice. (6 stitches)
Round 3: sc around. (6 stitches)
Fasten off, leaving a tail for sewing. Stuff lightly.
Tufted Ears (Make 2 with MC)
Round 1: MR, 4 sc into ring. (4 stitches)
Round 2: (sc, inc) twice. (6 stitches)
Round 3: sc around. (6 stitches)
Fasten off, leaving a tail for sewing. Do not stuff.
Assembly
- Attach head to body: Sew the head to the body, ensuring the seam is at the back. Use the long tail from the head and a yarn needle to stitch securely around the circumference.
- Attach wings: Sew the wings to the sides of the body, slightly angled downward. Position them about 2-3 rounds below the head-body seam.
- Attach eyes: Sew the eyes onto the head, leaving approximately 3 rounds of space between them. Center them horizontally on the face.
- Attach beak: Sew the beak between the eyes, centered vertically. The beak should sit just below the eye level.
- Attach tufted ears: Sew the tufted ears to the top of the head, slightly to the sides. Position them about 2-3 stitches apart from each other.
- Embroider nostrils: Using black embroidery floss or a small amount of black yarn, embroider a small 'V' shape for the nostrils on the beak.
- Weave in all ends: Use a yarn needle to carefully weave in all remaining yarn tails, trimming any excess.
Scrubbing Texture (Optional but Recommended)
To make this dish scrubbie more functional, add a textured scrubby layer to the bottom:
- Using a contrasting color (like bright orange or green), attach yarn to the bottom of the body with a slip stitch.
- Work a round of single crochet in the back loop only (BLO) of the bottom of the body. This creates a ridge.
- Then, work a round of (hdc, dc) in each stitch around to create a looped, scrubby surface. The half double crochet and double crochet stitches will create loops that are perfect for scrubbing.
- Fasten off and weave in ends.
Your Whimsical Woodland Scrubber is now complete! This adorable owl will bring joy to your kitchen while effectively tackling your dishwashing needs. Happy crocheting!