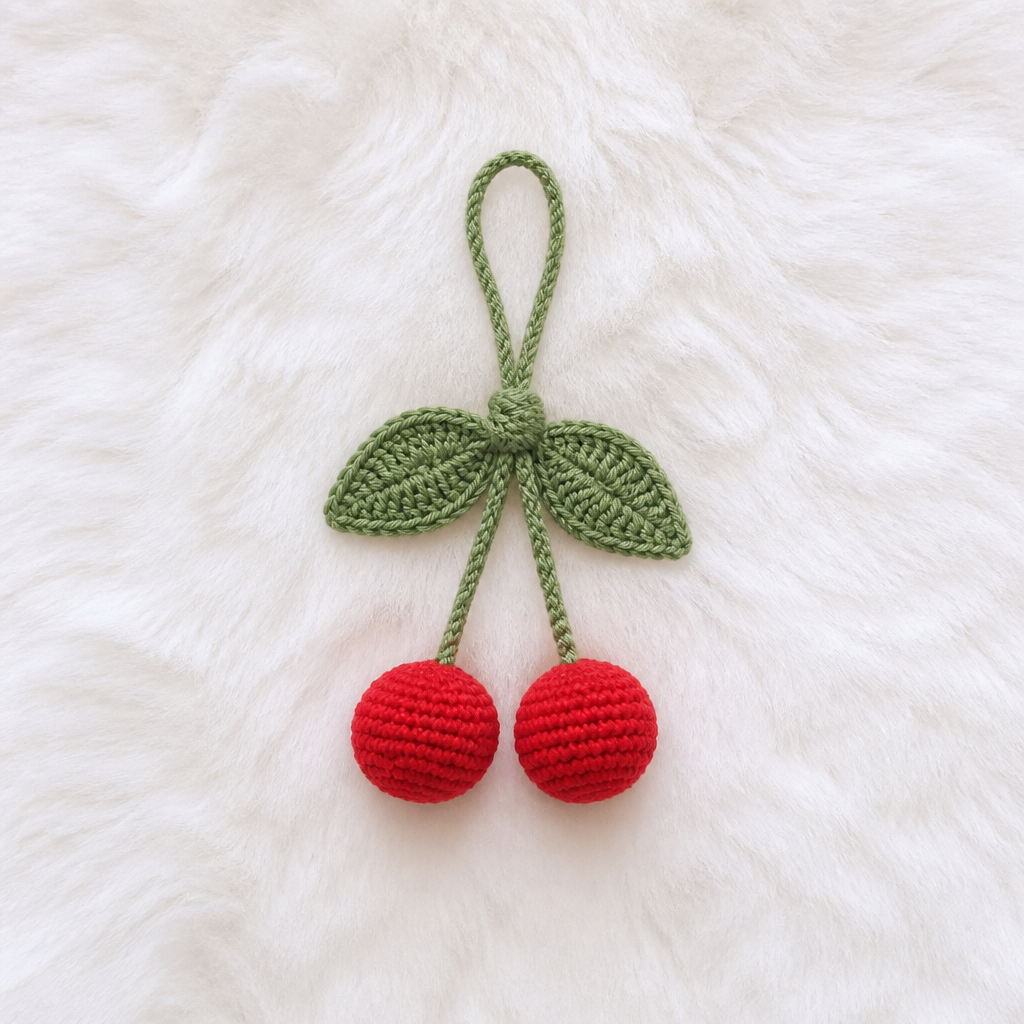
Whimsical Woodland Mushroom Potholder Free Pattern

Whimsical Woodland Mushroom Potholder: A Free Crochet Pattern for Enchanted Kitchens
Bring a touch of storybook magic into your daily cooking routine with this utterly charming Whimsical Woodland Mushroom Potholder. This project combines functionality with fairy-tale aesthetics, creating a kitchen accessory that is as delightful to look at as it is practical to use. The plush, domed cap in vibrant red, complete with scattered cream spots, sits atop a soft, tapered stem, all finished with a sturdy brown hanging loop. Whether you're an experienced crocheter looking for a quick weekend project or a brave beginner ready for a rewarding challenge, this pattern is designed to guide you through every step. The result is a thick, textured, and slightly squishy potholder that will protect your hands in style and add a cozy, handmade touch to your home decor.
Materials Needed
Before you begin your woodland crafting adventure, gather the following supplies. Using the recommended materials ensures your potholder has the correct thickness and heat-resistant properties.
- Yarn: Worsted weight 100% cotton yarn (crucial for heat resistance). You will need:
- Red (MC - Main Color): For the mushroom cap (approx. 100 yards)
- Cream (CC1 - Contrast Color 1): For the stem and spots (approx. 80 yards)
- Brown (CC2 - Contrast Color 2): For the hanging loop (approx. 10 yards)
- Crochet Hook: Size G/6 (4.0 mm) hook.
- Yarn Needle: A blunt tapestry needle for weaving in ends and sewing pieces together.
- Scissors: For cutting yarn.
- Polyester Fiberfill: A small amount for lightly stuffing the potholder to give it a plush feel.
Gauge & Abbreviations
Gauge: 16 single crochet stitches x 18 rows = 4 inches. While gauge isn't critical for this project, matching it ensures your potholder is the correct size.
Abbreviations (US terms):
- ch = chain
- sc = single crochet
- sl st = slip stitch
- rnd = round
- st(s) = stitch(es)
- inc = increase (work 2 sc in the same stitch)
- dec = decrease (sc2tog - single crochet two stitches together)
Step-by-Step Instructions
Follow this comprehensive guide to create your mushroom potholder. We will build it in sections and then assemble it. Take your time, count your stitches, and enjoy the process!
Part 1: The Mushroom Cap (Make 2 identical pieces)
This forms the domed, red top of your potholder. You will make two of these to create a thick, double-layered protective barrier.
With Red (MC) yarn:
- Rnd 1: Ch 2. Work 6 sc into the second ch from your hook. Join with a sl st to the first sc. (6 sts)
- Rnd 2: Ch 1. Work 2 sc into each st around. Join with a sl st. (12 sts)
- Rnd 3: Ch 1. *Sc in the next st, inc in the next st.* Repeat from * to * around. Join. (18 sts)
- Rnd 4: Ch 1. *Sc in the next 2 sts, inc in the next st.* Repeat from * to * around. Join. (24 sts)
- Rnd 5: Ch 1. *Sc in the next 3 sts, inc in the next st.* Repeat from * to * around. Join. (30 sts)
- Rnd 6: Ch 1. *Sc in the next 4 sts, inc in the next st.* Repeat from * to * around. Join. (36 sts)
- Rnd 7: Ch 1. *Sc in the next 5 sts, inc in the next st.* Repeat from * to * around. Join. (42 sts)
- Rnd 8: Ch 1. *Sc in the next 6 sts, inc in the next st.* Repeat from * to * around. Join. (48 sts)
- Rnd 9: Ch 1. Sc in each st around. Join. (48 sts)
- Rnd 10: Ch 1. Sc in each st around. Join. (48 sts)
- Rnd 11: Ch 1. Sc in each st around. Join. (48 sts)
Fasten off and weave in the yarn end securely. Repeat this entire process to create a second, identical cap piece.
Part 2: The Mushroom Stem (Make 2 identical pieces)
This is the cream-colored base that gives the mushroom its structure and provides a cool surface to grip.
With Cream (CC1) yarn:
- Rnd 1: Ch 2. Work 6 sc into the second ch from your hook. Join with a sl st. (6 sts)
- Rnd 2: Ch 1. Work 2 sc into each st around. Join. (12 sts)
- Rnd 3: Ch 1. *Sc in the next st, inc in the next st.* Repeat from * to * around. Join. (18 sts)
- Rnd 4: Ch 1. *Sc in the next 2 sts, inc in the next st.* Repeat from * to * around. Join. (24 sts)
- Rnd 5: Ch 1. Sc in each st around. Join. (24 sts)
- Rnd 6: Ch 1. Sc in each st around. Join. (24 sts)
- Rnd 7: Ch 1. Sc in each st around. Join. (24 sts)
- Rnd 8: Ch 1. Sc in each st around. Join. (24 sts)
- Rnd 9: Ch 1. *Sc in the next 2 sts, dec (sc2tog).* Repeat from * to * around. Join. (18 sts)
- Rnd 10: Ch 1. *Sc in the next st, dec (sc2tog).* Repeat from * to * around. Join. (12 sts)
Fasten off, leaving a long tail (approx. 18 inches) for sewing. Repeat this process to create a second stem piece.
Part 3: Assembling the Mushroom Halves
In this step, you will attach a stem to each cap piece, creating two complete mushroom "shells".
- Take one cap piece and one stem piece. The cap has a naturally domed shape. You will attach the stem to the flat, inside edge of the cap.
- Position the stem so its smaller, closed end (the Rnd 10 side) is facing you. Place it against the center of the cap's flat side.
- Thread your yarn needle with the long tail from the stem piece.
- Using a whip stitch, sew the edge of the stem securely to the cap. Work your needle through the loops of both the stem's last round and the cap's center stitches. Go around the entire circumference of the stem opening.
- When you return to your starting point, tie a secure knot and weave the end into the stem. Repeat this process for the second cap and stem set. You should now have two complete mushroom halves.
Part 4: Joining the Halves and Stuffing
Now we will combine the two halves to create a plush, thick potholder.
- Place the two mushroom halves together with their wrong sides facing each other. This means the "right" or public-facing sides of the caps and stems will be on the outside.
- Ensure the edges are aligned evenly. Starting at the bottom of the stem, attach your Red (MC) yarn with a sl st through both layers.
- Ch 1. Now, work a round of single crochet (sc) through both layers simultaneously. This will join the pieces and create a neat, finished border. Insert your hook through the corresponding stitches of the front and back pieces, yarn over, and pull through both layers to complete your sc stitches.
- Continue working sc evenly around the entire perimeter of the mushroom shape—up one side of the stem, across the cap, and down the other side.
- Important: When you are about 3 inches from completing the full circle, stop. Do not close the opening yet.
- Lightly stuff the mushroom with polyester fiberfill. Do not overstuff; you want it to be plush and squishy, not hard. Distribute the filling evenly so it reaches into the cap and stem areas.
- Continue your sc stitches around the remaining opening to seal it shut.
- When you reach the starting point, join with a sl st to the first sc. Fasten off and weave in the yarn end securely.
Part 5: Adding the Spots (Optional but Adorable)
These little cream circles give the mushroom its classic whimsical look.
- With Cream (CC1) yarn, make 5-6 small circles. For each circle: Ch 2, work 6 sc into the second ch from hook. Join with a sl st to the first sc. Fasten off, leaving a tail for sewing.
- Arrange the spots on the front red cap in a scattered, pleasing pattern.
- Sew each spot onto the cap using a yarn needle and the tail. Weave in all ends.
Part 6: Creating the Hanging Handle
A sturdy loop for hanging your potholder within easy reach.
- With Brown (CC2) yarn, make a slip knot and ch 25 loosely. This will be the length of your handle.
- Attach the chain to the top center of the mushroom cap. Insert your hook through the top edge of the cap, yarn over with the brown yarn, and pull through to create a sl st, securing the chain to the cap.
- Ch 1 (this counts as your turning chain).
- Work 1 sc into each of the 25 chains you just made, working your way back towards the cap.
- When you reach the cap, secure the end of the handle by working a sl st into the cap on the opposite side of where you started.
- Fasten off and weave in the yarn ends securely, making sure the handle is firmly attached.
Finishing Touches
Your whimsical woodland mushroom potholder is almost complete! Take a moment to weave in any remaining loose ends with your yarn needle. If desired, you can gently block your potholder to help it lay flat and even out the stitches. Simply mist it with water and lay it flat to dry in the desired shape.
Congratulations! You've created a beautiful, functional piece of art for your kitchen. This potholder also makes a fantastic handmade gift for housewarmings, hostesses, or anyone who loves whimsical home decor. Its thick cotton construction and plush interior make it perfect for pulling hot dishes from the oven or adding a pop of color to your countertop. Happy crocheting!