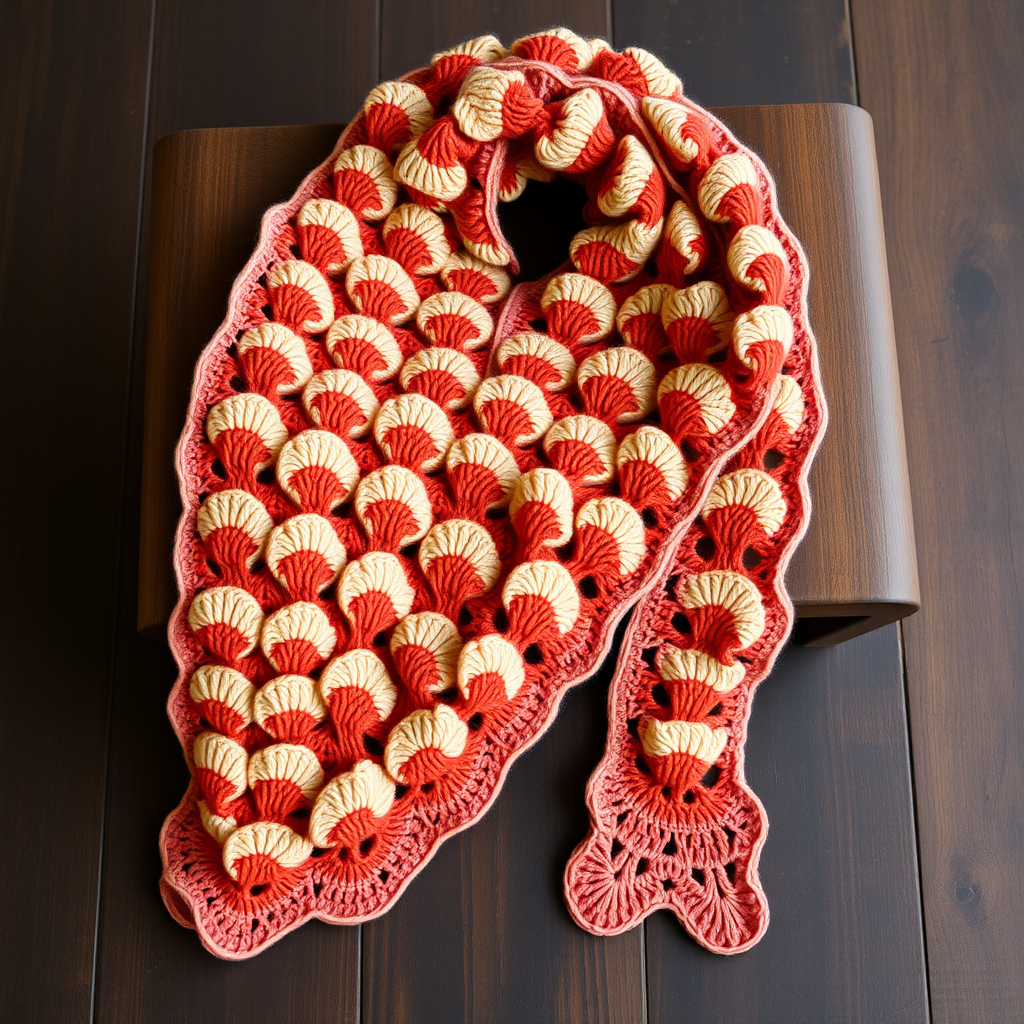
Whirling Dervish Tunisian Spiral Rug Free Pattern

Whirling Dervish Tunisian Spiral Rug Free Pattern
Transform your living space with a mesmerizing, handcrafted centerpiece that combines bohemian charm with meditative crafting. This Whirling Dervish Tunisian Spiral Rug pattern guides you through creating a plush, textured floor accent using the beautiful Tunisian crochet technique. The continuous spiral design creates a hypnotic visual effect that draws the eye inward, while the earthy color palette of cream, terracotta, and sage adds warmth and sophistication to any room. Whether you're a seasoned Tunisian crocheter or looking to expand your skills, this pattern offers a rewarding project that results in a stunning, functional piece of home decor.
Materials Needed
Before diving into this delightful project, gather the following materials to ensure a smooth crafting experience:
- Yarn: Worsted weight (4) cotton or cotton-blend yarn in three coordinating colors:
- Color A: Cream (approximately 400-500 yards)
- Color B: Terracotta (approximately 400-500 yards)
- Color C: Sage Green (approximately 400-500 yards)
- Tunisian Crochet Hook: Size 8mm (L/11) with a long cable (at least 32 inches) to accommodate the growing circumference of the rug
- Standard Crochet Hook: Size 6.5mm (K/10.5) for finishing the border
- Stitch Markers: At least 2 markers to track the beginning of rounds and color change points
- Yarn Needle: For weaving in ends
- Scissors: For cutting yarn
- Steam Iron or Steamer: For blocking the finished rug
Gauge Note: Gauge is not critical for this project, but aim for a firm fabric: 12 Tunisian simple stitches (Tss) and 10 rows = 4 inches on the 8mm hook. This will ensure your rug is dense enough to lie flat and withstand foot traffic.
Understanding the Tunisian Spiral Technique
This pattern creates a continuous spiral using Tunisian crochet worked in the round. Unlike traditional Tunisian crochet where you work forward and return passes in rows, this technique keeps the work flowing in a spiral without joining rounds. The key to success lies in understanding how increases create the flat circular shape while the color changes and stitch variations produce the mesmerizing spiral effect.
Abbreviations Used in This Pattern
- Tss: Tunisian simple stitch
- Tks: Tunisian knit stitch
- inc: Increase (work 2 stitches in the same stitch)
- ch: Chain
- st(s): Stitch(es)
- rnd: Round
- sl st: Slip stitch
Step-by-Step Instructions
Foundation Round
Step 1: With Color A (Cream), create a magic ring. If you're unfamiliar with the magic ring technique, here's a quick refresher: wrap the yarn around your fingers twice, insert your hook through the loop, yarn over and pull through, then chain 1 to secure. This creates an adjustable loop that you'll tighten later.
Step 2: Work 6 Tunisian simple stitches (Tss) into the magic ring. To work a Tss: insert your hook from front to back through the ring, yarn over, and pull up a loop. Repeat this 5 more times so you have 6 loops on your hook.
Step 3: Complete the return pass: yarn over and pull through the first loop on your hook (this creates the chain stitch that starts each return pass), then *yarn over and pull through 2 loops* repeat from * to * until only 1 loop remains on your hook. This completes the foundation round.
Step 4: Pull the yarn tail tightly to close the magic ring completely. The center of your rug should be snug with no visible hole.
Step 5: Do not join the round. Place a stitch marker on the first stitch of the round to track your starting point. This marker will be crucial as you continue in the spiral.
Increasing Rounds (Creating the Flat Circle)
Round 1: Work an increase (inc) in each stitch around. To increase in Tunisian crochet: insert your hook into the next stitch, yarn over, pull up a loop (first loop of the increase), then insert your hook into the same stitch again, yarn over, pull up another loop. You now have 2 loops from 1 stitch. Complete the forward pass by working across all stitches, then complete the return pass as usual. You should have 12 stitches at the end of this round.
Round 2: *Work an inc in the next stitch, then work 1 Tss in the next stitch* repeat from * to * around. This gives you 18 stitches. Complete the return pass.
Round 3: *Work an inc in the next stitch, then work Tss in the next 2 stitches* repeat from * to * around. This gives you 24 stitches. Complete the return pass.
Round 4: *Work an inc in the next stitch, then work Tss in the next 3 stitches* repeat from * to * around. This gives you 30 stitches. Complete the return pass.
Continuing the Increase Pattern: Continue increasing in this manner, adding one more Tss between increases each round. The pattern follows this formula:
- Round 5: *inc, Tss in next 4 sts* (36 sts)
- Round 6: *inc, Tss in next 5 sts* (42 sts)
- Round 7: *inc, Tss in next 6 sts* (48 sts)
- Round 8: *inc, Tss in next 7 sts* (54 sts)
Important: Always complete the return pass after each forward pass. The return pass is worked as: ch 1 (yarn over and pull through the first loop on your hook), then *yarn over, pull through 2 loops* across until only 1 loop remains on your hook.
Color Changes for the Spiral Effect
Step 1: After completing Round 6 with Color A, you'll switch to Color B (Terracotta). To change colors cleanly: when you have 2 loops left on your hook during the return pass, yarn over with the new color and pull through both loops. This creates a seamless color transition.
Step 2: Work 3 complete rounds with Color B, maintaining the established increase pattern.
Step 3: Switch to Color C (Sage Green) and work 3 complete rounds.
Step 4: Continue alternating colors in 3-round stripes: 3 rounds Color A, 3 rounds Color B, 3 rounds Color C, and so on.
Creating the Diagonal Spiral: To make a true spiral rather than concentric circles, you need to shift the color change point by 2 stitches each time you change colors. Here's how:
Step 5: When starting a new color, don't begin at your stitch marker. Instead, begin the round 2 stitches before the marker. This means you'll work the first 2 stitches of the new color before reaching your original starting point. This slight offset creates a diagonal color transition that spirals around the rug.
Step 6: Move your stitch marker to this new starting point. Each time you change colors, shift the starting point by 2 additional stitches in the same direction (clockwise or counterclockwise, whichever feels natural to you). This gradual shift creates the beautiful swirling effect.
Creating the Textured Spiral Pattern
To make the spiral visually distinct and add tactile interest, you'll alternate between Tunisian simple stitches (Tss) and Tunisian knit stitches (Tks) in a pattern.
Understanding Tks: The Tunisian knit stitch creates a fabric that looks like stockinette knitting. To work a Tks: insert your hook between the vertical bars of the stitch from front to back (going behind the front vertical bar), yarn over, and pull up a loop. This creates a different texture than the Tss, which is worked by inserting the hook under the front vertical bar only.
Implementing the Texture Pattern:
- Work 2 complete rounds using Tss stitches
- Then work 1 complete round using Tks stitches
- Repeat this sequence throughout the project
This creates a subtle ridge that spirals outward from the center, enhancing the visual depth of the rug. The combination of smooth Tss rounds and textured Tks rounds adds sophistication to the finished piece.
Continuing the Rug to Desired Size
Maintaining the Flat Shape: Keep increasing as established, adding one more Tss between increases each round. As the rug grows, you may need to adjust the increases to maintain a perfectly flat circle.
If the edges start to ruffle (meaning the rug is growing too quickly): skip an increase occasionally. Instead of working *inc, Tss in next X sts*, work *inc, Tss in next X+1 sts* for a few rounds. This adds extra stitches between increases, slowing the growth.
If the edges curl inward (meaning the rug isn't growing fast enough): add an extra increase. Work *inc, Tss in next X-1 sts* for a few rounds, or add an additional increase in the middle of each round.
Continue working until the rug reaches your desired size. A typical floor rug measures 36-40 inches in diameter. For a smaller accent rug, stop at 24-30 inches. For a larger statement piece, continue to 48 inches or beyond.
Finishing the Rug
Step 1: When your rug reaches the desired size, end with a final round of Tss stitches. This creates a clean, uniform edge for the border.
Step 2: Cut your yarn, leaving a long tail (at least 12 inches) for weaving in. Pull the tail through the last loop on your hook to secure.
Step 3: Switch to your standard crochet hook (6.5mm). Attach your yarn to any stitch along the edge with a slip stitch.
Step 4: Work a slip stitch border: *sl st in each stitch across the final row, ch 1, turn* repeat this for 2 complete rows. This creates a neat, finished edge that prevents the rug from stretching or distorting.
Step 5: After completing the second row of slip stitches, fasten off by cutting the yarn and pulling it through the last loop. Weave in this end and all other loose ends using your yarn needle. Be thorough with weaving to ensure the rug withstands use and washing.
Blocking Your Finished Rug
Step 1: Lay the rug on a flat surface or blocking mat.
Step 2: Lightly steam block the rug using a steam iron held above the surface (do not press directly on the rug) or a handheld steamer. The steam will relax the fibers and help the rug lie perfectly flat.
Step 3: Do not stretch aggressively. The goal is simply to flatten any curling edges and even out the stitches. Over-stretching can distort the spiral pattern.
Step 4: Allow the rug to dry completely before moving or using it. This may take several hours depending on humidity.
Tips for Success
- Keep consistent tension: Tunisian crochet can easily become too tight or too loose. Practice maintaining even tension throughout the project for a professional finish.
- Use the cable hook properly: Ensure your stitches can slide freely along the cable. If they're too tight, the work will be difficult to manage as the circumference grows.
- Count your stitches regularly: Especially in the early rounds, miscounting increases can lead to ruffling or curling. Check your stitch count every few rounds.
- Consider a non-slip backing: If using the rug on hardwood or tile floors, you may want to add a non-slip rug pad underneath for safety.
- Choose quality cotton yarn: Cotton holds its shape well and is durable for floor use. It also takes steam blocking beautifully.
Creative Variations
Once you've mastered the basic spiral technique, feel free to experiment:
- Color palette: Try monochromatic shades for a subtle, elegant look, or bold contrasting colors for a vibrant statement piece.
- Stitch patterns: Incorporate other Tunisian stitches like the Tunisian purl stitch or Tunisian full stitch for different textures.
- Size variations: Create a set of coasters or placemats using the same technique on a smaller scale.
This Whirling Dervish Tunisian Spiral Rug is more than just a floor covering—it's a meditation in yarn, a testament to the beauty of handmade craftsmanship. As you watch the spiral grow beneath your hook, you'll find yourself lost in the rhythm of the stitches, creating something truly special for your home. Whether you gift it to a loved one or keep it for yourself, this rug is sure to become a cherished piece that brings warmth and artistry to any space.
Happy crocheting, and may your spiral spin true!