Whispering Pines Textured Knit Washcloth Free Pattern
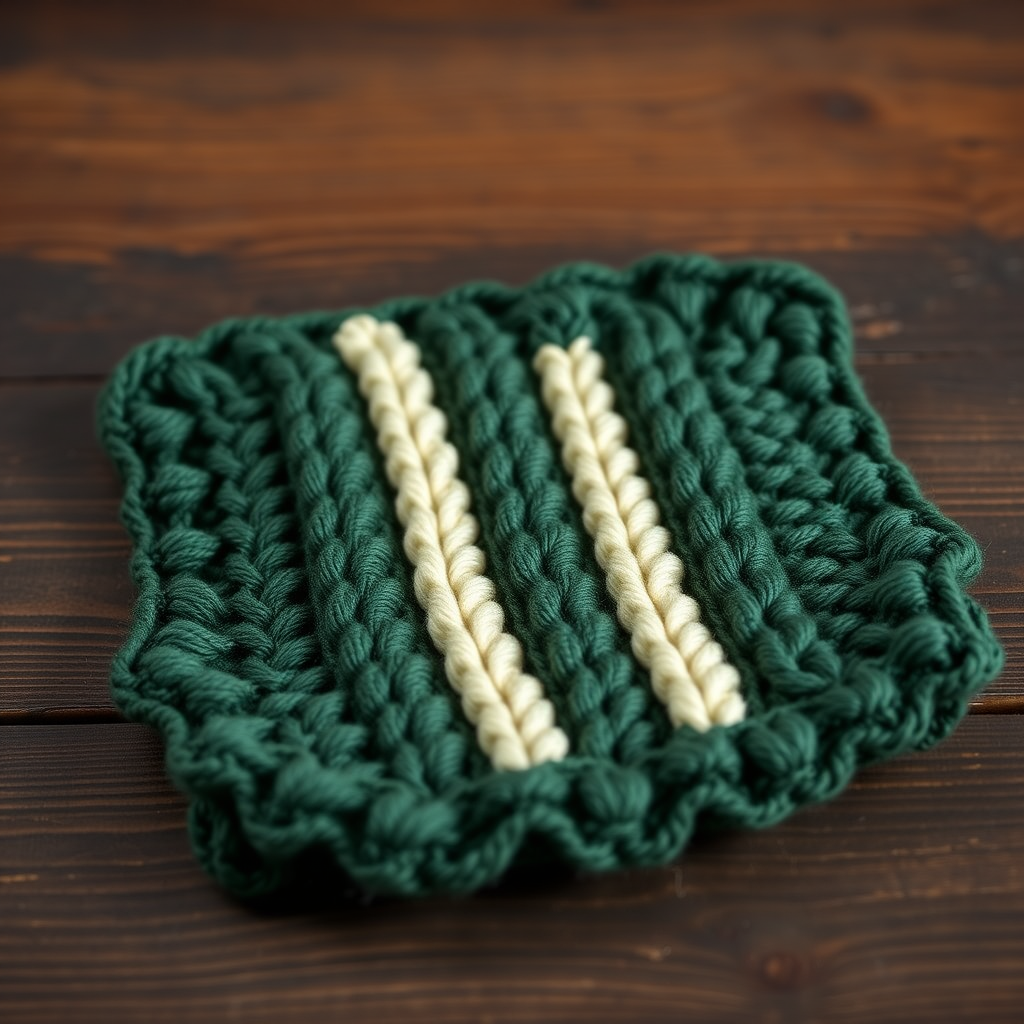
Whispering Pines Textured Knit Washcloth: A Free Beginner-Friendly Pattern
Imagine bringing the tranquil beauty of a pine forest into your daily self-care ritual. The Whispering Pines Textured Knit Washcloth does exactly that, combining the soothing rhythm of knitting with the practical luxury of a spa-quality cloth. This pattern features a stunning interplay of twisted cables and seed stitch bands, creating a dense, plush texture that feels wonderful against the skin. Crafted with absorbent cotton yarn, this washcloth is as functional as it is beautiful. Best of all, this is a beginner-friendly project that introduces you to basic cabling in a manageable, repetitive format. Let's dive in and create a little piece of forest serenity for your home.
Materials Needed
Before you begin, gather these simple supplies. The beauty of this project is its minimalism—just yarn, needles, and a tapestry needle.
- Yarn: Worsted weight cotton yarn (e.g., Lion Brand Kitchen Cotton) in two colors:
- Main Color (MC): Forest Green (1 skein)
- Contrast Color (CC): Cream (1 skein)
- Needles: US Size 7 (4.5 mm) knitting needles
- Notions: Tapestry needle for weaving in ends, cable needle (optional, but helpful)
- Gauge: 20 stitches and 28 rows = 4 inches in stockinette stitch (not critical for a washcloth, but helps achieve the stated size)
Finished Size: Approximately 10 inches square
Stitch Abbreviations
Familiarize yourself with these standard knitting abbreviations. Don't worry if you're new to cables—the instructions below are detailed and easy to follow.
- CO: Cast on
- K: Knit
- P: Purl
- K2tog: Knit two stitches together (decrease)
- Yo: Yarn over (increase)
- Sl: Slip stitch purlwise
- C4B: Cable 4 back (slip 2 stitches to cable needle, hold in back, knit next 2 stitches, then knit the 2 stitches from cable needle)
- C4F: Cable 4 front (slip 2 stitches to cable needle, hold in front, knit next 2 stitches, then knit the 2 stitches from cable needle)
Step-by-Step Instructions
Follow these instructions carefully, and you'll have a beautiful, textured washcloth in no time. The pattern is broken down into sections for clarity.
Getting Started: The Garter Stitch Border
We begin with a simple, sturdy border that will frame your textured center.
- With your Main Color (MC) yarn, CO 44 stitches.
- Rows 1-6: Knit all stitches. This creates a classic garter stitch border (all knit stitches on both sides).
The Main Body: Working the Cable & Seed Stitch Chart
Now we move into the heart of the pattern. The main body is worked over 36 stitches, with a 4-stitch garter border on each side. The chart below is your guide. Remember, the border stitches are always knit.
Row 7 (Right Side - RS): K4 (border), work Row 1 of chart across next 36 stitches, K4 (border).
Row 8 (Wrong Side - WS): K4, work Row 2 of chart across next 36 stitches, K4.
The Chart (Worked over 36 stitches)
Here is the complete 8-row chart. Repeat these 8 rows until your piece measures approximately 9 inches from the cast-on edge, ending with a Wrong Side (WS) row.
| Row # | Side | Instruction (Worked over 36 stitches) |
|---|---|---|
| 1 | RS | P2, C4B, P2, K6, P2, C4F, P2, K6, P2, C4B, P2 |
| 2 | WS | K2, P4, K2, P6, K2, P4, K2, P6, K2, P4, K2 |
| 3 | RS | P2, K4, P2, K6, P2, K4, P2, K6, P2, K4, P2 |
| 4 | WS | K2, P4, K2, P6, K2, P4, K2, P6, K2, P4, K2 |
| 5 | RS | P2, C4F, P2, K6, P2, C4B, P2, K6, P2, C4F, P2 |
| 6 | WS | K2, P4, K2, P6, K2, P4, K2, P6, K2, P4, K2 |
| 7 | RS | P2, K4, P2, K6, P2, K4, P2, K6, P2, K4, P2 |
| 8 | WS | K2, P4, K2, P6, K2, P4, K2, P6, K2, P4, K2 |
Pro Tip for Beginners: When working the cables (C4B and C4F), use a cable needle to hold the stitches. For C4B, hold the cable needle in the back of your work. For C4F, hold it in the front. This creates the beautiful twisting effect.
Adding the Striped Accent
Once your main body reaches 9 inches, it's time to introduce your Contrast Color (CC) for a subtle, elegant stripe.
- With CC, knit one row (RS).
- With CC, purl one row (WS). This creates a stockinette stripe.
- Switch back to MC and knit one row (RS).
Finishing the Border
We'll now mirror the bottom border to create a symmetrical, polished finish.
- Continue with MC, knit 6 rows (garter stitch border).
- Bind off all stitches loosely. A loose bind-off ensures the edge remains stretchy and doesn't pucker.
Final Touches: Weaving and Blocking
Your washcloth is almost complete! These final steps will make it look professional and last for years.
- Weave in all ends using your tapestry needle. Be sure to weave them securely into the wrong side of the fabric.
- Block gently. Soak the washcloth in lukewarm water with a drop of mild soap, gently squeeze out excess water (do not wring), and lay flat to dry. This evens out the stitches and enhances the cable definition.
And there you have it—your very own Whispering Pines Textured Knit Washcloth! This project is perfect for using up cotton yarn scraps, making thoughtful handmade gifts, or simply adding a touch of forest-inspired luxury to your bathroom. The repetitive chart makes it a relaxing, meditative knit once you get the hang of the cables. Happy knitting!


