Yuletide Ember Coal Sack Gift Card Holder Free Knitting Pattern
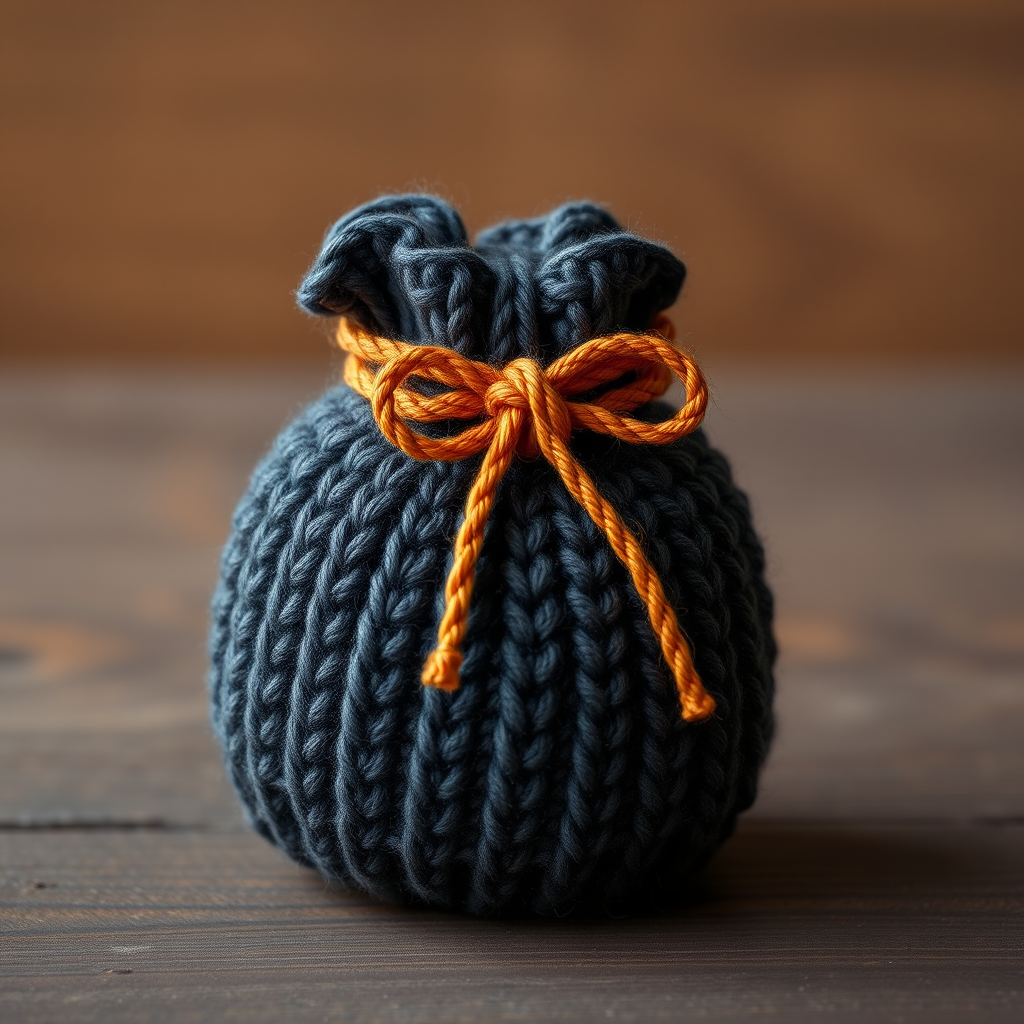
Yuletide Ember Coal Sack Gift Card Holder: A Free Knitting Pattern
Looking for a unique, handmade touch for your holiday gift-giving? This charming knitted coal sack gift card holder is the perfect quick project for the festive season. It adds a playful, rustic twist to the classic gift card, making it feel like a special, cozy present. This pattern is beginner-friendly, works up in an evening, and uses simple knit and purl stitches to create a textured, homespun pouch. Let's get started on this delightful holiday knitting pattern!
Materials Needed
Before you begin, gather the following supplies. This project is wonderfully portable and requires minimal materials.
- Yarn: Worsted weight yarn in two colors:
- Main Color (MC): Charcoal gray (approximately 50-75 yards)
- Contrast Color (CC): Burnt orange or gold for the drawstring tie (small amount)
- Needles: US 7 (4.5 mm) knitting needles
- Notions: Yarn needle for sewing seams and weaving in ends, scissors
Gauge & Finished Size
- Gauge: 20 stitches and 28 rows = 4 inches in stockinette stitch. (Gauge is not critical for this project, but matching it ensures the correct size.)
- Finished Size: Approximately 4 inches wide by 6 inches tall, perfectly sized to fit a standard gift card.
Step-by-Step Instructions
This pattern is worked flat in one piece, then seamed. Follow these detailed instructions carefully to create your coal sack.
Abbreviations
- CO: Cast on
- K: Knit
- P: Purl
- K2tog: Knit two stitches together (decrease)
- P2tog: Purl two stitches together (decrease)
- St(s): Stitch(es)
- RS: Right Side
- WS: Wrong Side
Part 1: Knitting the Bottom of the Sack
We'll start by creating the flat base of the pouch using a simple stockinette stitch.
- Cast On: CO 20 sts in MC.
- Row 1 (RS): Knit across all stitches.
- Row 2 (WS): Purl across all stitches.
- Repeat: Continue repeating Rows 1 and 2 (stockinette stitch) until the piece measures 4 inches from the cast-on edge. Tip: Ensure you end with a WS row (a purl row) so that your next row is a RS row.
Part 2: Knitting the Sides of the Sack
Now we will establish a garter stitch border on the sides. This creates the rustic, defined edge of the coal sack.
- Establish Border (RS): K2, P16, K2. (This creates a 2-stitch garter stitch border on each side, as you will knit these stitches on every row.)
- Continue Pattern: Repeat this row (K2, P16, K2) for all subsequent rows until the piece measures 5 inches from the cast-on edge. Important: You are working the center 16 stitches in stockinette (purl on WS, knit on RS) and the edge 2 stitches in garter (knit on both RS and WS). End with a WS row.
Part 3: Top Shaping (Decreases)
This section shapes the top of the sack, tapering it so it can be cinched closed. Follow the decreases carefully, maintaining the garter stitch border.
- Decrease Row 1 (RS): K2, P2tog, P12, P2tog, K2. (18 sts)
- Row 8 (WS): K2, P14, K2.
- Decrease Row 2 (RS): K2, P2tog, P10, P2tog, K2. (16 sts)
- Row 10 (WS): K2, P12, K2.
- Decrease Row 3 (RS): K2, P2tog, P8, P2tog, K2. (14 sts)
- Row 12 (WS): K2, P10, K2.
- Decrease Row 4 (RS): K2, P2tog, P6, P2tog, K2. (12 sts)
- Row 14 (WS): K2, P8, K2.
- Decrease Row 5 (RS): K2, P2tog, P4, P2tog, K2. (10 sts)
- Row 16 (WS): K2, P6, K2.
- Decrease Row 6 (RS): K2, P2tog, P2, P2tog, K2. (8 sts)
- Row 18 (WS): K2, P4, K2.
- Decrease Row 7 (RS): K2, P2tog, P2tog, K2. (6 sts)
- Row 20 (WS): K2, P2, K2.
- Decrease Row 8 (RS): K2, P2tog, K2. (5 sts)
- Row 22 (WS): K2, P1, K2.
- Decrease Row 9 (RS): K2tog, K1, K2tog. (3 sts)
- Final Row (RS): K3tog. (1 st)
- Fasten Off: Cut the yarn, leaving a long tail (at least 12 inches) for sewing. Pull the tail through the last loop to secure.
Part 4: Finishing and Assembly
Now we'll turn your flat piece into a three-dimensional sack.
- Fold and Pin: Fold the piece in half with the right sides together, matching the cast-on edge. The garter stitch borders should align to form the side seams.
- Sew Side Seams: Using the yarn needle and the long tail, sew the side seams using the mattress stitch or a simple whip stitch. Important: Leave the top (the shaped end) open.
- Turn Right Side Out: Carefully turn the sack right side out, gently pushing out the corners of the bottom.
- Create the Drawstring: With your CC yarn, create a twisted cord or an I-cord that is approximately 12 inches long. (To make a simple twisted cord: cut 3 strands of CC yarn about 36 inches long, hold them together, twist them tightly in one direction, then fold in half and let them twist together.)
- Thread the Drawstring: Thread the drawstring through the top garter stitch border. Use a yarn needle to weave it in and out of the stitches around the opening, starting and ending at the front center.
- Final Assembly: Insert your gift card into the sack. Pull the drawstring tight to cinch the top closed, and tie a neat bow.
Your adorable Yuletide Ember Coal Sack is complete! This handmade gift card holder is sure to bring a smile to its recipient. It's a perfect last-minute knit for the holidays, and the pattern is easily customizable with different colors to match any festive theme. Happy knitting!


