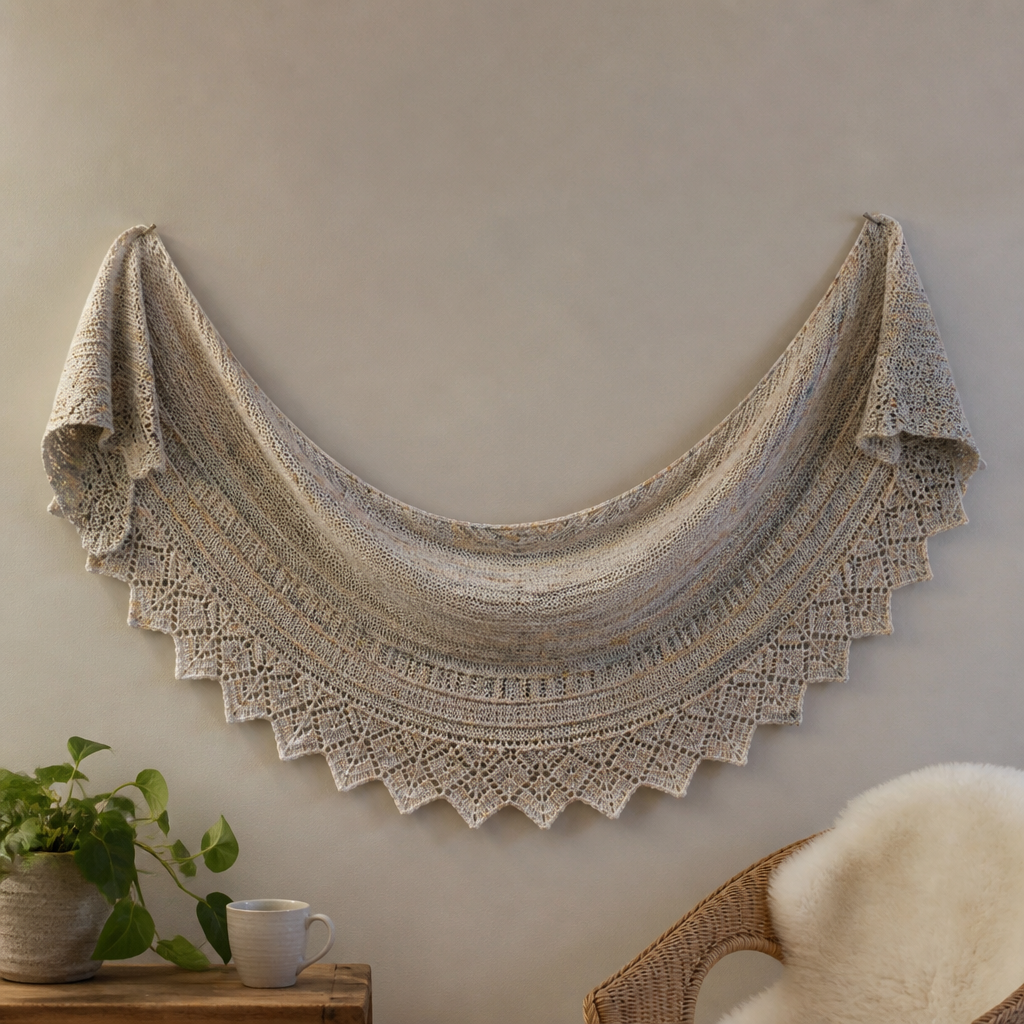
Aurora Mist Mosaic Shawl Free Pattern – Knitted with Gradient Waves and Beaded Fringe

Introducing the Aurora Mist Mosaic Shawl
Wrap yourself in the ethereal beauty of the Aurora Mist Mosaic Shawl, a knitted masterpiece that blends soft gradient waves with delicate beaded fringe. This pattern offers a meditative knitting experience and a stunning, wearable art piece. The mosaic technique—where you slip stitches and work with two colors per row, but only knit with one color at a time—makes this look far more complex than it actually is. Even beginners can achieve a professional, luxurious result.
This triangular shawl is worked from the top center down, increasing on both sides to form a graceful drape. The deep teal, soft lavender, and dusty rose color palette evokes the shimmering colors of the aurora borealis, while the beaded fringe adds a touch of sparkle and movement. Whether you're cozying up on a cool evening or looking for a statement accessory, this shawl is both practical and artistic.
Materials Needed
Before you begin, gather the following supplies to ensure a smooth knitting experience:
- Yarn: Worsted weight yarn in 3 colors:
- Color A (deep teal) – 200g
- Color B (soft lavender) – 200g
- Color C (dusty rose) – 200g
- Needle: US 8 (5.0 mm) circular knitting needle, 32-inch or longer (to accommodate the growing number of stitches)
- Gauge: 18 stitches and 24 rows = 4 inches in stockinette stitch (blocked). Gauge is important for achieving the correct size and drape, so take a moment to swatch.
- Extras: Stitch markers (optional but helpful), tapestry needle for weaving in ends, and 180 small iridescent beads for the fringe (3 beads per tassel × 60 tassels).
Step-by-Step Instructions
This shawl is worked from the top center down, increasing on both sides to form a triangle. The mosaic pattern is created by slipping stitches and working with two colors per row, but only one color per row is actually knitted, making it easier than it looks.
Abbreviations
- k = knit
- p = purl
- sl = slip stitch purlwise (as if to purl, with yarn in back on RS rows, yarn in front on WS rows)
- yo = yarn over
- k2tog = knit two together
- skpo = slip, knit, pass over (decrease)
- RS = right side
- WS = wrong side
Setup Section
With Color A, cast on 3 stitches.
- Row 1 (RS): k1, yo, k1, yo, k1 (5 stitches)
- Row 2 (WS): k2, p1, k2
- Row 3 (RS): k2, yo, k1, yo, k2 (7 stitches)
- Row 4 (WS): k2, p3, k2
- Row 5 (RS): k2, yo, k3, yo, k2 (9 stitches)
- Row 6 (WS): k2, p5, k2
- Row 7 (RS): k2, yo, k5, yo, k2 (11 stitches)
- Row 8 (WS): k2, p7, k2
You now have 11 stitches and a small triangle base. The edge stitches (first 2 and last 2) are always knit on both RS and WS to create a neat garter stitch border.
Body (Mosaic Pattern)
Now begin the mosaic pattern. Always keep 2 stitches in garter stitch at each edge (knit on both RS and WS). The increases (yo) are always worked right after the first 2 edge stitches and before the last 2 edge stitches.
- Row 1 (RS, Color B): k2, yo, *k1, sl1, repeat from * to last 3 stitches, k1, yo, k2
- Row 2 (WS, Color B): k2, p to last 2 stitches, k2 (slip the slipped stitches again, do not knit them)
- Row 3 (RS, Color A): k2, yo, *sl1, k1, repeat from * to last 3 stitches, sl1, yo, k2
- Row 4 (WS, Color A): k2, p to last 2 stitches, k2 (slip the slipped stitches again)
- Row 5 (RS, Color B): k2, yo, *k2, sl1, repeat from * to last 4 stitches, k2, yo, k2
- Row 6 (WS, Color B): k2, p to last 2 stitches, k2
- Row 7 (RS, Color A): k2, yo, *sl1, k2, repeat from * to last 4 stitches, sl1, yo, k2
- Row 8 (WS, Color A): k2, p to last 2 stitches, k2
Important tip: When slipping stitches, always slip them purlwise with the yarn held to the wrong side of the work (yarn in back on RS rows, yarn in front on WS rows). This keeps the slipped strands loose and even.
Repeat Rows 1-8, always working the increases (yo) right after the first 2 edge stitches and before the last 2 edge stitches. Continue until the shawl measures approximately 28 inches from the center top to the bottom point, ending with a WS row. The pattern will naturally grow wider and longer with each repeat.
Edging
Switch to Color C for the delicate lace border.
- Row 1 (RS): k2, yo, *k1, yo, k2tog, repeat from * to last 3 stitches, k1, yo, k2
- Row 2 (WS): k2, p to last 2 stitches, k2
- Row 3 (RS): k2, yo, *k2, yo, skpo, repeat from * to last 4 stitches, k2, yo, k2
- Row 4 (WS): k2, p to last 2 stitches, k2
Bind off loosely on the next RS row. To ensure a stretchy bind-off that doesn't pucker, use a needle one size larger or bind off using the "knit two together through back loop" method.
Beaded Fringe
Cut 60 strands of Color C yarn, each 12 inches long. For each fringe tassel, thread 3 beads onto a strand, then fold the strand in half. Use a crochet hook to pull the folded end through the edge of the shawl, then thread the loose ends through the loop and pull tight. Space the tassels evenly along the bottom edge, about 1 inch apart. Trim the ends to even lengths.
Pro tip: To make threading beads easier, use a beading needle or dip the yarn end in clear nail polish to stiffen it. You can also pre-string all beads onto the yarn before cutting individual strands.
Finishing
Weave in all loose ends with a tapestry needle. Block the shawl gently to open up the mosaic pattern and lace edging. Pin it to the desired shape (a triangle) and mist with water. Allow it to dry completely before removing pins. This step is crucial for achieving the beautiful drape and defined stitch patterns shown in the photos.
Your Aurora Mist Mosaic Shawl is now complete! Enjoy the soft, textured waves and the shimmering beads that catch the light with every movement. This piece is perfect for gifting or keeping for yourself—a true wearable work of art.