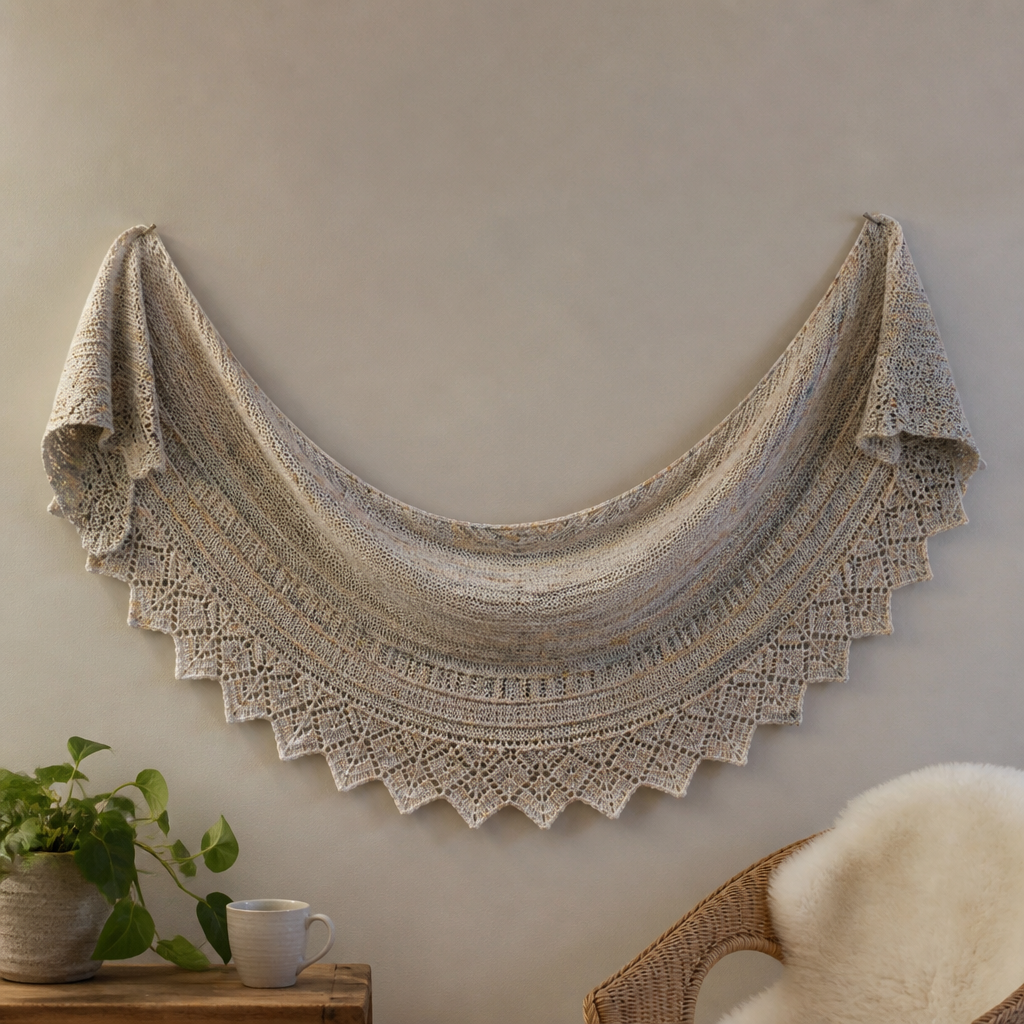
Ember & Ash Crescent Shawl Free Knitting Pattern
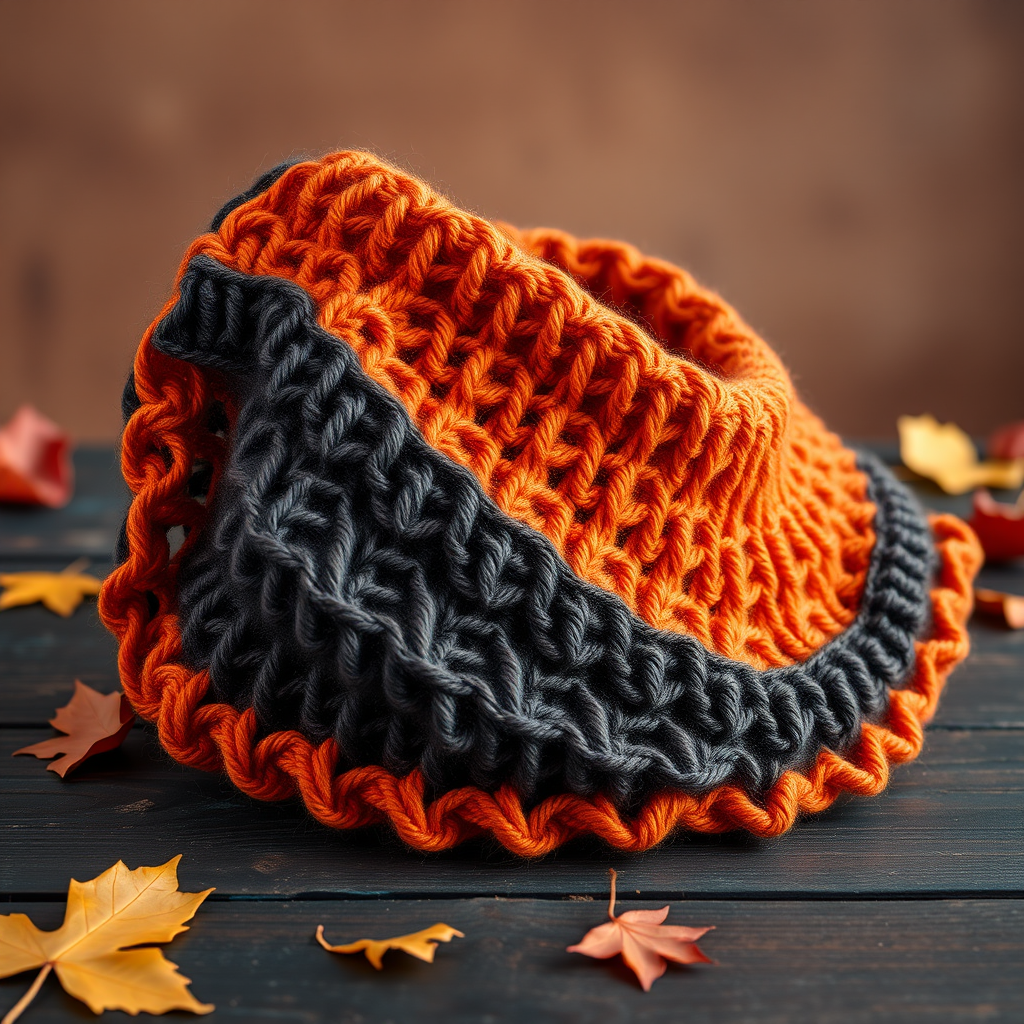
Ember & Ash Crescent Shawl: A Free Knitting Pattern for Cozy Autumn Evenings
Wrap yourself in the smoldering beauty of autumn with this stunning crescent-shaped shawl. Knitted in a breathtaking gradient of burnt orange, deep rust, and charcoal, this piece captures the very essence of fall foliage. The textured honeycomb lace stitch creates a cozy, sophisticated drape that's perfect for cool evenings, whether you're curled up by the fire or taking a crisp morning walk. This free knitting pattern is designed for confident beginners and intermediate knitters alike, offering a rewarding project that builds your skills while creating a truly wearable work of art.
The magic of this shawl lies in its construction: worked from the top center outwards, the crescent shape emerges naturally through strategic increases at each edge. The honeycomb lace pattern adds visual interest and texture without being overly complicated, making it an ideal introduction to lace knitting. With a beautiful ombre effect transitioning from warm orange to deep charcoal, this shawl is destined to become your favorite autumn accessory.
Materials Needed
Before you begin, gather the following materials to ensure a smooth knitting experience:
Yarn
- Color A (Burnt Orange): 200g of worsted weight yarn
- Color B (Deep Rust): 200g of worsted weight yarn
- Color C (Charcoal): 200g of worsted weight yarn
- Suggested Yarn: Lion Brand Wool-Ease Worsted (or any worsted weight yarn of your choice)
Needles & Notions
- Knitting Needle: US 8 (5.0mm) circular knitting needle, 32 inches or longer (to accommodate the growing number of stitches)
- Stitch markers (optional, but helpful for tracking pattern repeats)
- Tapestry needle for weaving in ends
- Blocking mats and pins for finishing
Gauge
18 stitches and 24 rows = 4 inches in stockinette stitch (blocked). While gauge is important for size, this shawl is quite forgiving. If your gauge is slightly off, the shawl will still be beautiful—just slightly larger or smaller than the measurements given.
Step-by-Step Instructions
This pattern is worked from the top center outwards in a crescent shape. The increases at the beginning and end of each row create the curved, crescent silhouette. The honeycomb lace pattern is worked over a multiple of 4 stitches + 2 edge stitches. Take your time with the lace section, and you'll be rewarded with a gorgeous, textured fabric.
Understanding the Honeycomb Lace Pattern
Before you begin, familiarize yourself with this simple 4-row repeat. The pattern is worked over a multiple of 4 stitches plus 2 edge stitches.
Honeycomb Lace Pattern (worked over 4 stitches + 2):
- Row 1 (RS): k1, *yo, k2tog, k2* repeat from * to last 3 sts, yo, k2tog, k1
- Row 2 (WS): p all
- Row 3 (RS): k1, *k2tog, yo, k2* repeat from * to last 3 sts, k2tog, yo, k1
- Row 4 (WS): p all
Abbreviations:
- k: knit
- p: purl
- yo: yarn over (creates an increase and a hole)
- k2tog: knit two stitches together (creates a decrease)
- st(s): stitch(es)
- RS: right side (the front of the work)
- WS: wrong side (the back of the work)
Cast On & Foundation
With Color A (Burnt Orange), cast on 5 stitches using your preferred method (long-tail cast on works well).
Row 1 (RS): k1, yo, k1, yo, k1, yo, k1, yo, k1 (9 sts)
Explanation: You're making 4 yarn overs in this row, which increases your stitch count from 5 to 9. The knit stitches at the beginning and end create a neat edge.
Row 2 (WS): p all
Row 3 (RS): k1, yo, k to last st, yo, k1 (11 sts)
Explanation: Knit the first stitch, yarn over, knit across until you have one stitch left, yarn over, and knit the last stitch. This creates the edge increases that will shape the crescent.
Row 4 (WS): p all
Increase Section (Worked in Garter Stitch)
Now you'll continue working the increase pattern to build the foundation of your shawl. This section is worked entirely in garter stitch (knitting every row), which creates a sturdy, flat base for the lace pattern to come.
Repeat Rows 3-4 until you have 41 stitches on the needle, ending with a WS row.
Tip: Count your stitches after each RS row to ensure you're on track. You should be increasing by 2 stitches every RS row (one at each edge).
Honeycomb Lace Section
Now the real magic begins! You'll start working the honeycomb lace pattern while continuing the edge increases. This combination creates the beautiful textured fabric with the crescent shape.
Row 1 (RS): k1, yo, work Honeycomb Lace Row 1 across to last st, yo, k1 (43 sts)
Explanation: Knit the first stitch, yarn over (increase), then work the honeycomb lace pattern across the middle stitches. When you reach the last stitch, yarn over (increase) and knit the final stitch.
Row 2 (WS): p1, work Honeycomb Lace Row 2 across to last st, p1
Explanation: Purl the first stitch (this is your edge stitch), then work the lace pattern across, and purl the last stitch.
Row 3 (RS): k1, yo, work Honeycomb Lace Row 3 across to last st, yo, k1 (45 sts)
Row 4 (WS): p1, work Honeycomb Lace Row 4 across to last st, p1
Continue in this manner, increasing at the edges every RS row, until the shawl measures approximately 12 inches from the cast-on edge. You will have about 121 stitches on your needle.
Important: As you work the lace pattern, the stitch count in the middle section will stay consistent (the yarn overs and k2tog's balance each other out). Only the edge increases add stitches to your total count.
Color Transition: Moving to Color B
When your shawl reaches 12 inches from the cast-on edge, it's time to introduce the beautiful deep rust color. Cut Color A, leaving a 6-inch tail for weaving in later.
Switch to Color B (Deep Rust). Continue working the honeycomb lace pattern with edge increases for another 12 inches, or until the shawl measures 24 inches from the cast-on edge. You will have about 201 stitches on your needle.
Tip: When joining a new color, you can simply start knitting with the new yarn. For a neater transition, you can tie a small knot on the wrong side of the work, but this is optional.
Final Section: The Charcoal Finish
As the shawl grows, you'll notice the beautiful crescent shape emerging. The final color transition brings the deep, grounding charcoal that completes the autumn gradient.
Switch to Color C (Charcoal). Continue working the honeycomb lace pattern with edge increases for another 12 inches, or until the shawl measures 36 inches from the cast-on edge. You will have about 281 stitches on your needle.
Edging: Adding a Clean Finish
Now that the main body of the shawl is complete, it's time to add a simple garter stitch edging. This creates a clean, finished look and stabilizes the edge.
Work 4 rows of garter stitch (knit all stitches) across all stitches, continuing the edge increases on RS rows.
- Row 1 (RS): k1, yo, k to last st, yo, k1
- Row 2 (WS): k all
- Row 3 (RS): k1, yo, k to last st, yo, k1
- Row 4 (WS): k all
Bind Off: The Delicate Picot Edge
The picot bind-off adds a beautiful, delicate scalloped edge that perfectly complements the honeycomb lace. This technique creates small decorative loops along the edge.
Bind off loosely as follows:
- Knit 2 stitches.
- Return both stitches to the left needle (insert left needle into both stitches from left to right).
- Knit these 2 stitches together (k2tog).
- Knit 1 stitch.
- Bind off 1 stitch (pass the first stitch on the right needle over the second).
- Repeat from step 2 until all stitches are bound off.
This creates a series of small picot points along the edge. If you find the bind-off too tight, use a larger needle or bind off more loosely.
Weave in all ends using your tapestry needle. Take your time with this step—properly woven ends will ensure your shawl lasts for years.
Blocking: The Final Transformation
Blocking is essential for lace knitting. It opens up the stitches, defines the pattern, and gives your shawl its final shape and drape. Don't skip this step!
- Soak the shawl in lukewarm water with a mild wool wash for 20 minutes. This allows the fibers to relax and absorb the water.
- Gently squeeze out excess water. Do NOT wring or twist the fabric, as this can damage the fibers and distort the stitches.
- Lay flat on a blocking mat or clean towel.
- Pin out the edges to the desired crescent shape. Gently stretch the fabric to open up the lace pattern. Focus on creating a smooth, even curve along the top and bottom edges.
- Allow to dry completely—this can take 24-48 hours depending on humidity. Resist the urge to remove the pins until fully dry.
Wearing and Caring for Your Shawl
Once your shawl is dry and unpinned, it's ready to wear! The crescent shape drapes beautifully over the shoulders, and the gradient colors will catch the light with every movement. The picot edge adds a touch of elegance that makes this shawl suitable for both casual and dressier occasions.
Care Instructions: Hand wash in cold water with a gentle wool wash. Lay flat to dry, reshaping as needed. Store folded in a drawer or on a hanger with padded shoulders to maintain its shape.
Final Thoughts
This Ember & Ash Crescent Shawl is more than just a knitting project—it's a celebration of autumn's beauty. The gradient of colors mirrors the changing leaves, while the honeycomb lace adds texture and warmth. Whether you're knitting this for yourself or as a gift for someone special, the result will be a cherished piece that captures the cozy spirit of the season.
Remember, knitting is a journey, not a race. Take your time, enjoy the process, and don't be afraid to make it your own. Happy knitting!