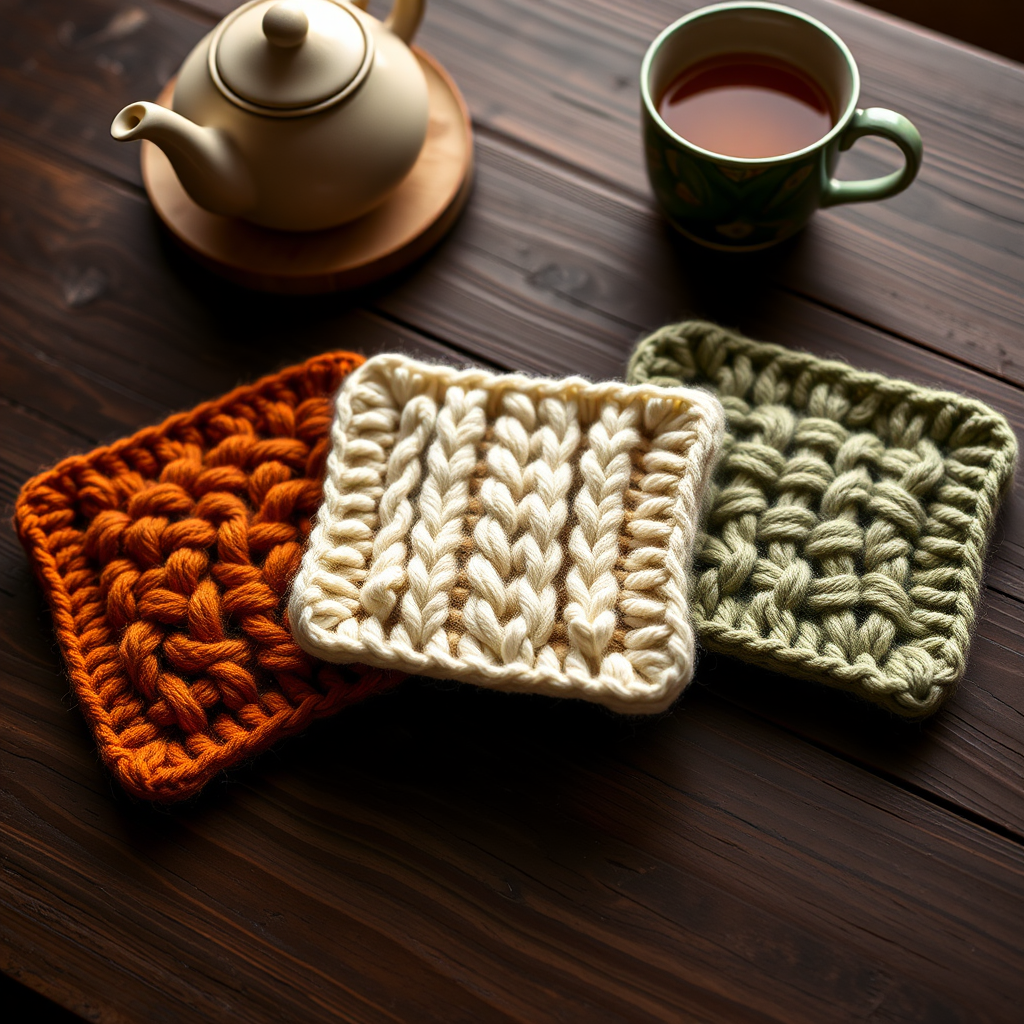
Ember Glow Pot Handle Cover Free Pattern – Knit a Cozy Hearth Grip

Ember Glow Pot Handle Cover Free Pattern – Knit a Cozy Hearth Grip
Wrap your kitchen in warmth with this textured, heat-resistant pot handle cover, knitted in a gradient of sunset embers. Its snug cable and seed stitch design not only protects your hands but adds a handcrafted charm to any cookware. This free pattern is perfect for intermediate beginners looking to expand their skills with cables while creating a practical, beautiful kitchen accessory.
Whether you're an experienced knitter or just starting your journey, this project offers the perfect balance of challenge and reward. The combination of seed stitch borders and a central cable panel creates a stunning visual texture that will make your cookware stand out. Plus, the gradient color transition from ember orange to golden yellow to deep terracotta evokes the cozy glow of a hearth fire, bringing warmth to your kitchen aesthetic.
Materials Needed
Before you begin, gather the following materials to ensure a smooth knitting experience:
- Yarn: Worsted weight cotton yarn (e.g., Lion Brand Kitchen Cotton) in three colors:
- Color A: Ember Orange (approximately 50g)
- Color B: Golden Yellow (approximately 50g)
- Color C: Deep Terracotta (approximately 50g)
- Needles: US 7 (4.5 mm) knitting needles
- Cable needle: For creating the twisted cable pattern
- Tapestry needle: For seaming and weaving in ends
- Scissors
- Stitch markers (optional): To help track pattern repeats
Gauge: 20 stitches and 26 rows = 4 inches in stockinette stitch (after blocking). Achieving the correct gauge ensures your cover fits properly on standard pot handles.
Step-by-Step Instructions
This cover is knitted flat and then seamed, creating a cozy sleeve that slips over the handle. It features a central cable panel flanked by seed stitch borders, with a gentle taper at each end. Follow these detailed instructions carefully, and you'll have a beautiful, functional pot handle cover in no time.
Abbreviations
- CO: Cast on
- K: Knit
- P: Purl
- C4F: Slip 2 stitches to cable needle, hold in front, knit next 2 stitches, then knit 2 from cable needle
- C4B: Slip 2 stitches to cable needle, hold in back, knit next 2 stitches, then knit 2 from cable needle
- K2tog: Knit two together (decrease)
- SSK: Slip slip knit (decrease)
- BO: Bind off
- RS: Right side
- WS: Wrong side
Getting Started
With Color A (Ember Orange), CO 22 stitches. Use a long-tail cast on for a neat, stretchy edge that will comfortably fit over your pot handle.
Cable Pattern Section
Row 1 (RS): K2, P2, K2, P2, K6 (cable panel), P2, K2, P2, K2.
Row 2 (WS): P2, K2, P2, K2, P6, K2, P2, K2, P2.
Row 3: K2, P2, K2, P2, C4F, C4B, P2, K2, P2, K2. (This twists the cable.)
Row 4: Repeat Row 2.
Row 5: Repeat Row 1.
Row 6: Repeat Row 2.
Repeat Rows 1-6 for the cable pattern, but after Row 6, switch to Color B (Golden Yellow) and continue the same pattern for the next 12 rows (two full cable twists). Then switch to Color C (Deep Terracotta) and work another 12 rows.
Pro tip: When changing colors, work the last stitch of the old color and the first stitch of the new color together loosely to avoid gaps. Weave in ends as you go or save them for finishing.
Shaping the Ends
After completing the Color C section, begin decreasing to taper the cover. This creates the snug fit that grips your pot handle securely.
Row 1 (RS): K2, P2, K2, P2, K2tog, K2, SSK, P2, K2, P2, K2. (20 stitches)
Row 2 (WS): P2, K2, P2, K2, P4, K2, P2, K2, P2.
Row 3: K2, P2, K2, P2, K2tog, SSK, P2, K2, P2, K2. (18 stitches)
Row 4: P2, K2, P2, K2, P2, K2, P2, K2, P2.
Row 5: K2, P2, K2, P2, K2tog, P2, K2, P2, K2. (17 stitches)
Row 6: P2, K2, P2, K1, P2, K2, P2, K2, P2.
BO all stitches loosely in pattern. This means binding off knit stitches as knits and purl stitches as purls, maintaining the ribbed pattern for a clean, flexible edge.
Finishing
Fold the cover in half lengthwise with right sides together. Sew the long edge using a mattress stitch, leaving both ends open. The mattress stitch creates an invisible seam that won't interfere with the beautiful cable pattern.
Turn right side out. Slip over a pot handle; the tapered ends will grip snugly. Optionally, add a small button loop at one end for hanging. To create a button loop, simply chain or knit a small loop of yarn at one end and attach a button to the other end.
Important Notes
For a tighter fit, use smaller needles or adjust stitch count. Always test with a hot handle before use to ensure the cotton yarn provides adequate heat protection. Cotton yarn is naturally heat-resistant, making it ideal for this project, but it's always wise to exercise caution with hot cookware.
This pattern is designed to be forgiving and adjustable. If your pot handle is particularly thick or thin, you can easily modify the stitch count by adding or removing stitches in multiples of 2 to maintain the pattern symmetry.
Care Instructions
To keep your Ember Glow Pot Handle Cover looking beautiful, hand wash in cool water with mild detergent and lay flat to dry. Reshape while damp to maintain the cable definition. Avoid machine washing, as this can felt the cotton and distort the cable pattern.
Enjoy your handcrafted kitchen accessory! The warm gradient colors and textured cable design will bring a touch of artisanal charm to your cooking space while keeping your hands safe from hot handles. Happy knitting!