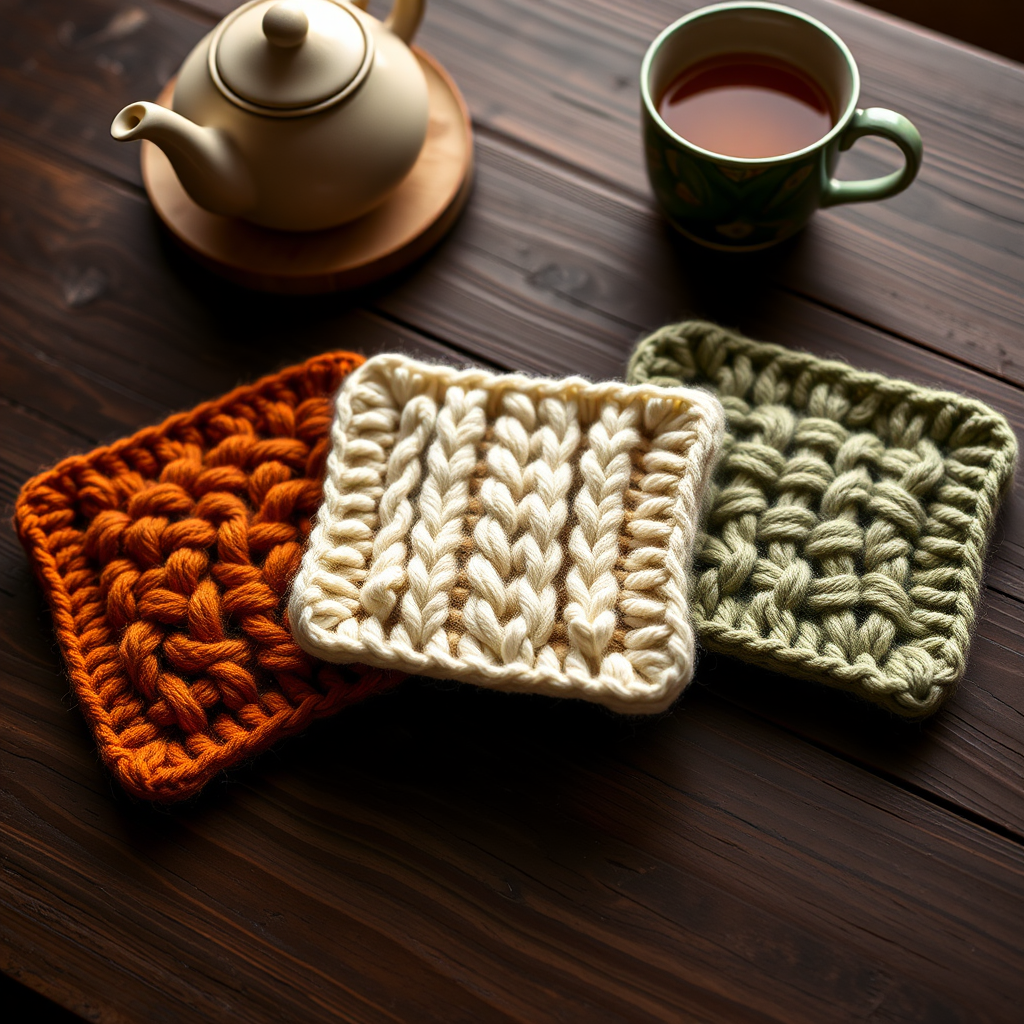
Emberfall Leaf Hot Pad Free Knitting Pattern
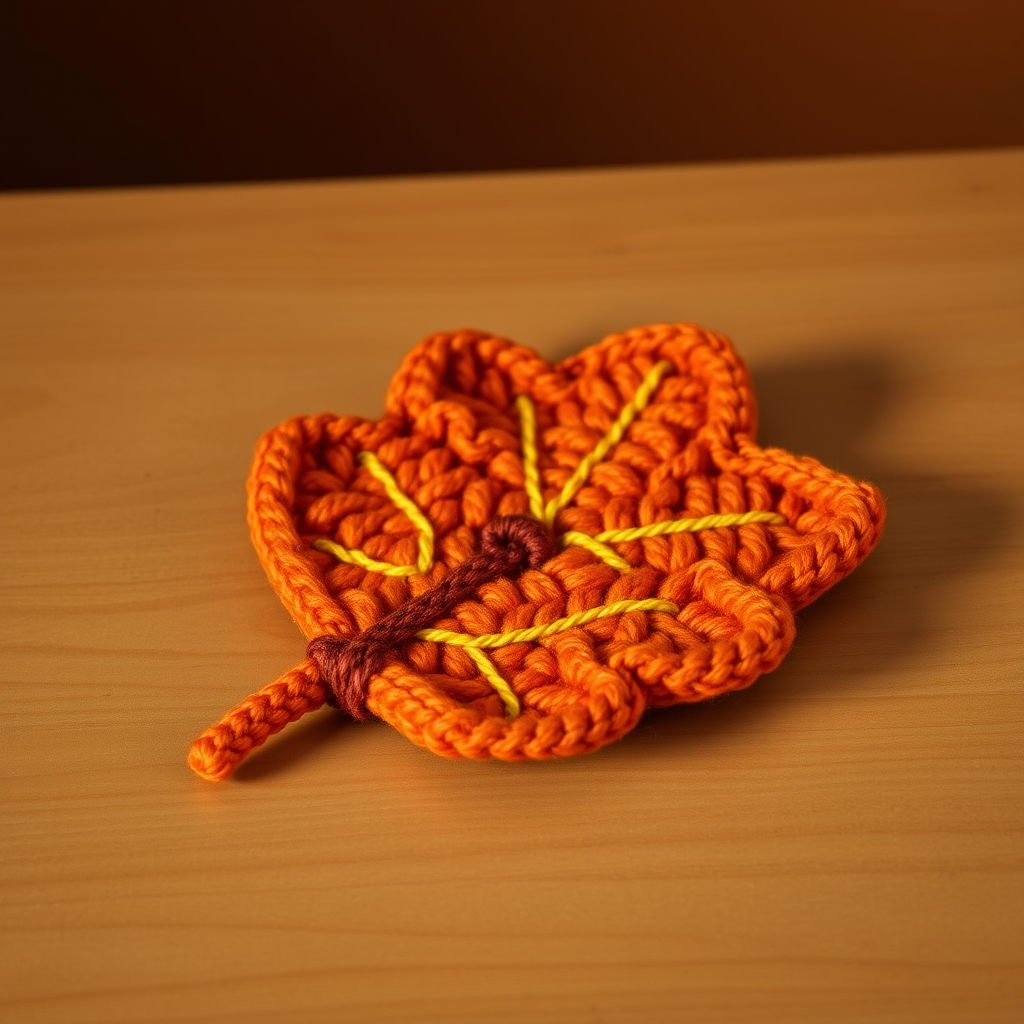
Emberfall Leaf Hot Pad: A Free Knitting Pattern for Cozy Autumn Kitchens
Bring the warm, golden glow of autumn into your kitchen with the Emberfall Leaf Hot Pad. This free knitting pattern creates a stunning, textured leaf-shaped trivet that's as functional as it is beautiful. Knitted in rich, earthy tones of burnt orange, golden yellow, and deep rust, this double-layer hot pad offers excellent heat protection while adding a handcrafted, organic touch to your home. Whether you're a seasoned knitter looking for a quick weekend project or a beginner eager to try something new, this pattern is designed to be both enjoyable and rewarding. Let's dive into creating this cozy kitchen essential.
Materials Needed
Before you begin, gather the following materials to ensure a smooth and enjoyable knitting experience. The exact gauge isn't critical for this project, but maintaining consistent tension throughout will help your leaf lay flat and look its best.
- Yarn: Worsted weight cotton yarn (e.g., Lily Sugar'n Cream) in three colors:
- Color A (Burnt Orange): Approximately 50g (for the leaf body)
- Color B (Golden Yellow): Approximately 50g (for the decorative seam)
- Color C (Deep Rust): Approximately 50g (for the stem)
- Needles: US 7 (4.5 mm) knitting needles
- Notions: Tapestry needle for seaming and weaving in ends, scissors
- Gauge: 20 stitches and 28 rows = 4 inches in stockinette stitch (exact gauge is not critical, but consistency is important for a flat fabric)
Step-by-Step Instructions
This hot pad is constructed in three main parts: two identical leaf-shaped pieces and a small stem. The leaf shape is created through strategic increases and decreases, with a beautiful central vein formed by a simple knit/purl pattern. Follow these detailed instructions carefully, and you'll have a gorgeous Emberfall Leaf Hot Pad in no time.
Leaf Shape (Make 2)
Using Color A (Burnt Orange), cast on 3 stitches. We'll begin by increasing to form the rounded base of the leaf.
Increasing the Base:
- Row 1 (RS): K1, yo, k1, yo, k1. (5 stitches)
- Row 2 (WS): Purl all stitches.
- Row 3: K2, yo, k1, yo, k2. (7 stitches)
- Row 4: Purl all stitches.
- Row 5: K3, yo, k1, yo, k3. (9 stitches)
- Row 6: Purl all stitches.
- Row 7: K4, yo, k1, yo, k4. (11 stitches)
- Row 8: Purl all stitches.
- Row 9: K5, yo, k1, yo, k5. (13 stitches)
- Row 10: Purl all stitches.
- Row 11: K6, yo, k1, yo, k6. (15 stitches)
- Row 12: Purl all stitches.
- Row 13: K7, yo, k1, yo, k7. (17 stitches)
- Row 14: Purl all stitches.
Creating the Leaf Body with Central Vein:
Now we'll establish the beautiful textured pattern. The central vein is a column of stockinette stitch (knit on RS, purl on WS) surrounded by a moss stitch border. This creates a lovely, dimensional effect.
- Row 15 (RS): *K1, p1; repeat from * to last stitch, k1. (17 stitches) (This creates a moss stitch border on both sides)
- Row 16 (WS): *P1, k1; repeat from * to last stitch, p1. (17 stitches)
Repeat Rows 15 and 16 until the piece measures 4 inches from the cast-on edge, ending with a WS row. This will give your leaf a nice, substantial body.
Shaping the Leaf Tip (Decreases):
Now we'll begin decreasing to form the pointed tip of the leaf. Keep the moss stitch border and central vein pattern as established, but decrease on each side of the vein on RS rows. The central vein will remain as 3 stitches (k1, p1, k1 on RS) in the middle.
- Row 1 (RS): K1, p1, k1, p1, k1, p1, k2tog, k1, ssk, p1, k1, p1, k1, p1, k1. (15 stitches)
- Row 2 (WS): P1, k1, p1, k1, p1, k1, p3, k1, p1, k1, p1, k1, p1. (15 stitches)
- Row 3: K1, p1, k1, p1, k1, p1, k2tog, k1, ssk, p1, k1, p1, k1, p1, k1. (13 stitches)
- Row 4: P1, k1, p1, k1, p1, k1, p3, k1, p1, k1, p1, k1. (13 stitches)
- Row 5: K1, p1, k1, p1, k1, k2tog, k1, ssk, k1, p1, k1, p1, k1. (11 stitches)
- Row 6: P1, k1, p1, k1, p3, k1, p1, k1, p1. (11 stitches)
- Row 7: K1, p1, k1, p1, k2tog, k1, ssk, p1, k1, p1, k1. (9 stitches)
- Row 8: P1, k1, p1, k3, p1, k1, p1. (9 stitches)
- Row 9: K1, p1, k1, k2tog, k1, ssk, k1, p1, k1. (7 stitches)
- Row 10: P1, k1, p3, k1, p1. (7 stitches)
- Row 11: K1, p1, k2tog, k1, ssk, p1, k1. (5 stitches)
- Row 12: P1, k3, p1. (5 stitches)
- Row 13: K1, k2tog, k1, ssk, k1. (3 stitches)
- Row 14: P3tog. (1 stitch)
Cut yarn, leaving a 6-inch tail. Pull the tail through the remaining loop and weave in the end securely. Repeat this entire process to create a second identical leaf piece.
Stem (Make 1)
Using Color C (Deep Rust), cast on 5 stitches. This small piece will form the leaf's stem.
- Row 1: Knit all stitches.
- Row 2: Purl all stitches.
Repeat these two rows until the stem measures 2 inches. Bind off all stitches. Weave in the ends, leaving a longer tail at one end for attaching to the leaf.
Finishing and Assembly
Now for the magical part—bringing all the pieces together to create your finished hot pad.
- Position the Leaves: Place the two leaf pieces together with wrong sides facing each other. The right sides (the nicer-looking sides) should be facing out.
- Seam the Edges: Thread a tapestry needle with Color B (Golden Yellow). Using a whip stitch, carefully sew around the curved edge of the leaf, leaving the straight cast-on edge open. This decorative stitch will not only join the layers but also add a beautiful contrasting accent.
- Attach the Stem: Insert the stem into the opening at the cast-on edge of the leaf. Position it so it extends outward from the base. Sew it securely in place, using the tail you left, and close the opening completely with your whip stitch.
- Weave in Ends: Weave in all remaining yarn ends using your tapestry needle to ensure a clean, professional finish.
- Block Gently: To flatten the leaf shape and even out the stitches, gently block the hot pad. You can do this by lightly misting it with water and pinning it to a flat surface in the desired shape, then allowing it to dry completely.
Your Emberfall Leaf Hot Pad is now complete! This beautiful, functional piece will protect your countertops and tables while adding a touch of autumnal charm to your kitchen. It also makes a wonderful handmade gift for friends and family. Enjoy the cozy warmth it brings to your home!