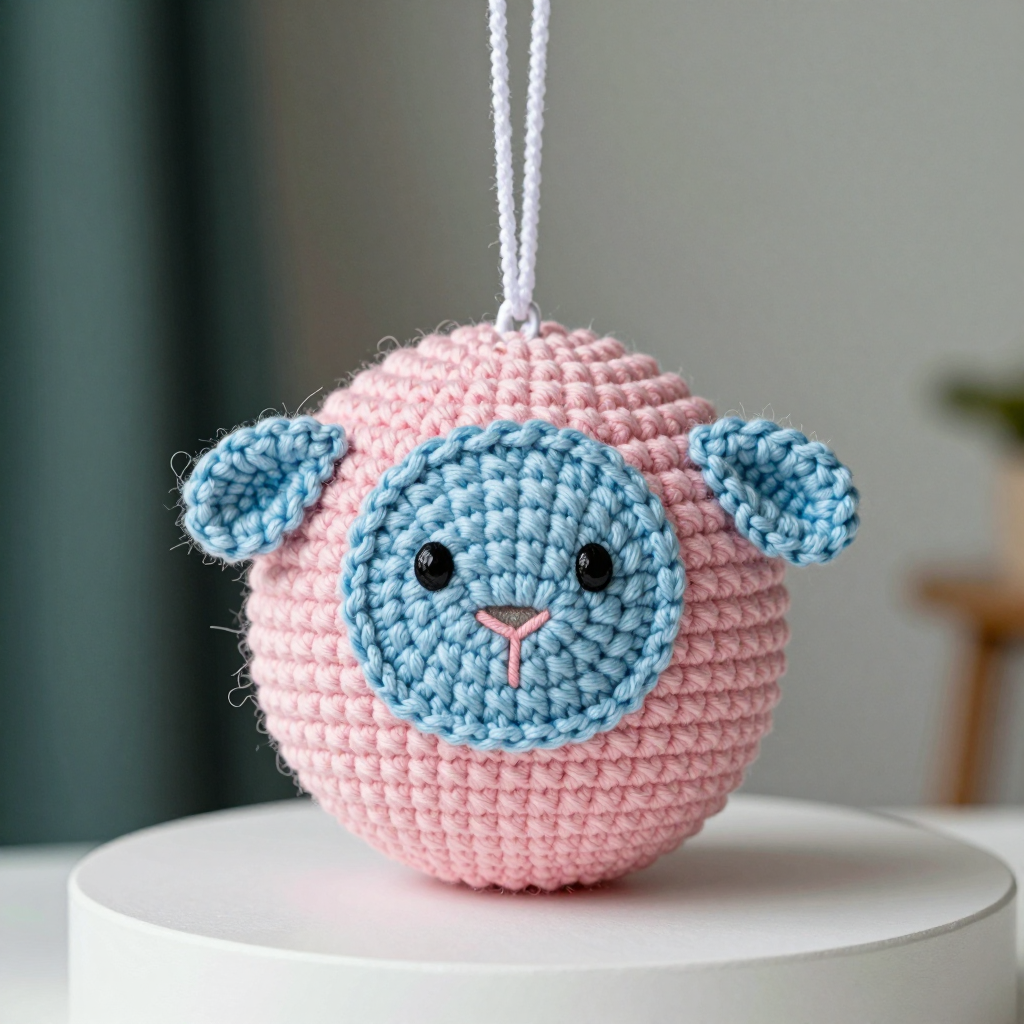
Free Pattern: Forest Green Skull Egg Amigurumi Plush with Rust Embroidery

Free Pattern: Forest Green Skull Egg Amigurumi Plush with Rust Embroidery
Introduction
This little forest green egg plush is the perfect first amigurumi project for anyone who has never held a crochet hook before. It is worked in one simple piece using only single crochet, so you never have to learn a dozen different stitches to finish something beautiful. The finished egg stands about 5 inches tall, feels firm and smooth in your hand, and has a matte cotton texture that is lovely to squeeze. Once the body is closed, you add a rust-colored skull face and two thin zigzag bands with a tapestry needle, which means the hardest-looking part of this project is actually just simple embroidery. It is a striking, slightly spooky, Art Deco accent piece that looks wonderful on a shelf, a desk, or tucked into a gift bag.
Materials Needed
- Yarn: Sport weight cotton yarn (CYC category 2 / fine). Total approximately 110–120 yd (100–110 m): about 100 yd (90 m) forest green for the body and 10–15 yd (9–14 m) rust for the embroidery.
- Crochet hook: US C-2 / 2.75 mm (or the size you need to match gauge).
- Stitch marker: One removable marker (or a scrap of contrasting yarn) to mark the first stitch of each round.
- Tapestry needle: A blunt-tipped needle with an eye large enough for your yarn, used for embroidery and for weaving in ends.
- Scissors: Sharp small scissors for cutting yarn.
- Stuffing: Polyester fiberfill (a small handful is plenty).
- Finished size: Approximately 5 in (12.5 cm) tall and 3.5 in (9 cm) wide at the widest point.
Abbreviations and Beginner Glossary
- ch – chain. Make a loop of yarn on the hook and pull the working yarn through it. (You will not actually need chains for this pattern, but the term appears in many patterns, so it is good to know.)
- sc – single crochet. Insert your hook into the stitch, wrap the yarn over the hook, pull up a loop (you now have two loops on the hook), wrap the yarn over again, and pull it through both loops. One single crochet made.
- 2 sc in next st – work two single crochets into the same stitch. This is an increase and makes the piece wider.
- sc2tog – single crochet two stitches together. Insert your hook into the next stitch, pull up a loop, insert your hook into the following stitch, pull up a loop (three loops on hook), wrap yarn over, pull through all three loops. This is a decrease and makes the piece narrower.
- sl st – slip stitch. Insert hook into the stitch, wrap yarn over, and pull it through both the stitch and the loop on your hook in one motion. Used to join rounds; not needed in this pattern.
- st(s) – stitch or stitches.
- rnd – round. One complete circle of stitches worked in the round.
- FO – fasten off. Cut the yarn a few inches from the work, then pull the tail all the way through the last loop to lock it.
- magic ring – an adjustable loop of yarn that you crochet into, then pull tight so the center closes with no hole.
- satin stitch – embroidery made of straight stitches laid side by side to fill a shape smoothly.
- straight stitch – a single straight embroidery stitch from one point to another.
- backstitch – an embroidery outline stitch: come up through the fabric, go back down a short distance behind, then come up again ahead of the previous stitch.
- chain stitch (embroidery) – bring the needle up, hold the yarn in a small loop, insert the needle right next to where you came up, and bring it up again inside the loop to anchor it, forming a small chain link.
Gauge
Gauge: 24 single crochet x 26 rounds = 4 in (10 cm) in continuous single crochet worked in the round.
Gauge means how many stitches and rounds fit into a set measurement. It matters because it controls the finished size: if your stitches are too big, your egg will come out larger and floppy; if they are too tight, it will be small and stiff. To check, crochet a small flat swatch of about 25 single crochets and 26 rows, lay it flat, and measure a 4-inch section in the middle with a ruler. Count the stitches across and the rows up. If you have more than 24 stitches in 4 inches, your stitches are too small — try a larger hook. If you have fewer, your stitches are too big — try a smaller hook. Because this pattern is worked in the round, you can also simply begin the body and measure the width after Round 8: it should measure about 3.5 in (9 cm) across.
Beginner Tips Before You Start
- Use a stitch marker every single round. Place it in the very first stitch you make in Round 1, and move it up to the first stitch of each new round. Without it, you will lose your place in the spiral.
- Do not pull your yarn too tight. Tension should be snug but relaxed. If your hook squeaks or your hand aches, you are pulling too hard.
- Count out loud. Counting your stitches at the end of each round is the fastest way to catch a mistake before it ruins the shape.
- Stuff firmly but gradually. Add stuffing in small handfuls from Round 24 onward so the egg stays smooth and upright instead of lumpy.
- Keep your embroidery loose. Pulling embroidery thread tight will pucker the crochet fabric. Let the stitches sit gently on the surface.
- Work in good light. Forest green yarn is dark; a bright lamp makes it much easier to see your stitches.
Step-by-Step Instructions
Body (forest green)
Work in continuous rounds (a spiral) without joining. Do not turn your work. Place a stitch marker in the first stitch of each round and move it up as you go.
Rnd 1: Make a magic ring. Work 6 sc into the ring. Pull the ring tail tight to close the center. (6 sts)
Rnd 2: 2 sc in each st around. (12 sts)
Rnd 3: [Sc in next st, 2 sc in next st] around. (18 sts)
Rnd 4: [Sc in next 2 sts, 2 sc in next st] around. (24 sts)
Rnd 5: [Sc in next 3 sts, 2 sc in next st] around. (30 sts)
Rnd 6: [Sc in next 4 sts, 2 sc in next st] around. (36 sts)
Rnd 7: [Sc in next 5 sts, 2 sc in next st] around. (42 sts)
Rnd 8: [Sc in next 6 sts, 2 sc in next st] around. (48 sts)
Rnds 9–20: Sc in each st around. (48 sts for 12 rounds)
Rnd 21: [Sc in next 6 sts, sc2tog] around. (42 sts)
Rnd 22: [Sc in next 5 sts, sc2tog] around. (36 sts)
Rnd 23: [Sc in next 4 sts, sc2tog] around. (30 sts)
Rnd 24: [Sc in next 3 sts, sc2tog] around. (24 sts)
Stuff now. Fill the body firmly with fiberfill, shaping it into an upright egg with your fingers. Continue adding small amounts of stuffing as you close the remaining rounds.
Rnd 25: [Sc in next 2 sts, sc2tog] around. (18 sts)
Rnd 26: [Sc in next st, sc2tog] around. (12 sts)
Rnd 27: [Sc2tog] around. (6 sts)
FO leaving a 6-in (15 cm) tail. Thread the tail onto the tapestry needle, pass it through the front loop of each of the last 6 sts, and pull tight to close the hole. Weave in the end.
Embroidered Skull Face (rust)
Work on the front of the egg, centered left to right, with the top of the skull about 1.25 in (3 cm) below the top of the egg. Use the tapestry needle and rust yarn.
Step 1 – Eye sockets: Work two small satin-stitch ovals, each about 0.4 in (1 cm) wide and 0.5 in (1.3 cm) tall, spaced about 0.6 in (1.5 cm) apart. To make a satin stitch, bring the needle up at one edge of the oval, go down at the opposite edge, and repeat with stitches laid side by side until the oval is filled. Keep the stitches flat and smooth.
Step 2 – Nose: Below and centered between the eyes, embroider a small inverted triangle, or work two short vertical straight stitches about 0.25 in (6 mm) tall that meet at the bottom.
Step 3 – Mouth: Below the nose, work a horizontal line of straight stitches about 0.9 in (2.3 cm) wide. Then add 4–5 short vertical straight stitches crossing the line to suggest teeth, each about 0.2 in (5 mm) tall.
Step 4 – Outline (optional): Outline the skull shape with a single strand of rust using backstitch, keeping the outline simple and geometric for a Deco feel.
FO and weave in the ends on the inside of the body.
Chain-Stitch Zigzag Bands (rust)
These thin zigzag bands circle the sides of the egg. Work them with rust yarn and the tapestry needle using chain stitch.
Band 1 (upper): About 1.5 in (4 cm) below the top of the egg, work a shallow zigzag around the circumference: 6 points up and 6 points down, each point about 0.4 in (1 cm) apart horizontally and 0.2 in (5 mm) vertically. To make a chain stitch, bring the needle up, hold the yarn in a small loop, insert the needle right next to where you came up, and bring it up again inside the loop to anchor it. Repeat, following the zigzag line.
Band 2 (lower): About 1.25 in (3 cm) below Band 1, work a matching zigzag band with the same number of points, aligned with or slightly offset from Band 1 for a Deco border effect.
Keep the chain stitches loose enough that they do not pull the fabric, but tight enough to sit neatly on the surface. FO and weave in the ends inside the body.
Assembly and Finishing
Shaping: Gently roll and squeeze the egg between your palms to smooth the surface and make it stand upright. If it feels soft anywhere, push a tiny bit more fiberfill in through the closing gap before you tighten it fully.
Weaving in ends: Thread each yarn tail onto the tapestry needle, run it through the inside of the body for about 1 inch, then back through the same path in the opposite direction for a few stitches. Trim close to the surface. This locks the end so it will not work loose.
Blocking: Lightly steam the embroidery from the wrong side (hold a steam iron an inch or two above the surface, never pressing down on the stitches) to settle the threads. Let the egg air-dry completely before handling.
Pro Tips and Variations
- Change the colors: Try charcoal grey with cream embroidery for a moodier look, or deep plum with gold for a richer Deco feel. Keep the body dark and the embroidery light for contrast.
- Adjust the size: Use a larger hook and thicker yarn (worsted weight with a 4.0 mm hook) to make a bigger egg, or a smaller hook and finer yarn for a tiny ornament. Always re-check your gauge first.
- Substitute yarn: Acrylic or a cotton-blend yarn works well, but cotton gives the smoothest, most matte surface for embroidery. Avoid fuzzy yarns, which hide the skull details.
- Add a hanging loop: Before closing the final round, crochet a chain of 12 and slip stitch back into the top to make a loop, turning the egg into an ornament.