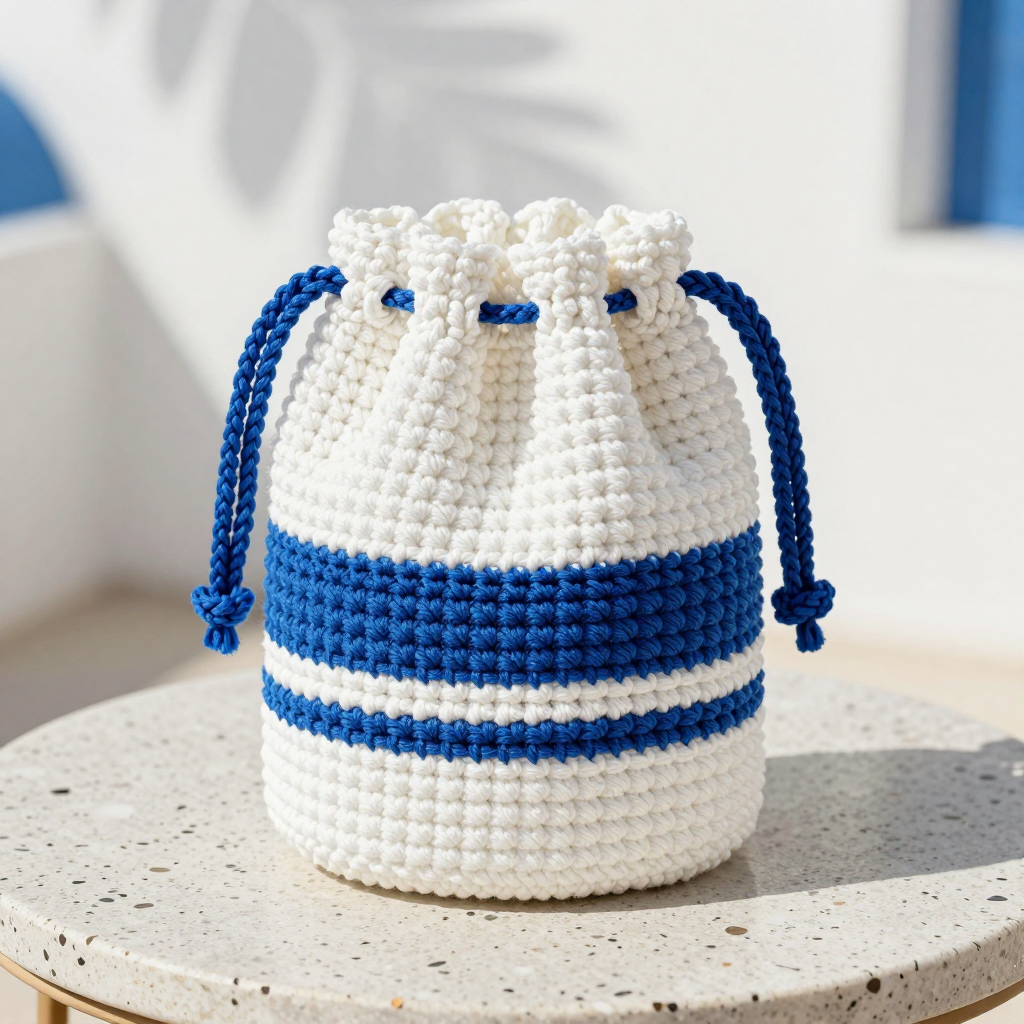
Frost Lane Drawstring Shorts Free Pattern: Beginner Linen Stitch Knit Shorts

Frost Lane Drawstring Shorts: Your First Pair of Knitted Shorts
If you have ever looked at a pair of knitted shorts and thought "that looks too hard," this pattern is here to change your mind. The Frost Lane Drawstring Shorts are made from just two simple rectangles, knitted flat with a gentle, beginner-friendly linen stitch, then seamed into legs and joined at the crotch. The finished shorts are relaxed and knee-length, with a soft ice-blue body, a crisp silver stripe at each hem, and a knitted silver drawstring you tie at the waist. The bamboo cotton yarn gives them a cool, smooth drape with a subtle sheen, so they feel light and comfortable against the skin. If you can knit and purl, you can absolutely make these.
Materials Needed
- Yarn: Worsted weight bamboo cotton yarn (approx. 60% bamboo, 40% cotton; 100 g / 180 yd per skein). Ice Blue: 3 (3, 4, 4) skeins. Silver: 1 skein for all sizes.
- Main needles: US 7 (4.5 mm) straight knitting needles, or the size needed to get gauge.
- Drawstring needles: Two US 7 (4.5 mm) double-pointed needles (used to knit the I-cord drawstring).
- Stitch markers: A few, to mark the start of rows and to hold stitches if needed.
- Tapestry needle: A large blunt needle with an eye big enough for your yarn, for seaming and weaving in ends.
- Scissors: For cutting yarn.
- Safety pin or small crochet hook: To help thread the drawstring through the casing.
- Stitch holder or spare needle: To hold the live waist stitches while you work.
Finished measurements: Finished waist (unstretched) 28 (34, 40, 46) in / 71 (86, 102, 117) cm. Finished hip 40 (46, 52, 58) in / 102 (117, 132, 147) cm. Finished inseam 9 in / 23 cm. Finished outseam 20 in / 51 cm. Shown in size M/L.
Abbreviations and Beginner Glossary
- st / sts – stitch / stitches (one loop on your needle is one stitch).
- RS – right side (the outside of the shorts that people will see).
- WS – wrong side (the inside of the shorts).
- K / k – knit (insert the right needle into the front of the stitch, wrap yarn around, pull a loop through, slide the old stitch off).
- P / p – purl (insert the right needle into the front of the stitch with yarn in front, wrap yarn around, pull a loop through, slide the old stitch off).
- sl 1 wyif – slip 1 stitch with yarn in front (move the yarn to the front of your work, then slide the next stitch from the left needle to the right needle without knitting it).
- rep – repeat (do the same thing again).
- Stockinette stitch – knit on RS rows, purl on WS rows (creates a smooth, flat fabric).
- Cast on – the very first step that puts the starting stitches onto your needle.
- Bind off – the final step that locks the stitches so they do not unravel.
- Long-tail cast on – a common, stretchy cast-on method using two strands of yarn.
- I-cord – a thin knitted tube made by sliding stitches back and forth on double-pointed needles.
- Mattress stitch – an invisible seaming technique that joins two edges neatly.
- Whipstitch – a simple over-and-over stitch used to close a gap.
- Casing – a folded tunnel of fabric that holds the drawstring.
Gauge
18 sts and 32 rows = 4 in / 10 cm in linen stitch, worked flat and measured after light blocking. Row gauge is critical for length, so check it before you begin.
Why gauge matters: Gauge is how many stitches and rows fit into a set measurement. If your stitches are bigger than the pattern expects, your shorts will come out too large; if they are smaller, the shorts will be too tight and too short. How to make a swatch: Cast on about 30 stitches, work in linen stitch for about 4 inches, then bind off. Lay the swatch flat, place a ruler across the middle, and count how many stitches fit in 4 inches and how many rows fit in 4 inches. If you have more stitches than 18, go up a needle size; if you have fewer, go down a needle size. Try again until it matches.
Beginner Tips Before You Start
- Count your stitches every 10 rows. Slipped stitches make counting tricky, so a quick count keeps you on track.
- Do not pull the yarn too tight when you slip a stitch. Keep the yarn relaxed so the woven texture stays even.
- Always slip stitches purlwise with yarn in front on RS rows, and never twist the slipped stitch.
- Use a stitch marker to mark the right side of your work so you always know which row you are on.
- Work the silver stripe first. This hides the cast-on edge inside the hem seam for a clean finish.
- Block before seaming. Light blocking makes the rectangles flat and easy to measure and seam.
Step-by-Step Instructions
Stitch Guide: Linen Stitch (Flat)
Linen stitch works over a multiple of 2 sts + 1.
Row 1 (RS): K1, *sl 1 wyif, k1; rep from * to end.
Row 2 (WS): P1, *k1, p1; rep from * to end.
Repeat Rows 1–2 for the linen stitch pattern.
Leg Rectangle (make 2 alike)
With Silver, cast on 91 (103, 115, 127) sts using the long-tail method.
Set-up row (WS): P1, *k1, p1; rep from * to end. (91 [103, 115, 127] sts)
Silver stripe: Work 12 rows in linen stitch (approx. 1 1/2 in / 4 cm). (91 [103, 115, 127] sts) Break Silver.
Join Ice Blue and work in linen stitch until the piece measures 18 in / 46 cm from the cast-on edge, ending with a WS row. (91 [103, 115, 127] sts)
Waist casing: Change to Stockinette stitch (k on RS, p on WS) and work 8 rows, ending with a WS row. Do not bind off. Place stitches on a holder. (91 [103, 115, 127] sts)
Repeat the entire Leg Rectangle once more so you have two identical legs.
Finishing the Legs
Block both leg rectangles lightly to measurements: width 20 (23, 26, 29) in / 51 (58, 66, 74) cm and length 20 in / 51 cm.
With RS facing, use mattress stitch to seam the cast-on edge of each leg to itself to close the hem, forming a tube. Then seam the side edges of each leg from hem to waist to form the inseam/outseam tube. Repeat for the second leg.
Joining the Legs
Turn both legs RS out. Hold the two legs together with waist edges aligned and the front of the shorts facing you. The center front gap between the two legs should measure approx. 2 in / 5 cm; the center back gap should measure approx. 4 in / 10 cm.
Using Ice Blue and a tapestry needle, whipstitch the center front gap closed, then whipstitch the center back gap closed, working from the inside of the shorts so the seam is invisible on the outside. This creates the crotch seam and joins the legs into shorts.
Waistband Casing
Transfer all waist stitches from both legs to the straight needles, distributing them evenly around the waist opening.
With Ice Blue and RS facing, knit 1 row. (182 [206, 230, 254] sts)
Work 7 rows in Stockinette stitch. (182 [206, 230, 254] sts)
Bind off loosely.
Fold the casing to the inside along the natural fold line and sew the bound-off edge to the inside of the waist with a tapestry needle, leaving a 2 in / 5 cm opening at the center back for the drawstring.
Drawstring
With Silver and double-pointed needles, cast on 4 sts.
Work an I-cord as follows: *K4, do not turn; slide stitches to the other end of the needle; rep from * until cord measures 50 (56, 62, 68) in / 127 (142, 157, 173) cm, or desired length. Bind off.
Thread the cord through the casing using a safety pin, beginning and ending at the center back opening. Knot the ends.
Hem Finishing
Weave in all ends. Lightly steam the silver stripe and waistband to set the stitches. Do not press the linen stitch body flat; allow the texture to remain.
Assembly and Finishing
Seaming: Thread your tapestry needle with Ice Blue yarn. Working from the RS, use mattress stitch: bring the needle under one bar of yarn on one edge, then under the matching bar on the other edge, pulling gently every few stitches so the seam closes invisibly. Work the hem seam first, then the side seams, then the center front and center back gaps.
Weaving in ends: Thread each tail onto the tapestry needle and weave it through the back of several stitches, changing direction once, then trim close to the fabric.
Blocking: Lightly mist or steam the shorts and pat them flat to the measurements above. Let them dry completely before wearing. Do not press the linen stitch flat, as this would crush the texture.
Pro Tips and Variations
- Change the stripe color: Swap Silver for any contrast color to match your wardrobe, or work two thin stripes instead of one deep stripe.
- Adjust the length: Add or remove rows in the Ice Blue section before the waist casing to make the shorts longer or shorter. Each 32 rows adds about 4 in / 10 cm.
- Adjust the fit: For a looser fit, go up one needle size for the body only. For a snugger waist, work fewer stitches in the waistband casing.
- Substitute yarn: Any worsted weight cotton or cotton blend will work, but always knit a new gauge swatch because bamboo cotton drapes differently from other fibers.