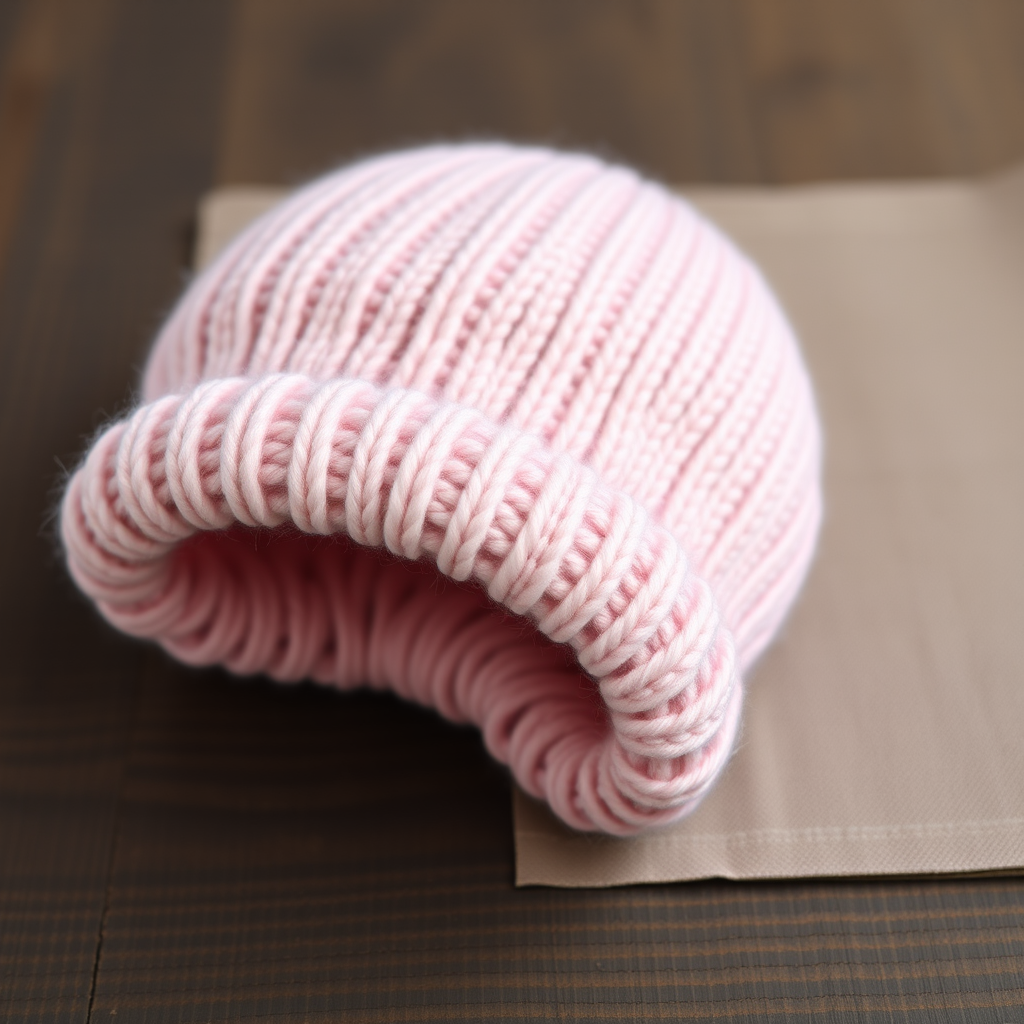
Little Bluebell Bonnet Free Pattern – A Knitted Baby Beanie with Twisted Rib and I-Cord Ties
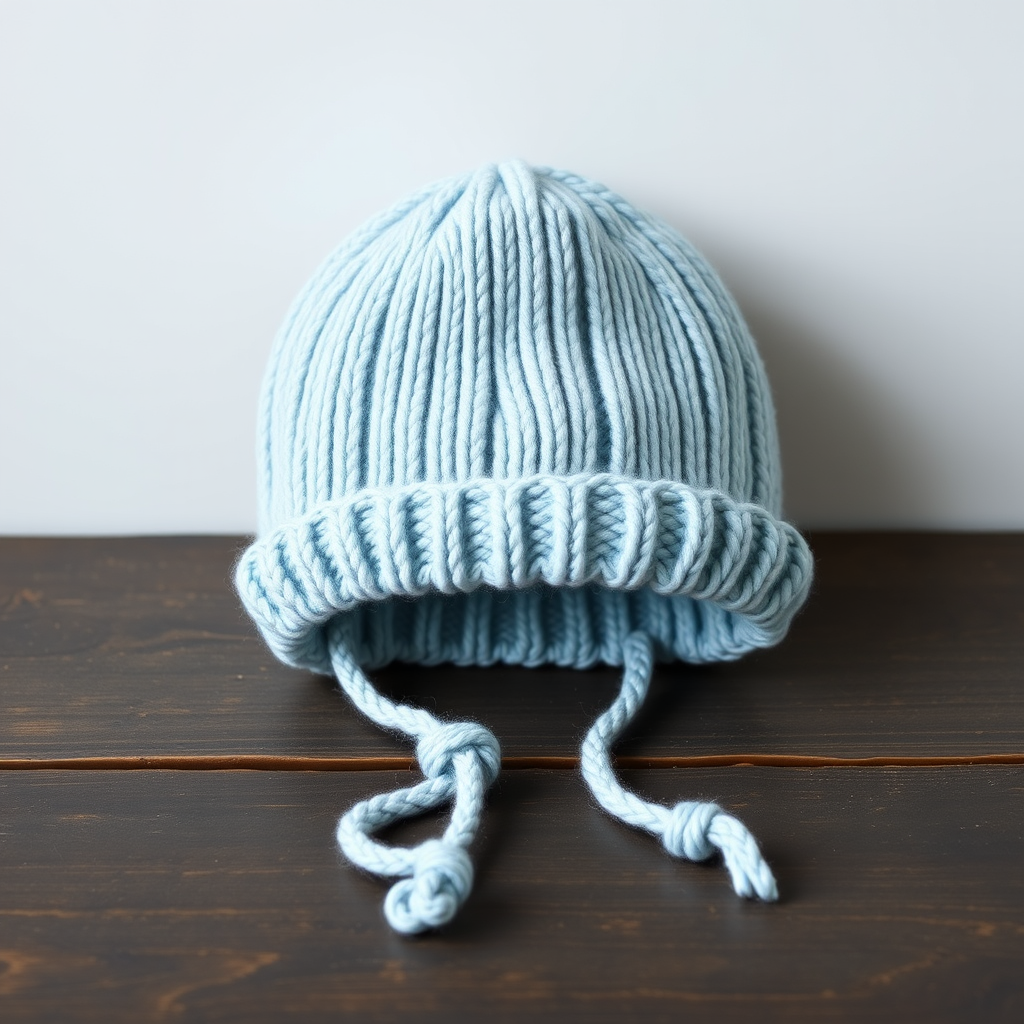
Little Bluebell Bonnet: A Heirloom-Quality Knitted Baby Beanie
There's something truly special about creating a handmade garment for a little one. This Little Bluebell Bonnet is more than just a baby beanie—it's a keepsake in the making. Knitted in a serene sky blue with a delicate twisted rib brim and playful I-cord ties, this bonnet wraps your baby in softness while adding a touch of timeless charm. Whether you're preparing for a chilly stroll or simply want a cozy layer for sweet naps, this pattern is as practical as it is beautiful. Best of all, it's beginner-friendly, so you can craft an heirloom-quality piece with confidence.
Materials Needed
Before you begin, gather these supplies to ensure a smooth knitting experience:
- Yarn: Worsted weight (Category 4) in sky blue—approximately 100g / 200 yards. Choose 100% merino wool for ultimate softness or a soft acrylic blend for easy care.
- Needles: US 6 (4.0 mm) 16-inch circular needle and double-pointed needles (or size needed to obtain gauge).
- Notions: Stitch markers, tapestry needle for weaving in ends and seaming.
- Gauge: 20 stitches and 28 rows = 4 inches in stockinette stitch (knit one row, purl one row), blocked. Always check your gauge to ensure the perfect fit.
Step-by-Step Instructions
This bonnet is knitted flat from the back to the front, then seamed, with a twisted rib brim and I-cord ties. It fits a newborn to 3-month-old (head circumference approx. 14–15 inches). Follow these detailed steps carefully, and you'll have a beautiful bonnet in no time.
Abbreviations
- K = knit
- P = purl
- K2tog = knit two stitches together (decrease)
- P2tog = purl two stitches together (decrease)
- KFB = knit into front and back of same stitch (increase)
- Sl = slip stitch
- St(s) = stitch(es)
- RS = right side
- WS = wrong side
Back Panel (Worked Flat)
- Cast on 60 stitches using the long-tail cast-on method.
- Row 1 (RS): *K1, P1* repeat from * to * across.
- Row 2 (WS): *P1, K1* repeat from * to * across.
- Repeat Rows 1–2 for 2 inches (about 14 rows), ending with a WS row. This forms the twisted rib brim. For a true twisted rib, knit through the back loop on the knit stitches—this creates a lovely, textured twist that hugs the forehead beautifully.
- Next, work in stockinette stitch (K on RS, P on WS) for 3 inches, ending with a WS row. Place a stitch marker at each edge to mark the beginning of the side shaping.
Side Shaping (Increase for the Sides)
- Row 1 (RS): KFB, knit to last stitch, KFB (62 sts).
- Row 2 (WS): Purl all stitches.
- Repeat Rows 1–2 two more times (66 sts).
- Work even in stockinette for 1 inch, ending with a WS row.
Crown Shaping (Decrease for the Top)
- Row 1 (RS): K2tog, knit to last 2 stitches, K2tog (64 sts).
- Row 2 (WS): Purl all stitches.
- Repeat Rows 1–2 until 40 stitches remain, ending with a WS row.
- Next, decrease every row: On RS rows, K2tog across (20 sts). On WS rows, P2tog across (10 sts).
- Cut yarn leaving a 12-inch tail. Thread tail through remaining stitches, pull tight, and secure.
Seaming
- Fold the bonnet in half with RS together, matching the side edges.
- Using the tail, sew the back seam from the cast-on edge to the crown, then continue sewing the side seams from the markers to the crown.
- Turn RS out. The bonnet should now have a rounded shape with the brim at the front.
I-Cord Ties
- With double-pointed needles, pick up and knit 4 stitches from the bottom corner of one side of the brim (at the marker).
- Work I-cord: *Knit 4 stitches, slide them to the other end of the needle, do not turn, pull yarn tightly across the back* repeat from * to * until the cord measures 6 inches.
- Bind off. Repeat for the other side.
Finishing
- Weave in all ends with a tapestry needle.
- Block gently to shape—this helps even out the stitches and gives the bonnet a professional finish.
- Optionally, add a small pom-pom to the top for extra charm. It's a delightful touch that babies and parents alike will adore.
And there you have it—a gorgeous, heirloom-quality Little Bluebell Bonnet ready to keep your little one cozy and stylish. This pattern is perfect for gifting at baby showers or creating a special keepsake for your own bundle of joy. Happy knitting!