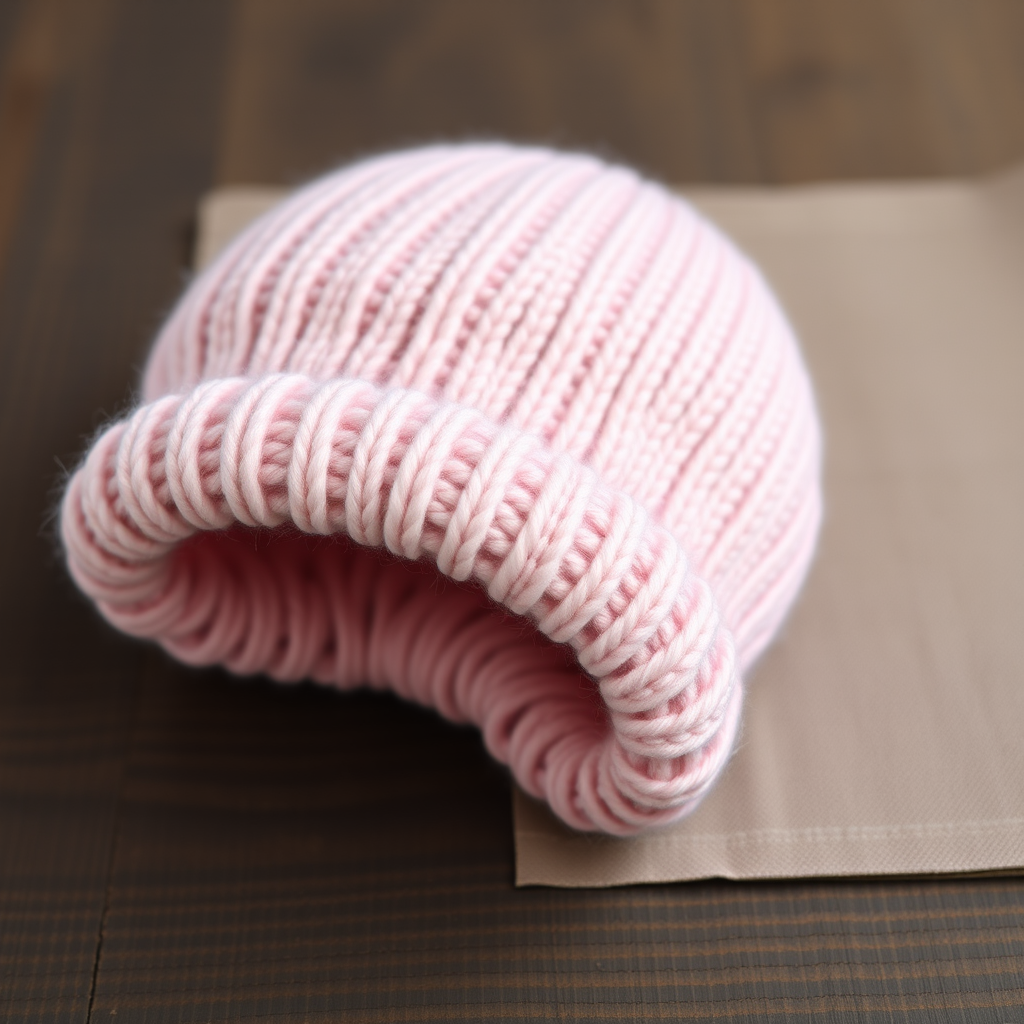
Whispering Willow Knitted Baby Bonnet Free Pattern – A Heirloom Lace Accent

Whispering Willow Knitted Baby Bonnet Free Pattern – A Heirloom Lace Accent
Wrap your little one in timeless charm with this delicate lace-knit bonnet, inspired by the gentle sway of willow branches. This heirloom-quality pattern creates a soft, breathable design that feels like a gentle hug for the newest member of your family. The subtle sage green and airy lace pattern evoke the delicate leaves of a willow tree, making this bonnet a cherished keepsake for generations to come. Whether you're a seasoned knitter or a confident beginner looking for a special project, this pattern offers a rewarding experience with stunning results.
Materials Needed
Before you begin, gather the following materials to ensure a smooth and enjoyable knitting experience:
- Yarn: Fingering weight (4-ply) baby yarn in a soft sage green (approx. 100g / 350m). Choose a machine-washable yarn for easy care, as this bonnet will be worn by a precious little one.
- Needles: 3.25mm (US 3) circular knitting needles with a 60cm (24-inch) cable, plus a set of double-pointed needles (DPNs) in the same size for the crown shaping.
- Notions: Stitch markers (at least 2), a tapestry needle for weaving in ends, a crochet hook (optional, for picking up stitches for the ties), and blocking pins/mat.
Gauge
24 stitches and 32 rows = 10cm (4 inches) in stockinette stitch, after blocking. Always knit a gauge swatch to ensure your bonnet fits perfectly. If your gauge is off, adjust your needle size accordingly.
Step-by-Step Instructions
This bonnet is knitted from the bottom up, starting with a lace-edged brim, then working the crown with simple decreases. The pattern includes a knitted tie for a secure, adorable fit. Follow along carefully, and you'll have a beautiful bonnet in no time.
Abbreviations
- k = knit
- p = purl
- yo = yarn over (bring yarn to front, then over the needle to create a new stitch)
- k2tog = knit two together (right-leaning decrease)
- ssk = slip, slip, knit (left-leaning decrease – slip two stitches knitwise, one at a time, then knit them together through the back loop)
- pm = place marker
- st(s) = stitch(es)
Brim (Worked Flat)
The brim is worked back and forth in rows to create the decorative eyelet edge that will frame the face.
- Cast on 85 stitches loosely. Use a long-tail cast-on or a knitted cast-on for a stretchy edge.
- Row 1 (RS): k1, *yo, k2tog* repeat from * to * until 2 sts remain, k2. (This creates a decorative eyelet row for the tie.)
- Row 2 (WS): Purl all stitches.
- Row 3: Knit all stitches.
- Row 4: Purl all stitches.
- Repeat rows 1-4 once more, then repeat row 1 again. (You will have a total of 3 eyelet rows, with 2 plain rows between each.)
- Next row (WS): Purl all stitches. Your brim is now complete.
Body (Worked in the Round)
Now we'll join the work in the round to create the main body of the bonnet. Take care not to twist your stitches.
- Join in the round: Place a marker at the beginning of the round. Ensure the cast-on edge is not twisted around the needle.
- Round 1: *k1, yo, k2tog* repeat to end. (This continues the lace pattern from the brim.)
- Round 2: Knit all stitches.
- Round 3: *k2tog, yo, k1* repeat to end. (This staggers the lace pattern for a beautiful, organic look.)
- Round 4: Knit all stitches.
- Repeat rounds 1-4 until the body measures 7cm (2.75 inches) from the brim, ending with a round 4. The lace pattern will create a subtle, airy texture reminiscent of willow leaves.
Crown Shaping
Now we'll shape the top of the bonnet with simple, even decreases. Switch to DPNs when the stitches become too tight for the circular needle (usually after the first few decrease rounds).
- Round 1: *k8, k2tog* repeat to end. (You will have 77 sts remaining.)
- Round 2: Knit all stitches.
- Round 3: *k7, k2tog* repeat to end. (69 sts)
- Round 4: Knit all stitches.
- Continue decreasing in this manner – knitting one fewer stitch before each k2tog – every other round until 9 sts remain. Your decrease rounds will look like: *k6, k2tog*, *k5, k2tog*, *k4, k2tog*, and so on, with a plain knit round in between each decrease round.
- Cut yarn, leaving a 20cm (8-inch) tail. Thread the tail through a tapestry needle, then pass it through the remaining 9 stitches. Pull tight to close the crown, and secure with a knot.
Tie
The knitted i-cord ties add a charming, secure finish to the bonnet.
- Pick up stitches: With a crochet hook or knitting needle, pick up and knit 3 stitches from the corner of the brim (at the start of the cast-on edge).
- Knit an i-cord: Slide the stitches to the other end of the needle, knit them, and slide back. Repeat this process until the i-cord measures 25cm (10 inches). This creates a neat, round cord.
- Bind off: Bind off loosely, then tie a small knot at the end of the cord to prevent unraveling.
- Repeat on the other corner of the brim.
Finishing
- Weave in all ends using a tapestry needle. Be sure to weave them in securely on the inside of the bonnet so they won't irritate baby's delicate skin.
- Block the bonnet gently to open up the lace pattern and shape the brim. Soak the bonnet in lukewarm water with a drop of mild wool wash, gently squeeze out excess water (never wring), and lay flat on a towel. Shape the brim and crown, then pin if needed. Allow to dry completely.
Sizing
This pattern is designed for 0-3 months, with a head circumference of approximately 35-38cm (14-15 inches). The bonnet is meant to fit snugly but comfortably, with the ties securing it under the chin.
With its delicate lace brim and soft, breathable fabric, this Whispering Willow Bonnet is a true heirloom piece. The gentle sage green color and airy stitch pattern make it perfect for a spring baby, a christening, or simply a beautiful everyday accessory. Handmade with love, this bonnet will be treasured for years to come – and may even become a family keepsake passed down to future generations. Happy knitting!