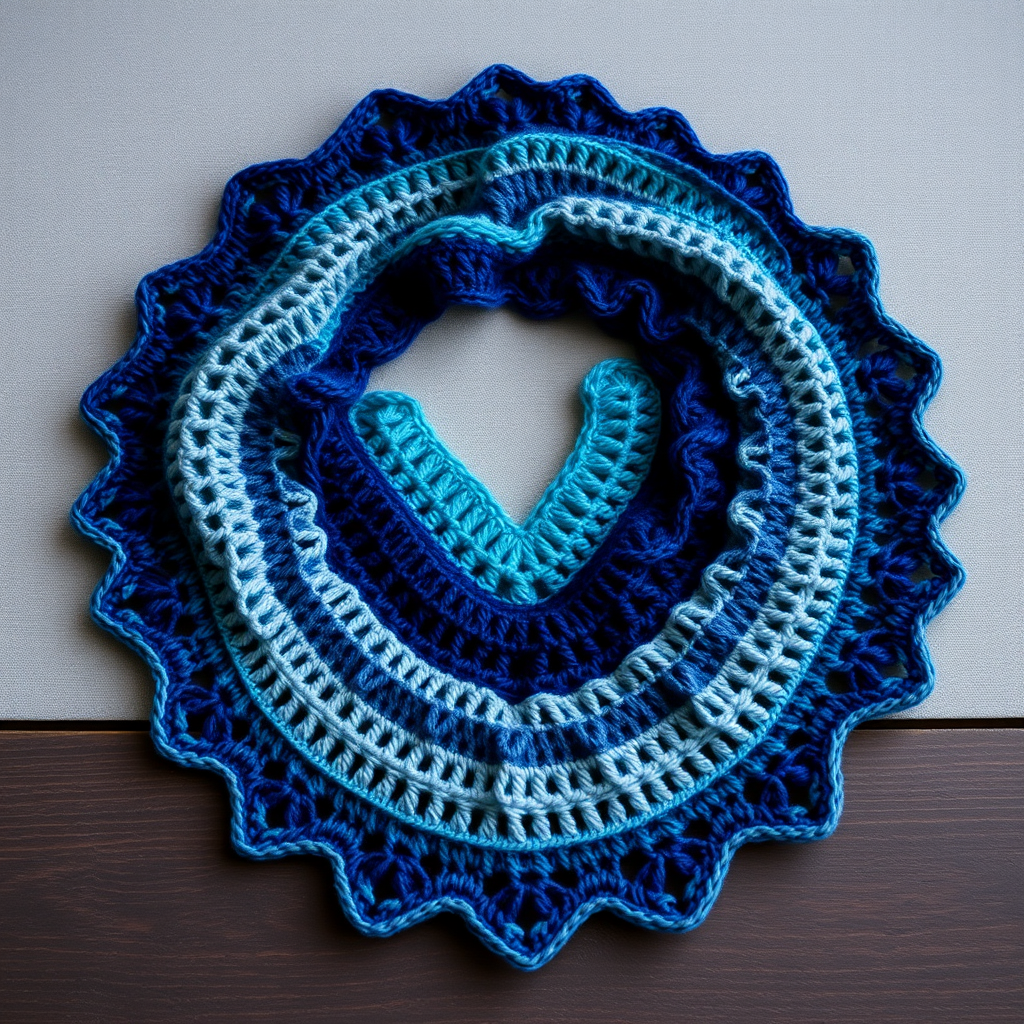
Sunset Mesa Wrap Free Crochet Pattern

Introducing the Sunset Mesa Wrap: A Modern Granny Stitch Triangle Scarf
Imagine the warm, layered hues of a desert sunset—terracotta cliffs, golden ochre sands, and dusty rose skies—woven into a wearable accessory. That's the inspiration behind the Sunset Mesa Wrap, a modern, geometric triangle scarf that drapes beautifully around your neck. Despite its intricate, textured appearance, this pattern is surprisingly beginner-friendly. It relies on the timeless granny stitch, worked in a simple increase pattern, to create a stunning piece of color-blocked art. Whether you're new to crochet or a seasoned maker looking for a quick, satisfying project, this free pattern is your ticket to a gorgeous, handcrafted wrap.
This isn't just a scarf; it's a statement piece. The clever use of three complementary colors in a balanced sequence creates a modern, geometric look that's both eye-catching and elegant. The open, lacy stitch pattern gives it a delicate drape, making it perfect for transitional weather or as a stylish layering piece. Let's dive in and create your own piece of wearable sunset.
Materials Needed: Gathering Your Desert Palette
Before you begin, ensure you have all the necessary supplies. The beauty of this pattern lies in its simplicity, so the material list is short and sweet.
- Yarn: DK weight (Category 3) cotton or cotton-blend yarn. You will need three colors:
- Color A: Warm Terracotta (approx. 100g)
- Color B: Golden Ochre (approx. 100g)
- Color C: Dusty Rose (approx. 100g)
- Crochet Hook: 5 mm (H/8) crochet hook. This size is perfect for DK weight yarn to achieve the right drape and texture.
- Other Tools: A yarn needle for weaving in ends and a pair of scissors.
- Gauge: 4 granny clusters (3 dc in same stitch) and 4 rows = 4 inches (10 cm) in pattern stitch. While gauge is important for size, this wrap is forgiving. A slightly different gauge will just make it a bit larger or smaller.
Step-by-Step Instructions: Crafting Your Sunset Mesa Wrap
This triangle scarf is worked from the bottom point upwards. We'll be increasing at the edges of each row to form the triangular shape. The pattern uses a variation of the classic granny stitch with a modern color-blocking technique. Don't worry—it's easier than it looks!
Special Stitches to Know
- Granny Cluster (GC): Work 3 double crochet (dc) in the same stitch or space. This is the fundamental building block of the pattern.
- Corner Space: The space between two GCs at the edge of the row. This is where we will place our increases.
Getting Started: The Foundation
Foundation Row: With Color A, chain (ch) 4. Join with a slip stitch (sl st) to form a ring. This small ring is the starting point at the very tip of your triangle.
Building the Triangle: Rows 1-3
Row 1: Ch 3 (this counts as your first double crochet), work 2 dc in the ring, ch 2, 3 dc in ring, ch 2, 3 dc in ring. Turn your work. You should now have 3 GCs and 2 corner spaces (the ch-2 spaces).
Row 2: Ch 3, work 2 dc in the first stitch (this is your edge increase). *Ch 1, work a GC in the next corner space (the ch-2 space from the previous row)*. Repeat from * once more. Ch 1, then in the last stitch (the top of the ch-3 from the previous row), work 3 dc (this is your second edge increase). Turn. You now have 4 GCs and 3 ch-1 spaces.
Row 3: Ch 3, work 2 dc in the first stitch. *Ch 1, work a GC in the next ch-1 space*. Repeat from * across until you reach the last stitch. Ch 1, then work 3 dc in the last stitch. Turn. You now have 5 GCs and 4 ch-1 spaces.
Continuing the Pattern: The Increase Rhythm
You've got the rhythm now! Continue increasing in this manner: Each new row will add one GC on each side. You will always start and end the row with an increase (3 dc in the first and last stitch), and work GCs into the ch-1 spaces in between, separated by ch 1.
Follow this color sequence to create the beautiful Mesa stripes. Remember to join your new color at the end of a row before turning, or simply fasten off and start the new color at the beginning of the next row.
- Rows 4-6: Color A (Terracotta)
- Rows 7-9: Color B (Ochre)
- Rows 10-12: Color C (Rose)
- Rows 13-15: Color B (Ochre)
- Rows 16-18: Color A (Terracotta)
- Rows 19-21: Color C (Rose)
- Rows 22-24: Color B (Ochre)
- Rows 25-27: Color A (Terracotta)
- Rows 28-30: Color C (Rose)
- Rows 31-33: Color B (Ochre)
- Rows 34-36: Color A (Terracotta)
Adding the Finishing Touch: The Edging
Once you've completed Row 36, you'll have a beautiful, striped triangle. Now it's time to clean up those edges.
Edging: With Color A, do not turn your work at the end of the last row. You will now work a single crochet (sc) border evenly around the entire triangle. In each corner space (the points of the triangle), work (sc, ch 2, sc) to create a neat, defined corner. Along the top edge, work 1 sc in each stitch and 1 sc in each ch-1 space. This will create a smooth, finished edge. Fasten off and weave in all your loose ends with a yarn needle.
Final Steps: Blocking for Perfection
Finishing: Lightly block your scarf to open up the stitches and enhance the drape. To do this, gently wet the scarf with lukewarm water, squeeze out the excess (don't wring!), and lay it flat on a towel. Gently shape it into a perfect triangle and pin the edges if needed. Allow it to dry completely. This step truly elevates the look of the granny stitch, making it look crisp and professional.
And there you have it—your very own Sunset Mesa Wrap! This stunning accessory is perfect for adding a pop of color to any outfit. The geometric pattern and warm hues are sure to draw compliments. Enjoy wearing your handcrafted piece of desert sunset, and happy crocheting!