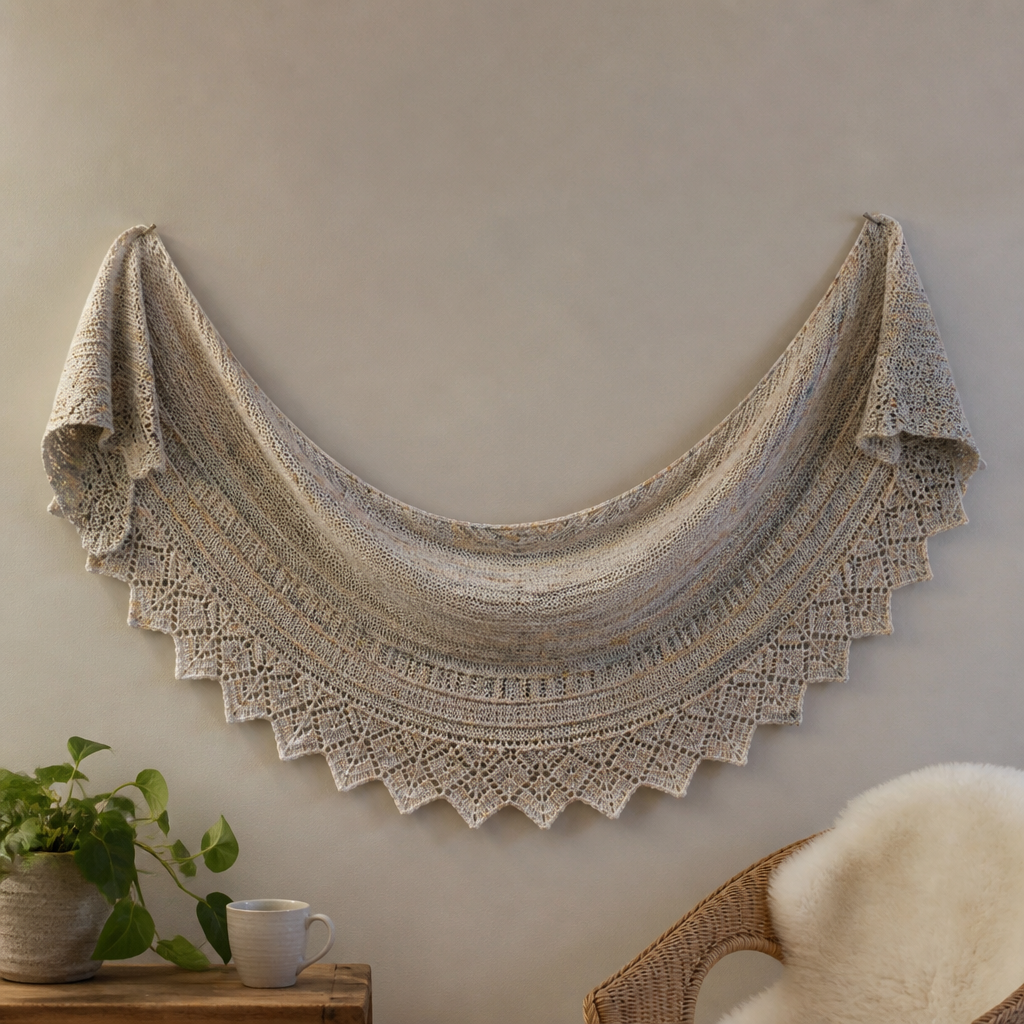
The Celestial Drift Shawl Free Pattern – Knit a Starry Night Sky Wrap
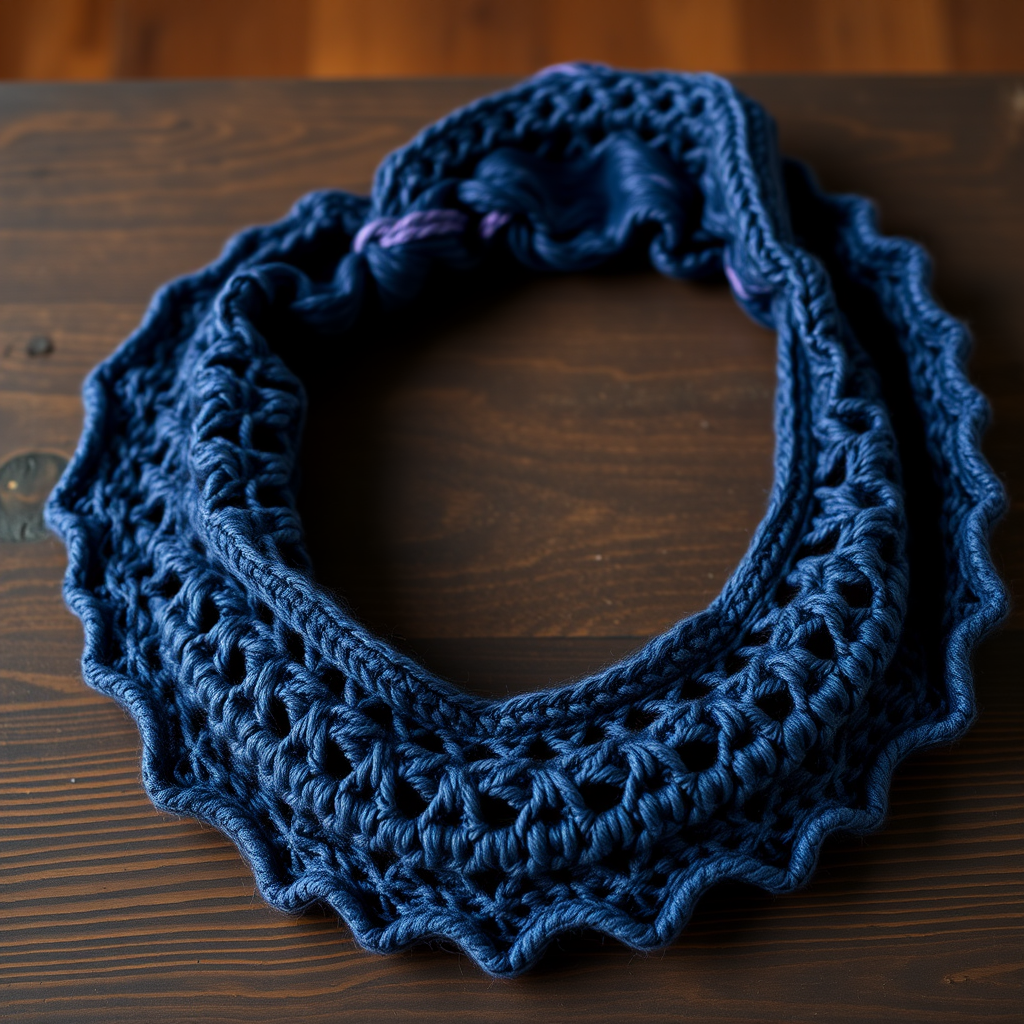
The Celestial Drift Shawl: Knit Your Own Starry Night Sky Wrap
Imagine draping a piece of the night sky over your shoulders—a soft, hand-knit galaxy of deep indigos, midnight blues, and shimmering silver. The Celestial Drift Shawl is exactly that: a dreamy crescent-shaped wrap that captures the gentle ripple of the Milky Way in every stitch. This free knitting pattern is perfect for intermediate beginners who are ready to explore lacework, and the result is a cozy, celestial companion for cool evenings, stargazing sessions, or simply curling up with a good book.
Using a single skein of variegated worsted-weight yarn, this shawl is knit from the top center down, with increases on both sides that naturally form a beautiful crescent silhouette. The lace pattern is deceptively simple—a rhythmic repetition of yarn overs and decreases that creates an airy, wavy fabric reminiscent of drifting stardust. Whether you're knitting for yourself or gifting to a fellow night owl, this pattern is a rewarding project that feels magical from the first cast-on to the final bind-off.
Materials Needed
Before you begin your celestial journey, gather the following supplies. The beauty of this pattern is its simplicity—you only need a few items, and the variegated yarn does all the heavy lifting when it comes to creating that starry-night effect.
Yarn
- Red Heart Unforgettable (or similar worsted weight variegated yarn)
- Approximately 500-600 yards (one to two skeins, depending on yardage)
Look for colorways with deep blues, purples, and hints of silver or gold to mimic a night sky. The long color transitions in variegated yarns create a stunning, painterly effect as the shawl grows.
Needles
- US 8 (5.0 mm) circular knitting needle with a 32-inch cable
The circular needle is essential—it accommodates the growing number of stitches as you increase, and the long cable prevents the fabric from bunching up.
Other Supplies
- Stitch markers (at least 2, one for the center stitch and one for the edge)
- Tapestry needle for weaving in ends
- Blocking mats and pins (for finishing)
- Mild wool wash (for blocking)
Gauge
- 18 stitches and 24 rows = 4 inches in stockinette stitch (blocked)
Gauge is important for achieving the correct drape and size, but since this is a shawl, a slight variation won't ruin the project. Still, it's worth checking your gauge before you begin to ensure your finished shawl is the size you expect.
Step-by-Step Instructions
This shawl is knit from the top center down, increasing on both sides to form a crescent shape. The pattern is written in a way that's easy to follow, with clear abbreviations and a logical progression from the simple garter stitch setup to the more intricate lace section. Take your time, and don't be afraid to use stitch markers—they're your best friends in this project.
Abbreviations
- k = knit
- p = purl
- yo = yarn over
- k2tog = knit two together (right-leaning decrease)
- ssk = slip, slip, knit (left-leaning decrease)
- pm = place marker
- sm = slip marker
- RS = right side
- WS = wrong side
Setup: Casting On and Creating the Base
The shawl begins with a simple garter stitch tab that will become the center point at the back of your neck. This clever technique creates a seamless, professional-looking start.
- Cast on 3 stitches.
- Knit 6 rows in garter stitch (knit every row). This creates a small square tab.
- Turn the work 90 degrees (clockwise) so you're looking at the side edge of the tab. Pick up and knit 3 stitches along this edge.
- Turn the work again (another 90 degrees) so you're looking at the cast-on edge. Pick up and knit 3 stitches from this edge.
You should now have 9 stitches on your needle. This is the foundation of your shawl. Place a stitch marker on the center stitch (stitch 5) to help you keep track of your increases.
Section 1: The Garter Stitch Increase Section
This section establishes the crescent shape by increasing on both sides of the center stitch and at the edges. The garter stitch border (first and last 3 stitches) will create a neat, non-curling edge.
Row 1 (RS): k3, yo, k1, yo, k1, yo, k1, yo, k3 (13 stitches)
Row 2 (WS): k3, purl to last 3 stitches, k3
Row 3 (RS): k3, yo, k to center stitch (sm), yo, k1 (center), yo, k to last 3 stitches, yo, k3 (17 stitches)
Row 4 (WS): k3, purl to last 3 stitches, k3
Repeat Rows 3 and 4 until you have 45 stitches on your needle, ending with a WS row. This will take approximately 8-10 repeats, depending on your gauge. The increases are always the same: one yarn over at the beginning (after the first 3 knit stitches), one yarn over before the center stitch, one yarn over after the center stitch, and one yarn over at the end (before the last 3 knit stitches).
Pro tip: Count your stitches after each RS row to ensure you're on track. The stitch count should increase by 4 on every RS row.
Section 2: The Lace Section
Now comes the magical part—the lace pattern that mimics the rippling Milky Way. This section uses a combination of yarn overs and decreases to create an open, airy fabric with a wavy edge. The pattern is worked in a 4-row repeat, and the stitch count will continue to increase, so don't worry if the numbers don't match perfectly—just follow the pattern as written.
Row 5 (RS): k3, yo, *k2tog, yo* repeat from * to * until 2 stitches before center marker, k2, yo, k1 (center), yo, k2, *yo, ssk* repeat from * to * until 3 stitches remain, yo, k3
Row 6 (WS): k3, purl to last 3 stitches, k3
Row 7 (RS): k3, yo, *k2tog, yo* repeat from * to * until 1 stitch before center marker, k1, yo, k1 (center), yo, k1, *yo, ssk* repeat from * to * until 3 stitches remain, yo, k3
Row 8 (WS): k3, purl to last 3 stitches, k3
Repeat Rows 5-8 until the shawl measures approximately 24 inches from the center cast-on edge, ending with a WS row. This will take quite a while, but the rhythmic repetition is meditative and rewarding. As you work, you'll see the lace pattern emerge—small holes and wavy edges that catch the light beautifully.
Understanding the lace: The k2tog and ssk decreases are paired with yarn overs to keep the stitch count balanced. On the left side of the center, you use k2tog (right-leaning), and on the right side, you use ssk (left-leaning). This creates a symmetrical, mirrored lace pattern that flows outward from the center.
Section 3: The Final Garter Border
Once your shawl reaches the desired length, it's time to add a clean, finished edge. The garter stitch border will stabilize the lace and prevent it from curling.
- Knit every row for 6 rows (garter stitch). This creates a neat, textured border.
- Bind off loosely on the RS. To ensure a stretchy bind-off that won't pull the edge, use a larger needle or bind off loosely with a yarn over between stitches (bind off 1, yo, bind off 1, etc.).
Finishing: Weaving in Ends and Blocking
Blocking is the secret to a professional-looking shawl. It opens up the lace, evens out the stitches, and defines the crescent shape. Don't skip this step—it transforms your knitting from "homemade" to "heirloom."
- Weave in all ends using a tapestry needle. Be sure to weave in securely, but don't pull too tight, as this can pucker the fabric.
- Soak the shawl in lukewarm water with a mild wool wash for 15-20 minutes. Gently squeeze out excess water—never wring or twist.
- Lay the shawl on a blocking mat and pin it into shape. Stretch it gently to open up the lace pattern and create a wide crescent. The center point should be at the back of the neck, with the wings sweeping forward.
- Pin the edges to create a smooth, even curve. Use blocking wires if you have them for a perfectly straight edge, or pin every few inches along the curve.
- Allow to dry completely (usually 24-48 hours, depending on humidity). Once dry, unpin and enjoy your celestial masterpiece.
Tips for Success
- Use lifelines: If you're new to lace knitting, thread a lifeline (a piece of scrap yarn) through the stitches on a WS row every few repeats. If you make a mistake, you can easily rip back to the lifeline without losing your work.
- Count your stitches regularly: The lace pattern can be tricky to count, but keeping track of your stitch count every few rows will help you catch mistakes early.
- Choose the right yarn: Variegated yarns with long color transitions work best for this pattern. They create a beautiful, painterly effect as the colors shift gradually across the shawl. Avoid highly contrasting or "pooling" yarns, which can create unwanted stripes.
- Block generously: Don't be afraid to stretch the shawl more than you think you should. Lace opens up dramatically with blocking, and the crescent shape will become much more defined.
Wearing and Caring for Your Celestial Drift Shawl
Once your shawl is complete and blocked, it's ready to be worn. Drape it over your shoulders with the center point at the back of your neck and the wings wrapping around your arms. The crescent shape sits beautifully and stays in place without pins or clasps.
To care for your shawl, hand wash it gently in cool water with a mild wool wash, and lay it flat to dry. Avoid hanging it, as the weight of the wet fabric can stretch it out of shape. With proper care, this shawl will be a treasured piece for years to come.
The Celestial Drift Shawl is more than just a knitting project—it's a wearable piece of art that captures the wonder of the night sky. Whether you're knitting it for yourself or as a gift for someone special, the process is as rewarding as the finished piece. So grab your needles, choose your yarn, and let the stars guide your stitches.
Happy knitting, and may your shawl always feel like a warm, starry night.