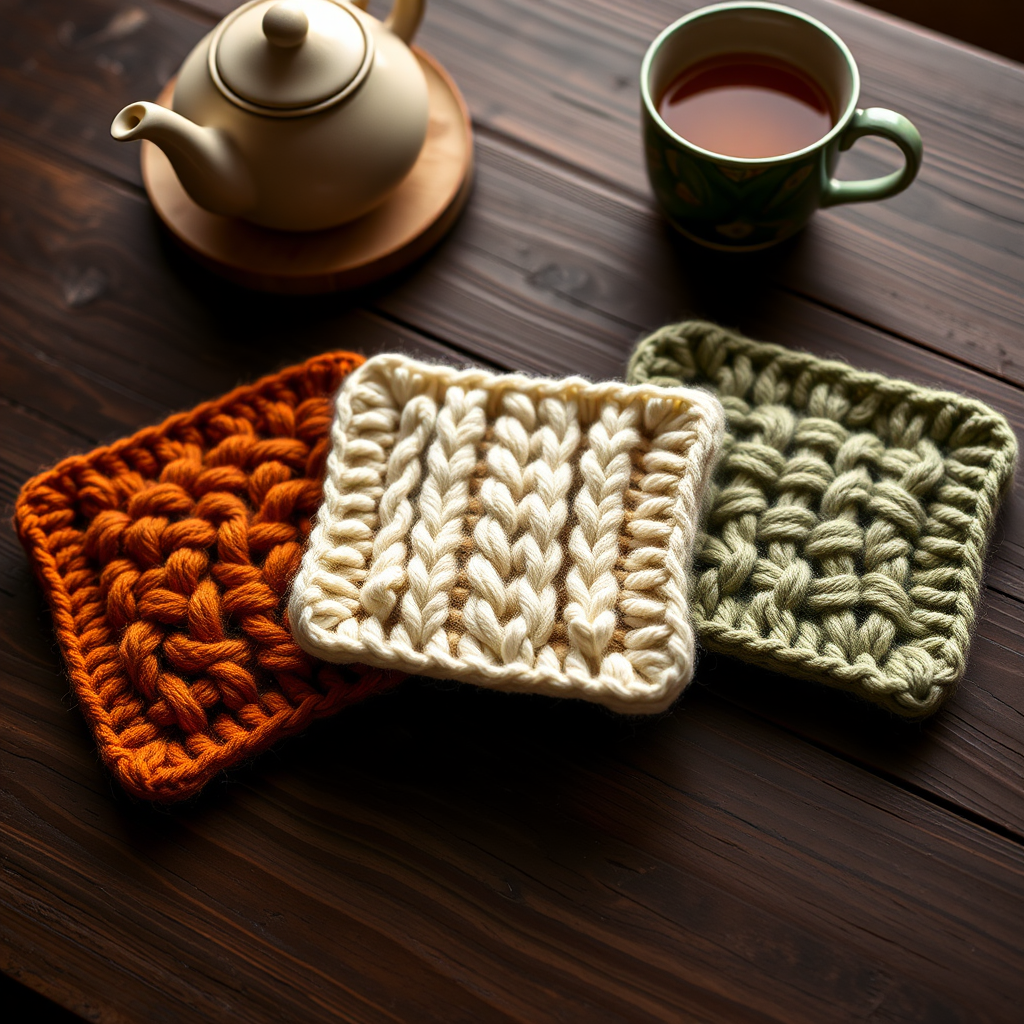
The Dewdrop Garden Dishcloth Free Pattern – Knit a Textured Leaf Motif

The Dewdrop Garden Dishcloth Free Pattern – Knit a Textured Leaf Motif
Bring a touch of the garden to your kitchen with this charming dishcloth, featuring a delicate leaf-and-berry texture that's as functional as it is beautiful. Knit in soft cotton, it's a quick and satisfying project for any skill level. This pattern creates a square dishcloth with a garter stitch border and a repeating leaf motif that resembles dew drops on a fresh morning. The combination of sage green and cream gives it a rustic, garden-inspired look that will brighten up any sink area.
Whether you're a seasoned knitter looking for a quick weekend project or a beginner ready to tackle your first textured pattern, this dishcloth is the perfect choice. The stitch pattern is surprisingly simple once you get into the rhythm, and the cotton yarn makes it durable and absorbent for everyday use. Plus, it makes a wonderful handmade gift for housewarmings, hostess gifts, or holiday presents.
Materials Needed
Before you begin, gather the following materials. This project requires minimal supplies, making it an affordable and accessible knitting project.
Yarn
- Worsted weight cotton yarn (e.g., Lily Sugar'n Cream) in two colors:
- Main Color (MC): Sage Green – approximately 1 ball (about 95 yards)
- Contrast Color (CC): Cream – approximately 1 ball (about 95 yards)
Note: You will be alternating between the two colors throughout the pattern. The main color is used for the base and border, while the contrast color creates the leaf and berry texture.
Needles
- US Size 7 (4.5 mm) knitting needles – straight or circular, whichever you prefer
Additional Supplies
- Tapestry needle for weaving in ends
- Scissors
- Stitch markers (optional, but helpful for keeping track of pattern repeats)
- Ruler or measuring tape
Gauge
20 stitches and 28 rows = 4 inches in stockinette stitch (not critical for this project)
Since this is a dishcloth, exact gauge is not essential. However, if you want a specific finished size, check your gauge before starting. The pattern is designed to produce a 9-inch square with the recommended yarn and needles.
Step-by-Step Instructions
Follow these detailed instructions carefully to create your Dewdrop Garden Dishcloth. The pattern is written with clear abbreviations and row-by-row directions. Take your time, and don't be afraid to refer back to the abbreviations as needed.
Finished Size
Approximately 9 inches square
Abbreviations
- CO: cast on
- K: knit
- P: purl
- K2tog: knit two together (right-leaning decrease)
- SSK: slip, slip, knit (left-leaning decrease)
- YO: yarn over (increase that creates a hole)
- Sl: slip
- MC: Main Color (Sage Green)
- CC: Contrast Color (Cream)
- RS: right side of work
- WS: wrong side of work
Getting Started
With MC, CO 40 stitches.
Use a long-tail cast on for a neat, stretchy edge. If you're new to casting on, the long-tail method is easy to learn and gives a professional finish. Make sure your cast-on row is not too tight, as this will make the first few rows difficult to knit.
Border (Worked in Garter Stitch)
Rows 1-4: Knit across all rows.
These first four rows create the bottom border of your dishcloth. Garter stitch is created by knitting every row, which produces a bumpy, ridged texture. This border frames the leaf pattern beautifully and prevents the edges from curling.
Body (Worked in Stockinette with Textured Leaf Pattern)
Now we begin the main body of the dishcloth. The pattern is worked over 32 stitches in the center, with 4 knit stitches on each side forming the side borders. The leaf pattern is a 16-stitch repeat that you'll work 4 times across each row.
Row 5 (RS): K4 (border), K32, K4 (border).
This row establishes the stockinette stitch center. The right side of your work is facing you.
Row 6 (WS): K4, P32, K4.
On the wrong side, you purl the center stitches while keeping the border in knit stitch.
Row 7 (RS): K4, *K1, YO, K2, SSK, K3, K2tog, K2, YO, K1*; repeat from * to * 3 more times, K4. (You will have 40 stitches)
This is where the magic begins! The yarn overs create the leaf shapes, while the decreases (SSK and K2tog) shape them. The pattern repeat is between the asterisks. Work it 4 times total across the row.
Row 8 (WS): K4, P32, K4.
Always purl the center stitches on wrong-side rows.
Row 9 (RS): K4, *K2, YO, K1, SSK, K1, K2tog, K1, YO, K2*; repeat from * to * 3 more times, K4.
Notice how the pattern shifts slightly, creating the leaf's curve. The yarn overs are moving outward from the center.
Row 10 (WS): K4, P32, K4.
Row 11 (RS): K4, *K3, YO, SSK, K1, K2tog, YO, K3*; repeat from * to * 3 more times, K4.
The leaf is now taking shape with a defined center vein.
Row 12 (WS): K4, P32, K4.
Row 13 (RS): K4, *K2, K2tog, YO, K1, YO, SSK, K2*; repeat from * to * 3 more times, K4.
Now the pattern begins to curve back inward, creating the rounded bottom of the leaf.
Row 14 (WS): K4, P32, K4.
Row 15 (RS): K4, *K1, K2tog, K1, YO, K1, YO, K1, SSK, K1*; repeat from * to * 3 more times, K4.
This row creates the "berry" effect – the double yarn overs in the center will form a small bump.
Row 16 (WS): K4, P32, K4.
Row 17 (RS): K4, *K2tog, K2, YO, K1, YO, K2, SSK*; repeat from * to * 3 more times, K4.
The leaf is now closing up at the bottom.
Row 18 (WS): K4, P32, K4.
Row 19 (RS): K4, *K1, YO, SSK, K3, K2tog, YO, K1*; repeat from * to * 3 more times, K4.
This begins the second leaf in the vertical repeat. The pattern mirrors the first leaf but starts from the bottom.
Row 20 (WS): K4, P32, K4.
Row 21 (RS): K4, *K2, YO, SSK, K1, K2tog, YO, K2*; repeat from * to * 3 more times, K4.
Row 22 (WS): K4, P32, K4.
Row 23 (RS): K4, *K3, YO, SSK, K1, K2tog, YO, K3*; repeat from * to * 3 more times, K4.
Row 24 (WS): K4, P32, K4.
Row 25 (RS): K4, *K2, K2tog, YO, K1, YO, SSK, K2*; repeat from * to * 3 more times, K4.
Row 26 (WS): K4, P32, K4.
Row 27 (RS): K4, *K1, K2tog, K1, YO, K1, YO, K1, SSK, K1*; repeat from * to * 3 more times, K4.
Row 28 (WS): K4, P32, K4.
Row 29 (RS): K4, *K2tog, K2, YO, K1, YO, K2, SSK*; repeat from * to * 3 more times, K4.
Row 30 (WS): K4, P32, K4.
Second Vertical Repeat
Repeat Rows 7-30 once more to create a second vertical repeat of the leaf pattern.
This means you'll work rows 7 through 30 again, exactly as written above. After completing this second repeat, you'll have two full leaf motifs stacked vertically in the center of your dishcloth.
Border (Worked in Garter Stitch)
Rows 31-34: Knit across all rows.
These four rows create the top border, matching the bottom border you worked at the beginning. The garter stitch frames the leaf pattern and gives the dishcloth a finished, polished look.
Bind Off
Bind off all stitches loosely.
Use a loose bind-off method to prevent the edge from pulling. The "knit two together" bind-off or the "suspended bind-off" both work well for this project. If your bind-off tends to be tight, consider going up a needle size just for the bind-off row.
Finishing
- Weave in all loose ends with a tapestry needle. Thread the needle with the yarn tail and weave it through the purl bumps on the wrong side of the work. Weave in at least 2-3 inches to ensure the ends are secure.
- Optional: Add a hanging loop by crocheting a chain of 10 stitches at one corner. To do this, insert your crochet hook into the corner stitch, pull up a loop of yarn, and chain 10 stitches. Slip stitch back into the corner to secure. This makes it easy to hang your dishcloth by the sink.
- Block gently by wetting the dishcloth and laying it flat to dry. This will even out the stitches and give the leaf pattern a crisp, defined look. Gently shape it to a 9-inch square while it's damp.
Tips for Success
- Count your stitches regularly. The yarn overs and decreases should keep the stitch count at 40 throughout the pattern. If you find yourself with extra or missing stitches, count back to find where you made a mistake.
- Use stitch markers between the 4 border stitches and the pattern center, as well as between each 16-stitch repeat. This will help you keep track of where you are in the pattern.
- Don't pull your yarn overs too tight. They should be loose enough to create visible holes in the pattern, which form the leaf shapes.
- Take breaks if you need to. The pattern is repetitive, so it's easy to pick up where you left off. Just make sure you know which row you're on – use a row counter or a piece of paper to keep track.
- Practice the decreases. If you're new to SSK and K2tog, practice on a swatch first. SSK is a left-leaning decrease, while K2tog leans right. They work together to create the symmetrical leaf shapes.
Care Instructions
To keep your dishcloth looking beautiful, wash it in warm water with mild detergent after each use. Cotton yarn is machine washable, but air drying is recommended to prevent shrinking. The dishcloth will become softer and more absorbent with each wash.
This pattern is perfect for using up scrap yarn from other projects. You can easily adjust the size by casting on more or fewer stitches, as long as you maintain the 16-stitch pattern repeat and the 4-stitch borders on each side.
We hope you enjoy knitting your Dewdrop Garden Dishcloth! It's a delightful project that combines beauty and functionality, and the finished result will be a lovely addition to your kitchen or a thoughtful handmade gift for someone special. Happy knitting!