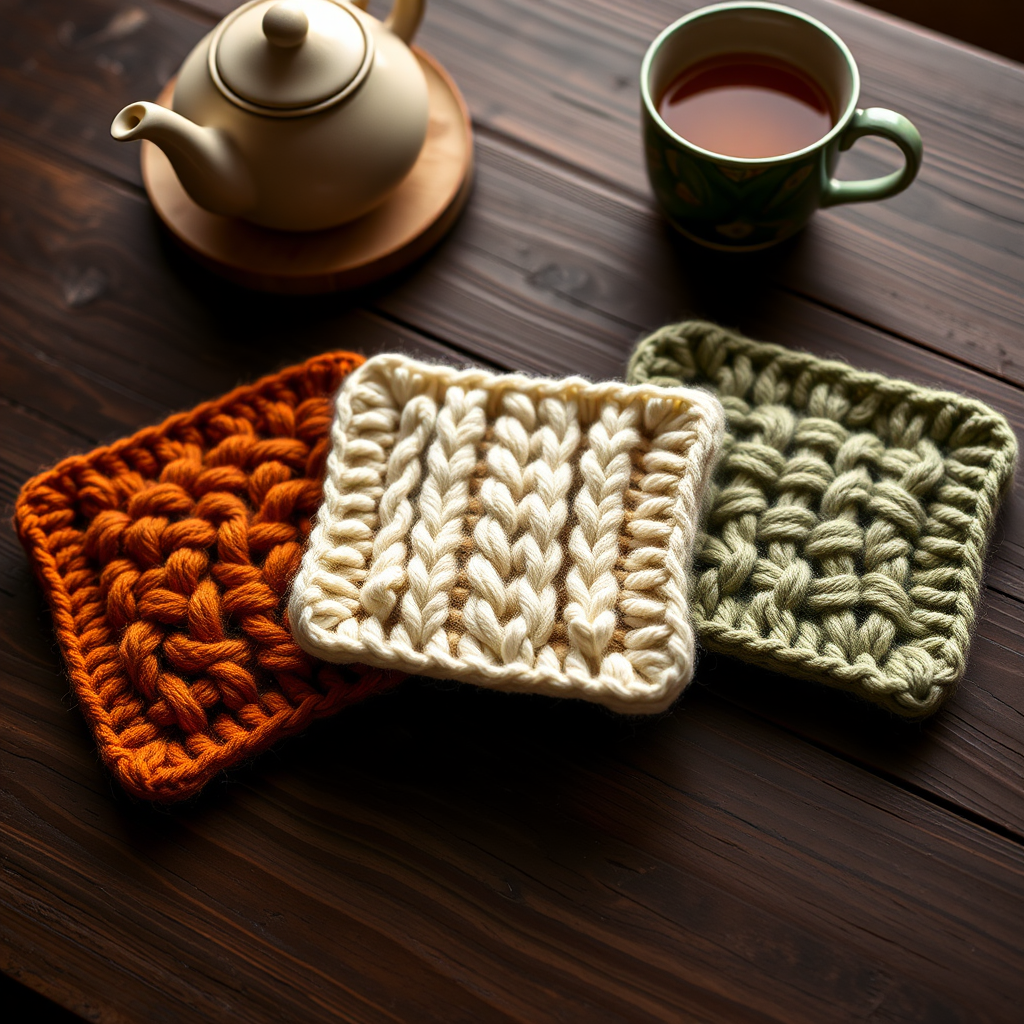
The Herbs & Honeycomb Dishcloth: A Free Knitting Pattern for a Textured, Two-Tone Kitchen Essential
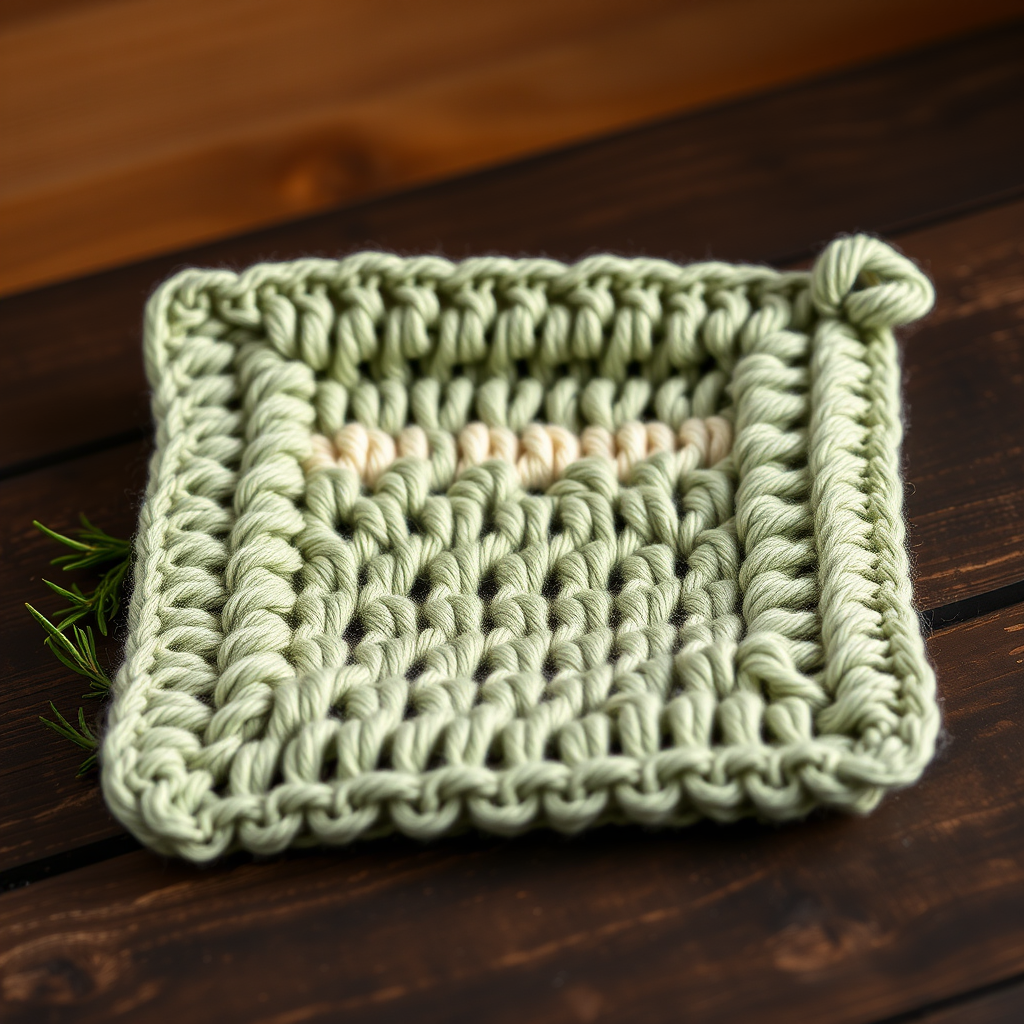
A Touch of Farmhouse Charm: Knitting the Herbs & Honeycomb Dishcloth
Elevate your kitchen with this beautifully textured dishcloth, featuring a modern honeycomb stitch and a contrasting border. Knit in soft, absorbent cotton, it's as practical as it is pretty. This free pattern is perfect for beginners looking to try a simple slip-stitch texture, and it makes a wonderful handmade gift. The two-tone design adds a rustic, farmhouse-chic feel to any kitchen.
Materials Needed
Before you begin, gather the following supplies. Using the exact materials will ensure your dishcloth matches the gauge and finished size.
- Yarn: Lily Sugar'n Cream (or any worsted weight 100% cotton yarn): 1 ball each of two contrasting colors (e.g., Sage Green and Cream). Approx 60 yards total.
- Needles: US Size 6 (4.0 mm) knitting needles
- Gauge: 20 stitches and 28 rows = 4 inches in Honeycomb Stitch (blocked). Tip: Always check your gauge to ensure your dishcloth comes out the correct size.
- Other: Tapestry needle for weaving in ends, scissors.
Step-by-Step Instructions
Follow these detailed steps to create your Herbs & Honeycomb Dishcloth. The finished size is approximately 8 inches square.
Abbreviations
- CO: Cast on
- K: Knit
- P: Purl
- K2tog: Knit two together
- YO: Yarn over
- Sl1: Slip 1 stitch purlwise
- Rep: Repeat
- St(s): Stitch(es)
- BO: Bind off
- wyib: With yarn in back
- wyif: With yarn in front
Getting Started: The Border
With Color A (Sage Green):
- CO 40 sts.
- Rows 1-6 (Garter Stitch Border): Knit across all 6 rows. This creates a clean, sturdy edge.
Creating the Honeycomb Body
Now you will work the textured honeycomb pattern. Remember to change colors as indicated. The slipped stitches create the honeycomb effect.
- Row 7 (RS - Right Side): With Color A, K1, *Sl1 wyib, K1; rep from * to last st, K1.
- Row 8 (WS - Wrong Side): K1, *Sl1 wyif, K1; rep from * to last st, K1.
- Row 9: With Color B (Cream), K1, *K1, Sl1 wyib; rep from * to last 2 sts, K2.
- Row 10: K1, *K1, Sl1 wyif; rep from * to last 2 sts, K2.
- Row 11: With Color A, rep Row 7.
- Row 12: With Color A, rep Row 8.
- Row 13: With Color B, rep Row 9.
- Row 14: With Color B, rep Row 10.
Repeat Rows 7-14 until the piece measures approximately 7.5 inches from the cast-on edge, ending with a Row 14 (WS). This will give you a balanced pattern.
Finishing the Dishcloth
- Border (Garter Stitch): With Color A, knit 6 rows.
- Bind Off: BO all stitches loosely. Weave in all ends with a tapestry needle.
Optional Hanging Loop
Add a charming loop for easy hanging.
- With Color A, CO 10 sts.
- Knit 1 row.
- BO.
- Sew the loop to one corner of the dishcloth.
Block your dishcloth gently to open up the honeycomb texture. Enjoy your beautiful, handmade kitchen essential!