The Mischief Maker's Minion Hat Free Pattern – Knit a Playful Evil Baby Beanie
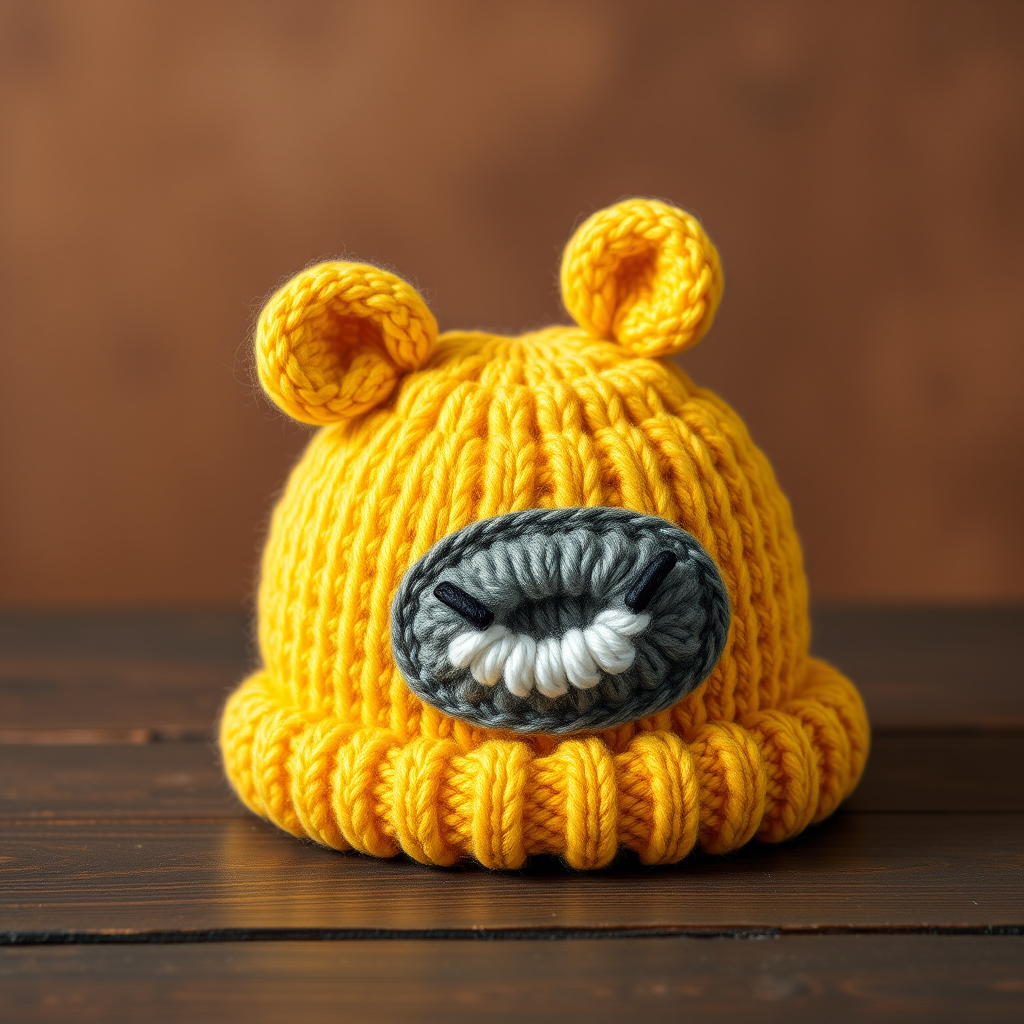
The Mischief Maker's Minion Hat: A Free Knitting Pattern for Your Little Villain
Every baby deserves a little mischief, and what better way to channel that playful energy than with a handmade hat that's equal parts adorable and cheeky? This free knitting pattern creates the ultimate one-eyed minion beanie with an evil twist—complete with a single floppy ear, a stitched smirk, and that iconic wide-open eye. Whether you're crafting a gift for a new arrival or looking for a fun weekend project, this pattern is perfect for knitters ready to add a bit of character to their work. Let's dive into creating a hat that's sure to spark smiles (and maybe a few giggles) wherever it goes.
Materials Needed
Before you begin, gather these supplies to ensure a smooth knitting experience:
- Yarn: Worsted weight yarn in bright yellow (approx. 100g), dark gray (approx. 50g), and small amounts of black and white for details.
- Needles: US 6 (4.0 mm) circular knitting needles (16-inch) for the main body, plus double-pointed needles (DPNs) for crown shaping.
- Notions: Stitch markers, tapestry needle for weaving in ends and embroidery, scissors.
- Gauge: 20 stitches and 28 rows = 4 inches in stockinette stitch. Adjust needle size if needed to match gauge.
Step-by-Step Instructions
This pattern includes sizes for Newborn (0-3 months), Baby (3-6 months), and Toddler (6-12 months). Instructions are written for the smallest size, with larger sizes in parentheses. Choose your size and follow along!
Abbreviations
- K: Knit
- P: Purl
- K2tog: Knit two stitches together (decrease)
- SSK: Slip, slip, knit (decrease)
- PM: Place marker
- SM: Slip marker
- CO: Cast on
- BO: Bind off
Hat Body (Worked in the Round)
- Cast On: CO 72 (80, 88) stitches in yellow yarn. Join in the round, being careful not to twist. PM at the beginning of the round.
- Ribbing: Work K2, P2 ribbing for 6 rounds (approximately 1 inch). This creates a snug, stretchy brim.
- Stockinette Body: Switch to stockinette stitch (knit every round) and work even until the piece measures 4 (4.5, 5) inches from the cast-on edge. This forms the main body of the hat.
Eye Patch (Worked Flat, Then Attached)
- Cast On: With gray yarn, CO 12 stitches.
- Stockinette: Work in stockinette (K on right side, P on wrong side) for 10 rows.
- Decrease Row 1 (RS): K2tog, K8, K2tog (10 stitches remain).
- Next Row (WS): Purl all stitches.
- Decrease Row 2 (RS): K2tog, K6, K2tog (8 stitches remain).
- Next Row (WS): Purl all stitches.
- Bind Off: BO all stitches. Weave in ends. This creates an oval patch for the eye.
Eye (Worked Flat)
- Cast On: With white yarn, CO 6 stitches.
- Stockinette: Work in stockinette for 6 rows.
- Decrease Row (RS): K2tog, K2, K2tog (4 stitches remain).
- Next Row (WS): Purl all stitches.
- Bind Off: BO all stitches. With black yarn, embroider a small pupil in the center using satin stitch. Alternatively, crochet a small black circle and sew it on for a raised effect.
Mouth (Embroidered)
- Using black yarn and a tapestry needle, embroider a wide, mischievous grin on the front of the hat, centered below where the eye patch will be placed.
- Use a backstitch or chain stitch to create a curved line about 2 inches wide.
- Add small upward points at each end of the curve to suggest an evil smirk. This detail brings the mischievous character to life!
Ears (Make 2, Worked Flat)
- Cast On: With yellow yarn, CO 10 stitches.
- Stockinette: Work in stockinette for 8 rows.
- Decrease Row 1 (RS): K2tog, K6, K2tog (8 stitches remain).
- Next Row (WS): Purl all stitches.
- Decrease Row 2 (RS): K2tog, K4, K2tog (6 stitches remain).
- Next Row (WS): Purl all stitches.
- Bind Off: BO all stitches.
- Shape Ears: Fold each ear in half lengthwise and sew the sides together to create a small tube. This gives the ears a floppy, three-dimensional look.
Crown Shaping
- When the hat body reaches the desired length, begin decreasing for the crown:
- Round 1: *K6 (7, 8), K2tog* repeat to end of round (decrease 9, 10, 11 stitches).
- Round 2: Knit all stitches.
- Round 3: *K5 (6, 7), K2tog* repeat to end.
- Round 4: Knit all stitches.
- Continue in this manner, decreasing every other round, until 8-10 stitches remain on your needles.
- Finish Crown: Cut the yarn, leaving a 6-inch tail. Thread the tail through a tapestry needle, slide it through the remaining stitches, and pull tight to close the top. Secure with a knot and weave in the end.
Finishing Touches
- Attach Ears: Sew one ear to the top of the hat on the opposite side from where the eye patch will be placed. Attach the second ear slightly forward, creating an asymmetrical, floppy look that adds to the mischievous charm.
- Sew Eye Patch: Position the gray eye patch on the front of the hat, centered between the ears but slightly to one side for a playful, off-kilter appearance. Sew it on using gray yarn and a whip stitch, leaving visible stitching for a handmade character feel.
- Attach Eye: Sew the white eye onto the center of the gray patch. Ensure the black pupil is positioned to look slightly to the side, enhancing the evil expression.
- Embroider Mouth: If not already done, embroider the mischievous grin as described in the Mouth section, placing it below the eye patch.
- Weave In Ends: Carefully weave in all remaining yarn ends using a tapestry needle. Block lightly if desired to even out stitches and give the hat a polished finish.
And there you have it—a delightfully wicked minion hat that's sure to be a conversation starter! This pattern is perfect for beginners looking to practice shaping, decreases, and simple embroidery, while more experienced knitters will enjoy the quick, satisfying project. Whether it's for your own little mischief maker or as a gift, this hat is guaranteed to bring a smile to everyone who sees it. Happy knitting!


