Willow Wisp Crochet Baby Blanket Free Pattern
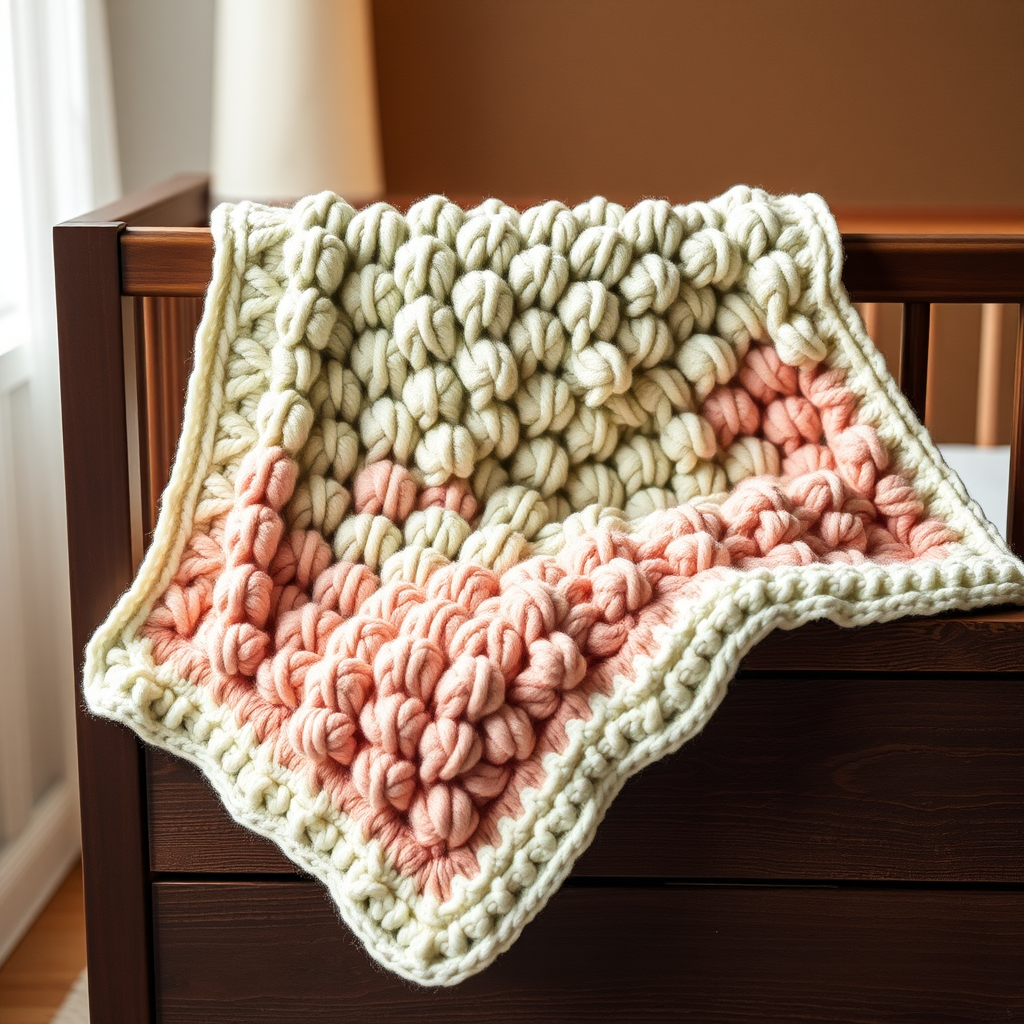
Willow Wisp Crochet Baby Blanket: A Free Heirloom Pattern
There are some crochet projects that feel like pure magic from the very first stitch. The Willow Wisp Crochet Baby Blanket is exactly that—a dreamy, textured masterpiece with a gentle ripple effect that mimics the soft, rolling clouds of a spring sky. Despite its intricate, heirloom-quality appearance, this pattern is surprisingly accessible, using a simple, rhythmic repeat that becomes almost meditative once you find your groove. Whether you're crafting for a new arrival, a baby shower, or simply seeking a stunning nursery decor piece, this blanket is designed to be a cherished keepsake for generations. Let's dive into creating something truly special.
Materials Needed
Before we begin, let's gather our supplies. This pattern calls for soft, cloud-like yarn that will keep the baby cozy and warm. Here is exactly what you'll need:
- Yarn: Lion Brand Babysoft (or any DK weight baby yarn) in 3 colors:
- Color A: Soft Sage (approx 200g)
- Color B: Cream (approx 200g)
- Color C: Dusty Rose (approx 200g)
- Hook: 5.0 mm (H-8) crochet hook
- Other: Yarn needle for weaving in ends, scissors, blocking mats (optional but recommended)
Gauge
To ensure your blanket turns out the perfect size, it's crucial to check your gauge. Work 4 repeats of the pattern (12 stitches) x 8 rows = 10 cm (4 inches) in the pattern stitch. Adjust your hook size if necessary to match this gauge.
Step-by-Step Instructions
Follow these detailed instructions carefully, and you'll have a beautiful Willow Wisp blanket in no time. The pattern is a multiple of 12 + 1, so we'll start with a foundation chain that fits this formula.
Foundation
Chain 121 loosely. This gives us a nice, generous baby blanket size. If you want a different size, just make sure your starting chain is a multiple of 12 + 1.
Row 1 (Setup Row)
Single crochet (sc) in the 2nd chain from your hook and in each chain across. Turn. You should have 120 sc stitches total.
Row 2 (Right Side - Creating the Ripple)
This is where the magic begins. We'll be working double crochets (dc) and decreases to form the wave.
- Chain 3 (this counts as your first double crochet).
- *Double crochet (dc) in the next 2 stitches.
- Work a double crochet decrease (dc2tog) twice. This means you'll work two decreases in a row, pulling the fabric inward to create the valley of the wave.
- Dc in the next 2 stitches.
- Work (dc, chain 1, dc) all in the next stitch. This creates the peak of the wave and adds a lovely, airy texture.
- Dc in the next 2 stitches.
- Work a dc2tog twice again.
- Dc in the next 2 stitches.
- Dc in the next stitch.*
- Repeat from * to * across the row, ending with a dc in the very last stitch. Turn. (120 stitches)
Row 3 (Single Crochet Ripple)
This row mirrors Row 2 but uses single crochets to create a tighter, more defined texture.
- Chain 1, single crochet (sc) in the first stitch.
- *Sc in the next 2 stitches.
- Work a single crochet decrease (sc2tog) twice.
- Sc in the next 2 stitches.
- Work (sc, chain 1, sc) in the chain-1 space from the previous row. This is your peak.
- Sc in the next 2 stitches.
- Work a sc2tog twice.
- Sc in the next 2 stitches.
- Sc in the next stitch.*
- Repeat from * to * across, ending with a sc in the last stitch. Turn.
Rows 4-5 (Building the Ripple)
Repeat Row 2 exactly, but this time work your double crochets into the stitches from the previous row. Remember to work the (dc, chain 1, dc) into the chain-1 space from Row 3. This repetition is what creates the beautiful, flowing ripple effect.
Row 6
Repeat Row 3. This completes one full "wave" cycle of the pattern.
Color Sequence
To achieve the stunning striped effect, follow this color sequence throughout the entire blanket:
- Work 2 rows in Color A (Soft Sage)
- Work 2 rows in Color B (Cream)
- Work 2 rows in Color C (Dusty Rose)
- Repeat this sequence continuously.
Continue working in this pattern until your blanket measures approximately 75 cm (30 inches) from the start. It's best to end with a complete color sequence (2 rows of each color) to ensure a balanced, finished look.
Adding the Border
Once your blanket reaches the desired length, it's time to add a delicate, polished edge.
- Round 1: With Color B (Cream), work a round of single crochet (sc) evenly around the entire blanket. Work 3 sc in each corner to ensure the corners lie flat and turn nicely.
- Round 2: Work a round of reverse single crochet (also known as crab stitch). This creates a beautiful, twisted rope-like edge that gives the blanket a professional, heirloom finish. To do this, work sc from left to right instead of right to left.
- Fasten off and weave in all ends securely with your yarn needle.
Blocking for Perfection
Blocking is the final secret to making your Willow Wisp blanket look truly professional. Gently wet or steam block the blanket to your desired dimensions. This will open up the stitches, enhance the ripple effect, and give the blanket that crisp, polished, heirloom-quality look. Lay it flat to dry completely.
And there you have it—a stunning, cloud-soft Willow Wisp baby blanket that's as beautiful to make as it is to behold. The rhythmic ripple pattern and gentle color transitions make this a joy to crochet, and the result is a timeless piece that will be treasured for years. Happy crocheting!


