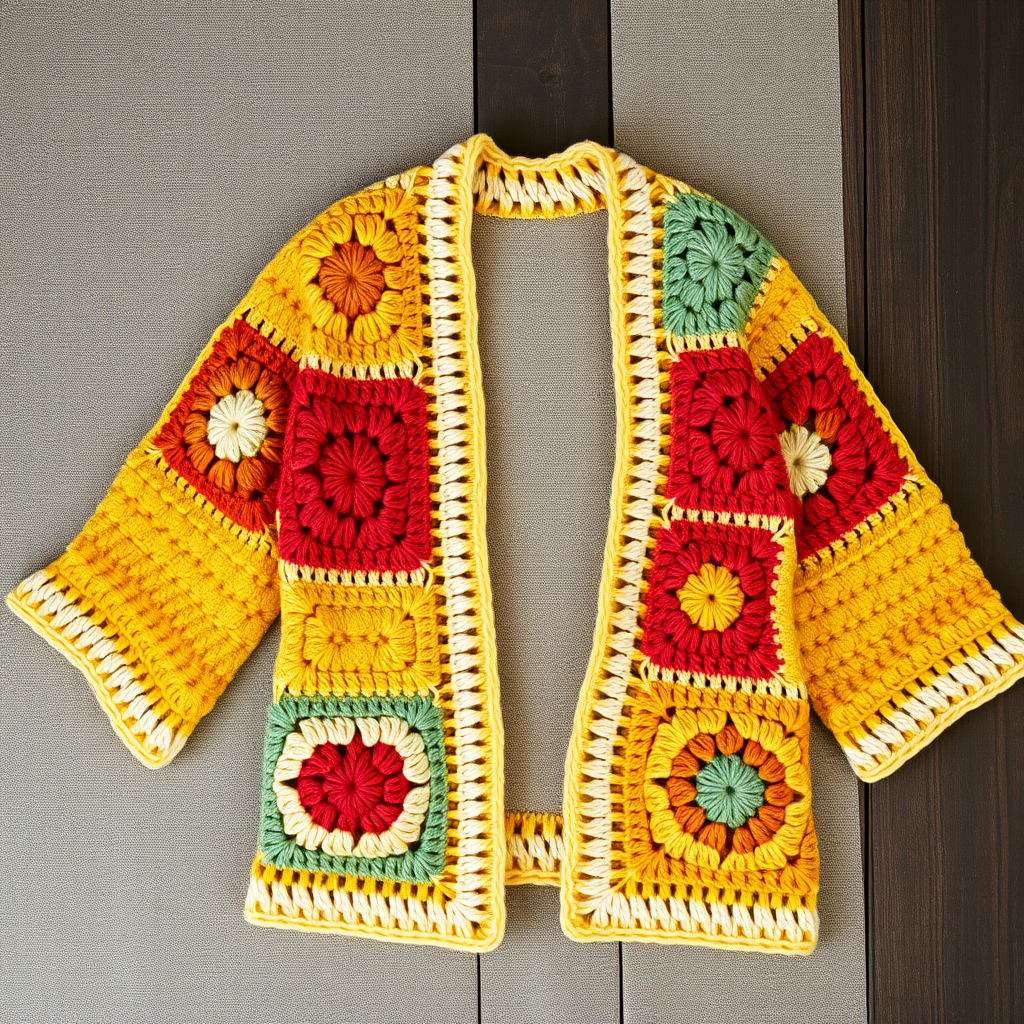
Ambrose Quarter Button Crochet Mens Sweater Free Pattern

Ambrose Quarter Button Crochet Men's Sweater – Free Pattern
Looking for a rugged yet refined crochet sweater that delivers a modern masculine silhouette? The Ambrose Quarter Button Sweater is exactly what you need. This free pattern features a distinctive quarter-button placket and dense, textured half-double crochet stitch work that creates a warm, handcrafted fabric perfect for layering through chilly months. Whether you're an experienced crocheter or a confident beginner ready for a rewarding project, this sweater offers cozy charm with a contemporary edge.
With its deep forest green color and relaxed, boxy fit, the Ambrose sweater is designed to become a staple in any wardrobe. The subtle vertical texture of the hdc stitches adds visual interest without being fussy, while the four wooden buttons at the left chest provide a touch of classic sophistication. Let's dive into this comprehensive pattern and create a handmade masterpiece you'll be proud to wear or gift.
Materials Needed
Before you begin, gather the following supplies to ensure a smooth crocheting experience:
- Yarn: Worsted weight yarn (e.g., Lion Brand Wool-Ease) in Deep Forest Green – 6 (7, 8, 9) skeins. The exact yardage will depend on your size, but having an extra skein on hand is always wise.
- Crochet Hook: 5.5 mm (I-9) crochet hook – essential for achieving the correct gauge and drape.
- Stitch Markers: At least 4 markers to track armhole openings and shaping points.
- Yarn Needle: A large-eye tapestry needle for weaving in ends and sewing seams.
- Buttons: 4 buttons (1 inch in diameter) – dark wooden buttons work beautifully with the forest green yarn.
Gauge: 16 stitches x 20 rows = 4 inches in half double crochet. Always make a gauge swatch before starting to ensure your finished sweater matches the intended measurements.
Pattern Information
Sizes: S (M, L, XL) with finished chest measurements of 38 (42, 46, 50) inches. The sweater is designed with a relaxed, boxy fit, so choose the size closest to your actual chest measurement for a comfortable layering piece.
Stitches Used: This pattern uses basic crochet stitches that are perfect for building confidence:
- ch – chain
- sc – single crochet
- hdc – half double crochet
- dc – double crochet
- fpdc – front post double crochet
- bpdc – back post double crochet
- sl st – slip stitch
Step-by-Step Instructions
Back Panel
Row 1: Chain 76 (84, 92, 100). Work 1 hdc in the 2nd chain from the hook and in each chain across. Turn. You should now have 75 (83, 91, 99) stitches.
Row 2: Chain 2 (this counts as your first hdc), work 1 hdc in each stitch across. Turn.
Repeat Row 2 until the piece measures 15 (15.5, 16, 16.5) inches from the start. Place stitch markers at both ends of this row to mark where the armhole openings will begin.
Continue working even (no increases or decreases) until the piece measures 25 (26, 27, 28) inches total. Fasten off and set aside.
Front Panel (Worked in Two Pieces for Button Placket)
Left Front
Row 1: Chain 38 (42, 46, 50). Work 1 hdc in the 2nd chain from the hook and in each chain across. Turn. You should have 37 (41, 45, 49) stitches.
Row 2: Chain 2, work 1 hdc in each stitch across. Turn.
Repeat Row 2 until the piece measures 15 (15.5, 16, 16.5) inches. Place a stitch marker at the armhole edge (the side that will face the back panel).
Continue working even until the piece measures 20 (21, 22, 23) inches. Now you'll begin neck shaping:
Next Row: Chain 2, work 1 hdc in the next 30 (34, 38, 42) stitches, leaving the remaining 7 stitches unworked for the neckline. Turn.
Decrease 1 stitch at the neck edge on every row, 4 times total. To decrease, simply skip the first stitch of the row (after your turning chain) and work into the next stitch. After completing the decreases, work even until the piece measures 25 (26, 27, 28) inches. Fasten off.
Right Front
Work the same as the left front, but mirror the shaping. When you reach the neck shaping, work across to the last 7 stitches, then turn and decrease at the neck edge on each row. Fasten off when the piece reaches the same length as the left front.
Sleeves (Make 2)
Row 1: Chain 44 (48, 52, 56). Work 1 hdc in the 2nd chain from the hook and in each chain across. Turn. You should have 43 (47, 51, 55) stitches.
Row 2: Chain 2, work 1 hdc in each stitch across. Turn.
Increase 1 stitch at each end of the row every 6th row until you have 63 (67, 71, 75) stitches. To increase, work 2 hdc into the first and last stitch of the row.
Once you've reached the desired stitch count, work even until the sleeve measures 18 (19, 20, 21) inches. Fasten off and repeat for the second sleeve.
Finishing and Assembly
Now it's time to bring all your pieces together. Follow these steps carefully for a professional finish:
- Sew shoulder seams: With your yarn needle and matching yarn, sew the shoulder seams of the front and back panels together. Use a whip stitch or mattress stitch for a neat, flat seam.
- Set in sleeves: Pin the sleeves into the armhole openings, matching the stitch markers you placed earlier. The center of the sleeve cap should align with the shoulder seam. Sew the sleeves in place using a sturdy stitch.
- Sew side and sleeve seams: With right sides together, sew the side seams from the underarm down to the hem. Then sew the sleeve seams from the underarm to the cuff. Weave in all loose ends as you go.
Button Placket
Attach your yarn at the bottom edge of the right front piece. Work single crochet evenly up the front edge for 3 rows total. On the 2nd row, create 4 buttonholes evenly spaced along the placket. To make a buttonhole: chain 2, skip 2 single crochet stitches, then continue with single crochet. This creates a small loop for your button. Fasten off when you've completed 3 rows.
Position your 4 buttons on the left front placket, directly opposite the buttonholes. Sew them securely with your yarn needle and matching thread or yarn.
Neckband
Attach yarn at the right neck edge. Work single crochet evenly around the entire neckline for 2 rows. This will create a neat, ribbed-like edge that mirrors the cuffs and hem. Fasten off and weave in all remaining ends.
Final Touches
Once all your seams are sewn and ends are woven in, give your Ambrose sweater a gentle block. Lay it flat on a towel, shape it to the correct measurements, and let it air dry. This will help even out your stitches and give the sweater a polished, professional look.
Your handmade Ambrose Quarter Button Sweater is now complete! The rich forest green color and textured hdc fabric make this a versatile piece that pairs beautifully with jeans, chinos, or layered over a collared shirt. The quarter-button placket adds a unique design element that sets this sweater apart from store-bought options.
We'd love to see your finished creation! Share your photos on social media with the hashtag #AmbroseSweater and tag us so we can admire your handiwork. Happy crocheting!