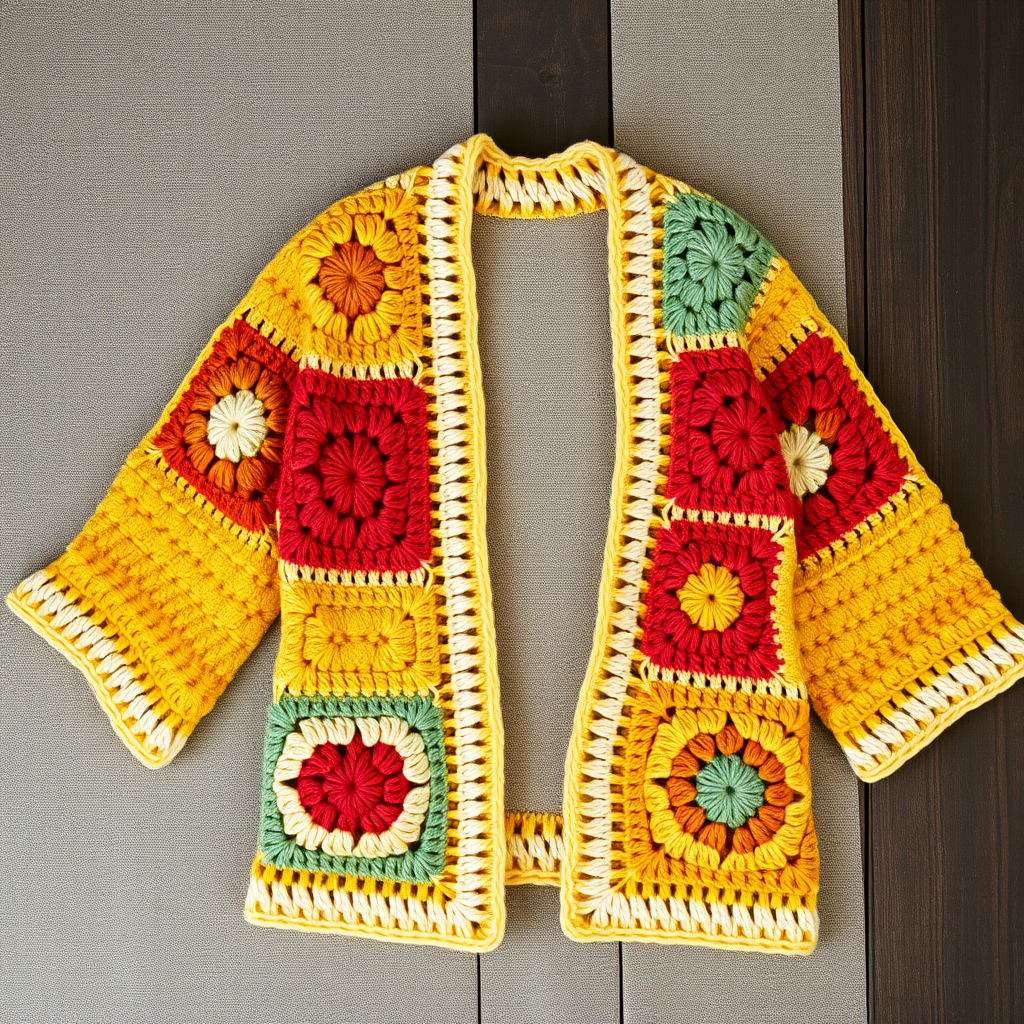
Aurora Drift Sideways Crochet Jumper Free Pattern – A Sweater of Shifting Skies

Aurora Drift Sideways Crochet Jumper Free Pattern – A Sweater of Shifting Skies
Wrap yourself in a sweater that captures the quiet drama of a northern sunset, worked sideways for a flattering, modern drape. This pattern uses a simple stitch rhythm and color shifts to create a garment that feels both heirloom and contemporary. The Aurora Drift Jumper is a unique sideways-constructed crochet sweater that flows from deep teal through dusty rose and soft gold to cream, mimicking the ethereal movement of the aurora borealis across a twilight sky.
This pattern is perfect for the adventurous beginner who wants to try something beyond basic rectangles. The sideways construction eliminates complicated set-in sleeves and creates a beautiful, draped silhouette with minimal seaming. The repeating wave stitch is meditative and easy to memorize, making this a perfect travel project or a cozy weekend make. Let's dive into creating this stunning, wearable piece of art.
Materials Needed
Before you begin your crochet journey, gather the following supplies. Using the specified yarn weight and hook size is crucial to achieving the correct gauge and drape of the final garment.
Yarn
Worsted weight yarn in 4 colors (approximately 1300g total for size M):
- Color A (Deep Teal): 400g – used for the left cuff, left sleeve, and finishing edges.
- Color B (Dusty Rose): 350g – used for the front panel of the body.
- Color C (Soft Gold): 300g – used for the back panel of the body.
- Color D (Cream): 250g – used for the right sleeve.
Hook & Notions
- 5.5mm (I-9) crochet hook – or size needed to obtain gauge.
- Tapestry needle – for weaving in ends and seaming.
- Stitch markers – to mark increase points and the neck opening.
Gauge
14 double crochet (dc) x 8 rows = 10 cm (4 inches) in pattern stitch, after blocking. Always make a gauge swatch before starting to ensure your sweater fits perfectly.
Step-by-Step Instructions
This sweater is worked in one piece from side to side, starting at the left sleeve cuff and ending at the right sleeve cuff. The body is created by increasing and decreasing along the top and bottom edges. All seams are minimal—just the sleeve underarms and side seams. Follow these detailed instructions carefully, and you'll have a beautiful, custom-fit garment.
Abbreviations
- ch = chain
- dc = double crochet
- sc = single crochet
- st(s) = stitch(es)
- sl st = slip stitch
- RS = right side
- WS = wrong side
Special Stitch: Wave Stitch (multiple of 4 + 2)
This pattern creates a beautiful, subtle wavy texture that mimics the ripples of an aurora. It's simple to work once you get the rhythm.
Row 1 (RS): 2 dc in 4th ch from hook, *skip 3 ch, (dc, ch 1, dc) in next ch; repeat from * to last 4 ch, skip 3 ch, 2 dc in last ch.
Row 2: ch 3 (counts as dc), 2 dc in first st, *skip 3 sts, (dc, ch 1, dc) in next ch-1 space; repeat from * to last 3 sts, skip 2 sts, 3 dc in top of turning ch.
Repeat Row 2 for the pattern. The ch-1 spaces from the previous row are where you'll place your (dc, ch 1, dc) clusters.
Left Sleeve Cuff
With Color A (Deep Teal), ch 36 loosely. Work the Wave Stitch flat for 10 rows. This forms the cuff. Do not fasten off. You'll continue directly into the sleeve.
Left Sleeve
Continue in the Wave Stitch pattern, but now you will increase to shape the sleeve. Increase 1 st at each end of every 4th row by working 2 dc in the first and last stitch of the row. Continue increasing until you have 56 sts across. Work even (no increases) until the sleeve measures 20 cm (8 inches) from the cuff. Fasten off.
Body – Left Half (Front Panel)
Now we'll create the front of the sweater. With RS facing, join Color B (Dusty Rose) at the top edge of the sleeve (the edge that will be the shoulder).
Step 1: Ch 3 (counts as first dc), work the Wave Stitch across the top edge of the sleeve.
Step 2: At the end of each RS row, increase 1 st (by working 2 dc in the last st) for 12 rows. This creates the front neck slope. You are adding stitches to shape the neckline.
Step 3: After completing the 12 increase rows, continue straight (no increases) for 20 rows. This is the front panel of the body. Fasten off.
Body – Right Half (Back Panel)
With RS facing, join Color C (Soft Gold) at the bottom edge of the left sleeve (the underarm edge).
Step 1: Ch 3, work the Wave Stitch across the bottom edge of the sleeve.
Step 2: At the end of each RS row, increase 1 st for 12 rows. This creates the back neck slope.
Step 3: Continue straight for 20 rows. This is the back panel. Fasten off.
Joining the Body
Now you have two rectangles (front and back) attached to the left sleeve. This is the magic moment where the sweater starts to take shape.
Step 1: Place the front and back panels together with RS facing each other.
Step 2: Seam the top edges (shoulder seam) and bottom edges (side seam) using mattress stitch or slip stitch. Important: Leave a 20 cm (8 inch) opening in the center of the top seam for the neck.
Step 3: Turn the sweater right side out. You should now have a complete body with one sleeve attached.
Right Sleeve
With RS facing, join Color D (Cream) at the underarm of the right side of the body.
Step 1: Work the Wave Stitch in the round, working evenly around the armhole opening.
Step 2: Decrease 1 st at each side of the underarm every 4th round until you have 36 sts remaining. To decrease, simply skip a stitch in the pattern where indicated.
Step 3: Work even for 10 rounds. Fasten off.
Right Cuff
With RS facing, join Color A (Deep Teal) at the end of the right sleeve.
Step 1: Work sc in each st around for 4 rounds. This creates a neat, stretchy cuff that matches the left side.
Step 2: Fasten off.
Neckband
With RS facing, join Color A (Deep Teal) at the neck opening.
Step 1: Work sc evenly around the neck edge, working 2 sc in each corner to help the band lay flat and turn the corner nicely.
Step 2: Work 3 rounds of sc total. Fasten off.
Finishing
The final steps are what transform your work from a collection of stitches into a polished, professional-looking garment.
Step 1: Weave in all loose ends with your tapestry needle. Take your time—this makes a huge difference in the finished look.
Step 2: Block the sweater to the measurements. This is crucial for the Wave Stitch pattern. Gently stretch the sweater to open up the waves and even out the stitches. Pin it to shape if needed.
Step 3: Allow it to dry completely flat. Once dry, your Aurora Drift Jumper is ready to wear!
Congratulations! You've created a stunning, one-of-a-kind sideways crochet sweater. The unique construction and beautiful color transitions make this a piece you'll be proud to wear and even prouder to say you made yourself. The relaxed, boxy silhouette and long sleeves make it perfect for layering over everything from simple tees to flowy dresses. Enjoy your new favorite handmade garment!