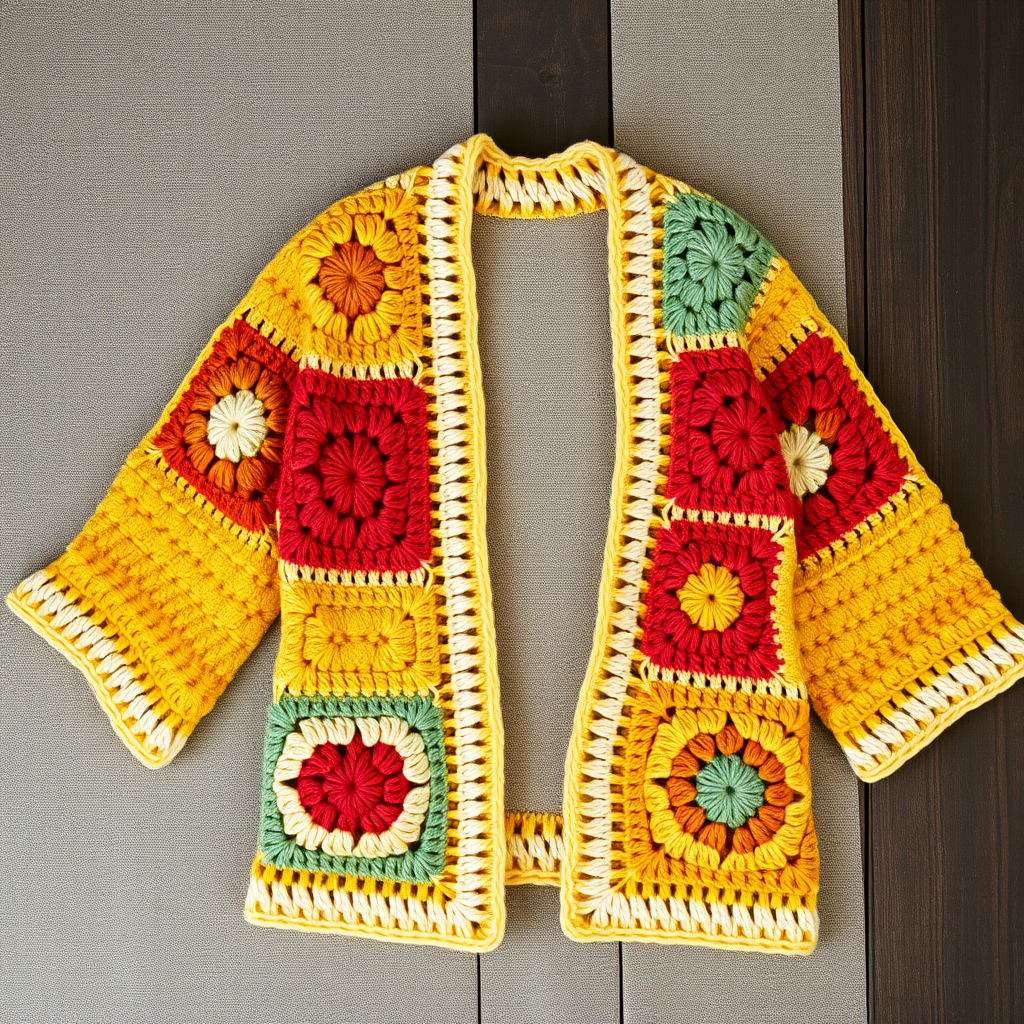
The Willowmere V-Neck Crochet Sweater Free Pattern – A Cozy Textured Layer

The Willowmere V-Neck Crochet Sweater Free Pattern – A Cozy Textured Layer
Wrap yourself in the gentle warmth of the Willowmere, a crochet sweater featuring a deep V-neck and a rich tapestry of post stitches. Its relaxed fit and earthy palette make it a versatile staple for cool evenings. This free pattern is perfect for intermediate crocheters looking to expand their skills while creating a stunning, wearable piece. The alternating front post and back post double crochet creates a ribbed, woven-like texture that adds depth and warmth to every stitch. With its set-in sleeves and contrasting trim, the Willowmere is a beautiful addition to any handmade wardrobe.
Materials Needed
Before you begin, gather the following materials to ensure a smooth crochet experience:
- Yarn: Worsted weight yarn in two colors:
- Main Color (MC) – 1200 (1350, 1500, 1650) yards
- Contrast Color (CC) – 300 (350, 400, 450) yards
- Hook: US Size I/9 (5.5 mm) crochet hook, or size needed to obtain gauge
- Notions: Yarn needle for weaving ends, stitch holders or scrap yarn
Gauge
14 stitches x 12 rows = 4 inches in pattern stitch (alternating front post and back post double crochet). Always check your gauge before starting to ensure the correct finished size.
Sizes & Finished Measurements
Sizes: S (M, L, XL)
Finished Chest: 36 (40, 44, 48) inches
Stitch Abbreviations
- ch – chain
- dc – double crochet
- fpdc – front post double crochet
- bpdc – back post double crochet
- sc – single crochet
- sk – skip
- st(s) – stitch(es)
- sl st – slip stitch
Pattern Stitch
(Multiple of 2 + 1)
Row 1 (RS): Ch 1, sc in first st, *fpdc around next st, bpdc around next st; repeat from * to last st, sc in last st. Turn.
Row 2 (WS): Ch 1, sc in first st, *bpdc around next st, fpdc around next st; repeat from * to last st, sc in last st. Turn.
Repeat Rows 1-2 for pattern. The alternating post stitches create a beautiful, reversible ribbed texture that gives the Willowmere its signature look.
Step-by-Step Instructions
BACK PANEL
With MC, ch 65 (73, 81, 89).
Row 1 (RS): Sc in 2nd ch from hook and in each ch across. Turn. (64, 72, 80, 88 sts)
Row 2: Ch 1, sc in first st, *fpdc around next st, bpdc around next st; repeat from * to last st, sc in last st. Turn.
Work in pattern stitch until piece measures 14 (15, 16, 17) inches from beginning, ending with a WS row.
Shape Armholes
Next row (RS): Sl st over first 4 (5, 6, 7) sts, ch 1, sc in same st as sl st, continue pattern to last 4 (5, 6, 7) sts, leave those sts unworked. Turn. (56, 62, 68, 74 sts)
Continue in pattern, decreasing 1 st at each edge every other row 3 times. (50, 56, 62, 68 sts)
Work even until armhole measures 8 (9, 10, 11) inches from start of armhole shaping, ending with a WS row.
Shape Shoulders
Next row (RS): Sl st over first 6 (7, 8, 9) sts, ch 1, sc in same st, pattern to last 6 (7, 8, 9) sts, leave unworked. Turn. (38, 42, 46, 50 sts)
Next row (WS): Sl st over first 6 (7, 8, 9) sts, ch 1, sc in same st, pattern to last 6 (7, 8, 9) sts, leave unworked. Turn. (26, 28, 30, 32 sts)
Fasten off. Place remaining sts on stitch holder for back neck.
FRONT PANEL
Work same as back until piece measures 10 (11, 12, 13) inches from beginning, ending with a WS row.
Shape V-Neck
Next row (RS): Work in pattern over first 32 (36, 40, 44) sts, ch 1, turn, leaving remaining sts unworked. Work on this side only.
Decrease 1 st at neck edge every row 6 times, then every other row 6 times. (20, 24, 28, 32 sts)
Work even until piece measures same as back to armhole shaping.
Shape Armhole (at side edge)
Sl st over first 4 (5, 6, 7) sts, ch 1, sc in same st, pattern to end. Turn. (16, 19, 22, 25 sts)
Decrease 1 st at armhole edge every other row 3 times. (13, 16, 19, 22 sts)
Work even until armhole measures same as back to shoulder shaping.
Shape Shoulder
At armhole edge, sl st over first 6 (7, 8, 9) sts, ch 1, sc in same st, pattern to end. Turn. (7, 9, 11, 13 sts)
Next row: Sl st over first 6 (7, 8, 9) sts, ch 1, sc in same st, pattern to end. Fasten off. (1, 2, 3, 4 sts)
Repeat for other side, reversing shaping. To reverse, work the V-neck decreases on the opposite edge and mirror all armhole and shoulder shaping.
SLEEVES (make 2)
With MC, ch 33 (37, 41, 45).
Row 1 (RS): Sc in 2nd ch from hook and in each ch across. Turn. (32, 36, 40, 44 sts)
Row 2: Ch 1, sc in first st, *fpdc around next st, bpdc around next st; repeat from * to last st, sc in last st. Turn.
Work in pattern, increasing 1 st at each edge every 4th row 10 (11, 12, 13) times. (52, 58, 64, 70 sts)
Work even until sleeve measures 18 (19, 20, 21) inches from beginning, ending with a WS row.
Shape Cap
Next row (RS): Sl st over first 4 (5, 6, 7) sts, ch 1, sc in same st, pattern to last 4 (5, 6, 7) sts, leave unworked. Turn. (44, 48, 52, 56 sts)
Decrease 1 st at each edge every row 8 (9, 10, 11) times, then every other row 4 times. (20, 18, 16, 14 sts)
Next row: Sl st over first 3 sts, ch 1, sc in same st, pattern to last 3 sts, leave unworked. Turn. (14, 12, 10, 8 sts)
Fasten off.
FINISHING
Sew shoulder seams using a yarn needle and mattress stitch or whip stitch. Set in sleeves, then sew side and sleeve seams. Take care to match the pattern stitch at the seams for a professional finish.
V-Neck Edging
With RS facing, attach CC at right shoulder seam. Work sc evenly around neckline, working 2 sc in each corner at the V point. Join with sl st to first sc. Work 2 more rounds of sc, continuing to work 2 sc in the V point corners. Fasten off. Weave in all ends.
Bottom Edging
With RS facing, attach CC at bottom edge. Work 1 round of sc around entire bottom edge. Fasten off. Weave in ends.
Tips for Success
- Count your stitches regularly, especially when shaping the V-neck and armholes, to ensure symmetry.
- Block your pieces before seaming for a more polished, professional look. Gently wet block and lay flat to dry.
- Use stitch markers to keep track of decrease rows and pattern repeats.
- Weave in ends as you go to save time during finishing.
The Willowmere V-Neck Crochet Sweater is a rewarding project that combines texture, warmth, and style. Whether you're crocheting for yourself or as a thoughtful handmade gift, this pattern will become a cherished piece in any wardrobe. Happy crocheting!