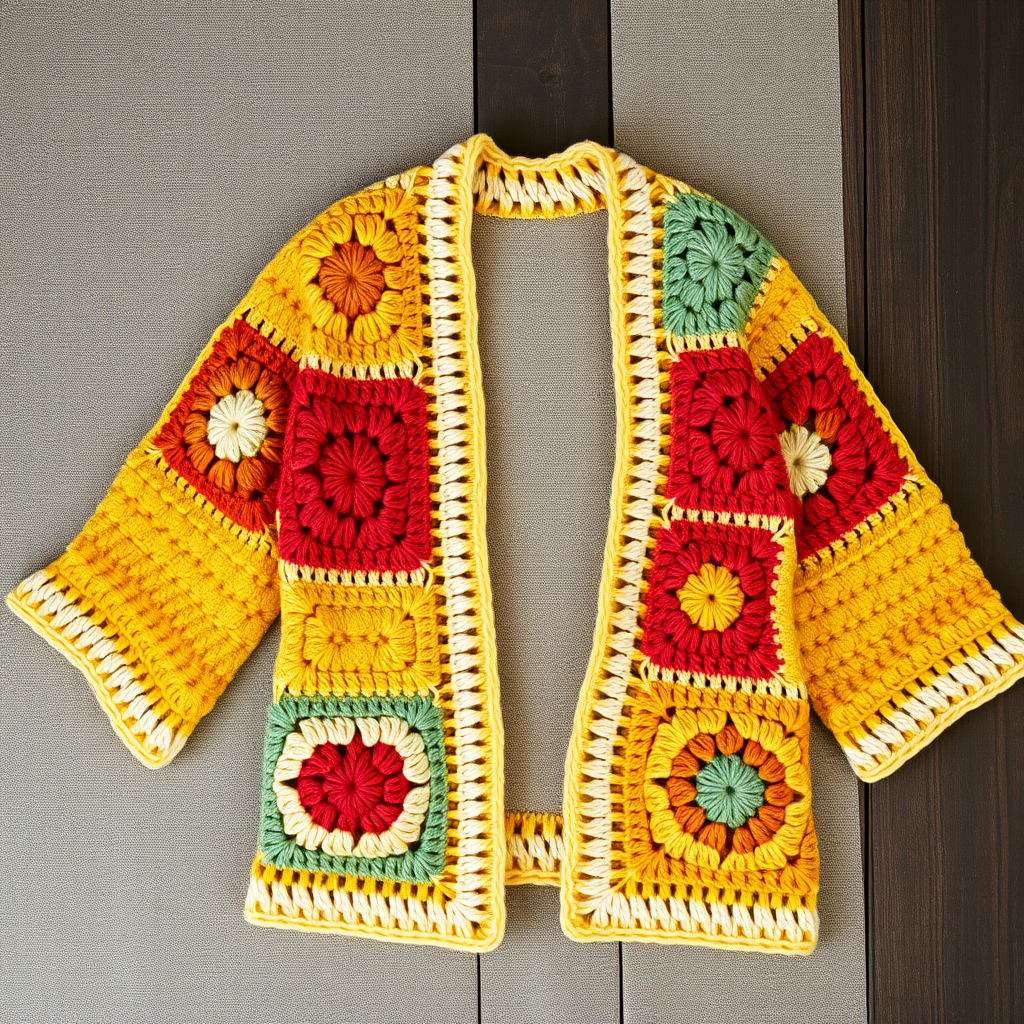
Hearthside Harvest Crochet Sweater Free Pattern – A Chunky Autumn Pullover

Hearthside Harvest Crochet Sweater Free Pattern – A Chunky Autumn Pullover
Wrap yourself in the rustic charm of autumn with this oversized, textured crochet pullover featuring a rich palette of burnt orange, mustard, and cream. The unique honeycomb stitch pattern and cozy cowl neck make it a standout piece for crisp fall days. This free pattern is perfect for intermediate crocheters looking to create a statement garment that feels like a warm hug from the season itself.
With its relaxed, boxy silhouette and dropped shoulders, this sweater embodies cozy, rustic aesthetics. The honeycomb stitch creates a subtle waffle-like texture that adds depth and visual interest, while the warm earthy tones evoke fallen leaves and harvest spices. Whether you're curled up by the fireplace or strolling through pumpkin patches, this pullover will become your autumn essential.
Materials Needed
Before you begin, gather the following supplies to ensure a smooth crochet experience:
- Yarn: Worsted weight yarn in three colors:
- Burnt Orange (Main Color – MC): approximately 700g
- Mustard Yellow (Contrast Color 1 – CC1): approximately 300g
- Cream (Contrast Color 2 – CC2): approximately 200g
- Crochet Hook: 5.5mm (US I-9) hook
- Gauge: 14 stitches x 10 rows = 4 inches in honeycomb stitch (always check your gauge before starting!)
- Other tools: Yarn needle for weaving ends, scissors, stitch markers (optional but helpful)
Understanding the Honeycomb Stitch Pattern
The honeycomb stitch is the heart of this sweater, creating that beautiful waffle-like texture. It's worked in multiples of 2 + 1 stitches. Here's how to master it:
Stitch Abbreviations
- ch – chain
- sc – single crochet
- dc – double crochet
- fpdc – front post double crochet
- bpdc – back post double crochet
- sl st – slip stitch
Honeycomb Stitch Pattern Instructions
Foundation Row: Chain the required number of stitches (multiple of 2 + 1).
Row 1 (Right Side): Sc in 2nd ch from hook, *ch 1, skip 1 ch, sc in next ch; repeat from * across to end. Turn.
Row 2: Ch 1, sc in first sc, *sc in next ch-1 space, ch 1, skip next sc; repeat from * to last sc, sc in last sc. Turn.
Row 3: Ch 1, sc in first sc, *ch 1, skip next sc, sc in next ch-1 space; repeat from * to last sc, sc in last sc. Turn.
Repeat Rows 2-3 for the honeycomb pattern. This creates the beautiful textured grid that gives the sweater its signature look.
Step-by-Step Instructions
Sizes and Measurements
This pattern is written for sizes S/M (M/L). Finished chest measurements: 40 (46) inches. Choose your size and follow the corresponding numbers throughout the pattern.
Back Panel (Make 1)
- With Main Color (MC), chain 72 (82) stitches.
- Work in honeycomb stitch pattern until the piece measures 24 (26) inches from the start.
- Fasten off and weave in the starting tail.
Front Panel (Make 1)
- Work the same as the back panel, but when the piece measures 20 (22) inches, begin neck shaping.
- Left Shoulder: Work across the first 28 (32) stitches, turn, and work even on these stitches only for 4 more inches. Fasten off.
- Neck Opening: Skip the center 16 (18) stitches (these will form the neckline).
- Right Shoulder: Join yarn at the next stitch, work across the remaining 28 (32) stitches for 4 inches. Fasten off.
Sleeves (Make 2)
- With Main Color (MC), chain 34 (38) stitches.
- Work in honeycomb stitch, increasing 1 stitch at each end every 6 rows until you have 50 (56) stitches total.
- Continue working even (without increases) until the sleeve measures 18 (19) inches from the start.
- Fasten off.
Assembly
- Shoulder Seams: With right sides together, sew the shoulder seams of the front and back panels. The front neck opening should align with the center of the back panel.
- Set in Sleeves: Pin the sleeves to the armhole openings, matching the center of the sleeve cap to the shoulder seam. Sew the sleeves in place.
- Side and Sleeve Seams: With right sides together, sew the side seams from the bottom hem up to the underarm, then continue down the sleeve seam to the cuff. Repeat on both sides.
Cowl Neck
- With Contrast Color 1 (CC1 – mustard yellow), join yarn at the neck edge.
- Work 1 round of single crochet evenly around the entire neck opening to create a clean edge.
- Now work in honeycomb stitch in the round (join each round with a slip stitch) for 6 inches.
- Switch to Contrast Color 2 (CC2 – cream) and work the last 2 inches in honeycomb stitch.
- Fasten off and weave in all ends.
Edging
- With Contrast Color 2 (CC2 – cream), single crochet evenly around the bottom hem of the sweater.
- Single crochet evenly around each sleeve cuff.
- Fasten off and weave in all loose ends with your yarn needle.
Finishing Touches and Tips
- Weave in all ends carefully to ensure your sweater looks professional and lasts for years.
- Block your sweater gently to even out the honeycomb stitch and achieve the perfect drape. Lay flat to dry.
- Check your gauge before starting – this ensures your sweater will fit as intended.
- Customize the length by adding or removing rows on the body panels before the neck shaping.
Your Hearthside Harvest Sweater is now complete! This cozy, textured pullover will keep you warm and stylish all autumn long. The honeycomb stitch pattern creates a beautiful, tactile surface that gets better with every wear. Pair it with jeans and boots for a perfect fall look, or layer it over a turtleneck for extra warmth on chilly days.
Happy crocheting, and enjoy your beautiful handmade creation!