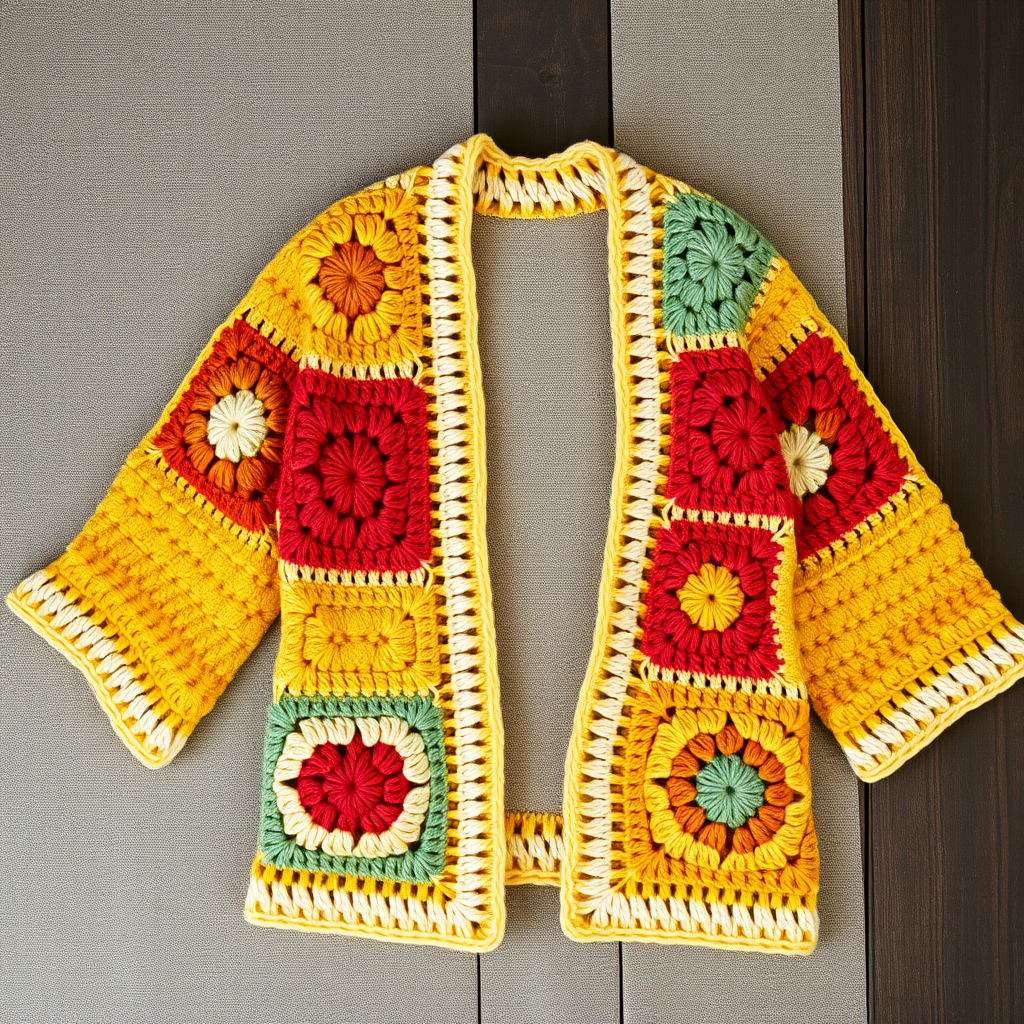
Aurora Dune Cocoon Cardigan Free Pattern

Wrap Yourself in the Aurora Dune Cocoon Cardigan: A Free Crochet Pattern
Are you dreaming of a garment that feels like a wearable blanket but looks chic and modern? Look no further than the Aurora Dune Cocoon Cardigan. This free crochet pattern is a love letter to cozy, sculptural fashion. With its sweeping crescent shape, wide batwing sleeves, and a rich, ridged texture, this cardigan is the perfect project for intermediate beginners ready to tackle something truly special. The beauty of this design lies in its simplicity—a two-stitch repeat creates a drapey, elegant fabric that drapes beautifully over any outfit. Let’s dive into how you can create this stunning, handmade wardrobe staple.
Materials Needed for Your Cocoon Cardigan
Before you begin, gather your supplies. This project is wonderfully portable and requires minimal tools. Here’s what you’ll need:
- Yarn: Worsted weight yarn (Category 4). The pattern calls for a soft, heathered oatmeal or dusty rose color. For sizes S/M (M/L), you will need approximately 1200-1500 yards. A heathered yarn will beautifully enhance the textured stitch.
- Crochet Hook: US Size I/9 (5.5 mm) hook, or whatever size is needed to obtain the correct gauge.
- Other Tools: A yarn needle for weaving in ends and sewing seams, and a pair of scissors.
Understanding the Gauge
Getting the right gauge is crucial for the perfect fit. The pattern specifies: 14 stitches and 10 rows = 4 inches in half double crochet (hdc) worked in back loops only. Always make a gauge swatch before starting to ensure your cardigan comes out the correct size.
Step-by-Step Instructions: Crafting Your Aurora Dune Cardigan
This clever pattern is worked in one piece from the top down. You’ll start with a simple rectangle for the back, then increase for the sleeves, and finally split for the front panels. The crescent shape emerges naturally from the increases. Follow these detailed instructions carefully, and you’ll be amazed at the result.
Special Stitches You'll Need
- HDC-BLO: Half Double Crochet in the Back Loop Only. Insert your hook into the back loop of the stitch, yarn over, pull up a loop, yarn over, and pull through all three loops on your hook. This creates a beautiful ribbed texture.
- HDC2TOG: Half Double Crochet Two Together (Decrease). Yarn over, insert hook into the next stitch, yarn over, pull up a loop, yarn over, insert hook into the next stitch, yarn over, pull up a loop, yarn over, and pull through all five loops on your hook. This is used for shaping.
Part 1: The Back Panel
We'll begin by creating the foundation of the cardigan.
- Foundation Chain: Chain 70 (78, 86) for sizes S/M (M/L).
- Row 1: Work a HDC in the 3rd chain from your hook and in each chain across. Turn your work. You should now have 68 (76, 84) stitches.
- Row 2: Chain 2 (this counts as your first HDC), then work a HDC-BLO in each stitch across. Turn.
- Repeat Row 2 until your piece measures 20 (22, 24) inches from the beginning. Do not fasten off. This forms the main body of the back.
Part 2: Creating the Sleeve Increases
Now we will shape the batwing sleeves by increasing at both ends of the row.
- Increase Row: Chain 2, work 2 HDC-BLO in the very first stitch (this is your increase), then work HDC-BLO in each stitch across until you reach the last stitch. Work 2 HDC-BLO in the last stitch. Turn. You will have 70 (78, 86) stitches.
- Repeat this increase row for a total of 10 (12, 14) rows. This will dramatically widen your fabric to create the sleeves. After completing all increase rows, you will have 90 (102, 114) stitches.
Part 3: Working the Front Panels
Now you will divide your work to create the left and right front panels, leaving a space in the middle for the back neck.
Left Front Panel
- Row 1: Chain 2, then work HDC-BLO in the first 30 (34, 38) stitches. Leave the remaining stitches unworked. Turn. You are now working only on these 30 (34, 38) stitches.
- Row 2: Chain 2, work HDC-BLO in each stitch across. Turn.
- Repeat Row 2 until this front panel measures 10 (11, 12) inches from the sleeve increase section. Fasten off and weave in this end.
Right Front Panel
- To begin the right panel, you will skip the center 30 (34, 38) stitches for the back neck. Join your yarn in the very next stitch.
- Row 1: Chain 2, work HDC-BLO in each of the remaining 30 (34, 38) stitches. Turn.
- Row 2: Chain 2, work HDC-BLO in each stitch across. Turn.
- Repeat Row 2 until this panel measures the exact same length as the left front panel. Fasten off.
Part 4: Finishing Touches
You're almost done! Now it's time to assemble your masterpiece.
- Fold and Seam: Fold your piece in half with the right sides together, matching up the sleeve seams. The sleeve sections are the wider parts you created with the increases.
- Sew the Sleeve Seams: Using your yarn needle, sew the sleeve seams from the underarm down to the cuff. Leave the center section open for the body. Repeat for the other side.
- Weave in Ends: Carefully weave in all loose ends with your yarn needle to give your cardigan a clean, professional finish.
- Optional Border: For a polished look, you can add a simple single crochet border around the entire opening of the cardigan. This helps it lay flat and looks lovely.
And there you have it—your very own Aurora Dune Cocoon Cardigan! This project is a joy to make and an even greater joy to wear. The textured stitch and flowing shape make it a truly unique piece that you'll reach for all season long. Happy crocheting!