Celestial Drift Cloud Blanket Free Pattern
Celestial Drift Cloud Blanket Free Knitting Pattern
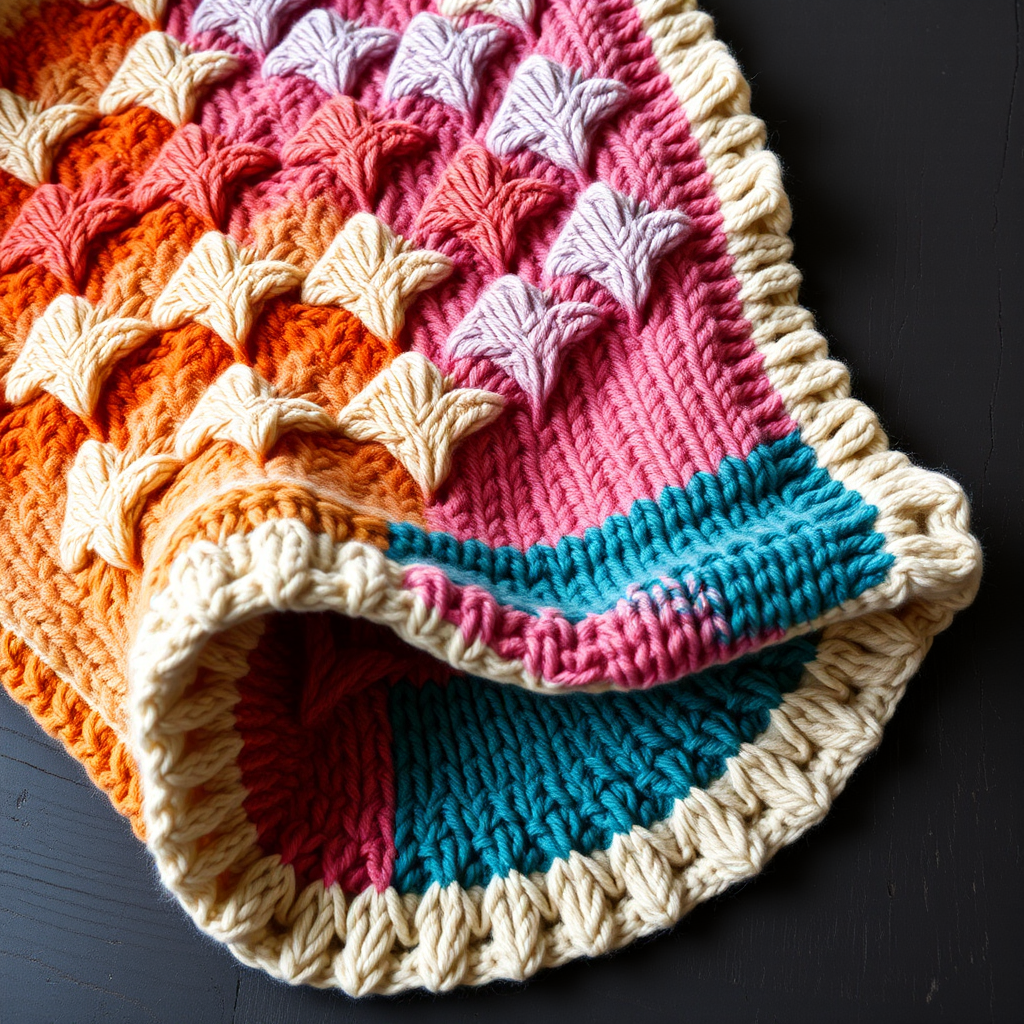
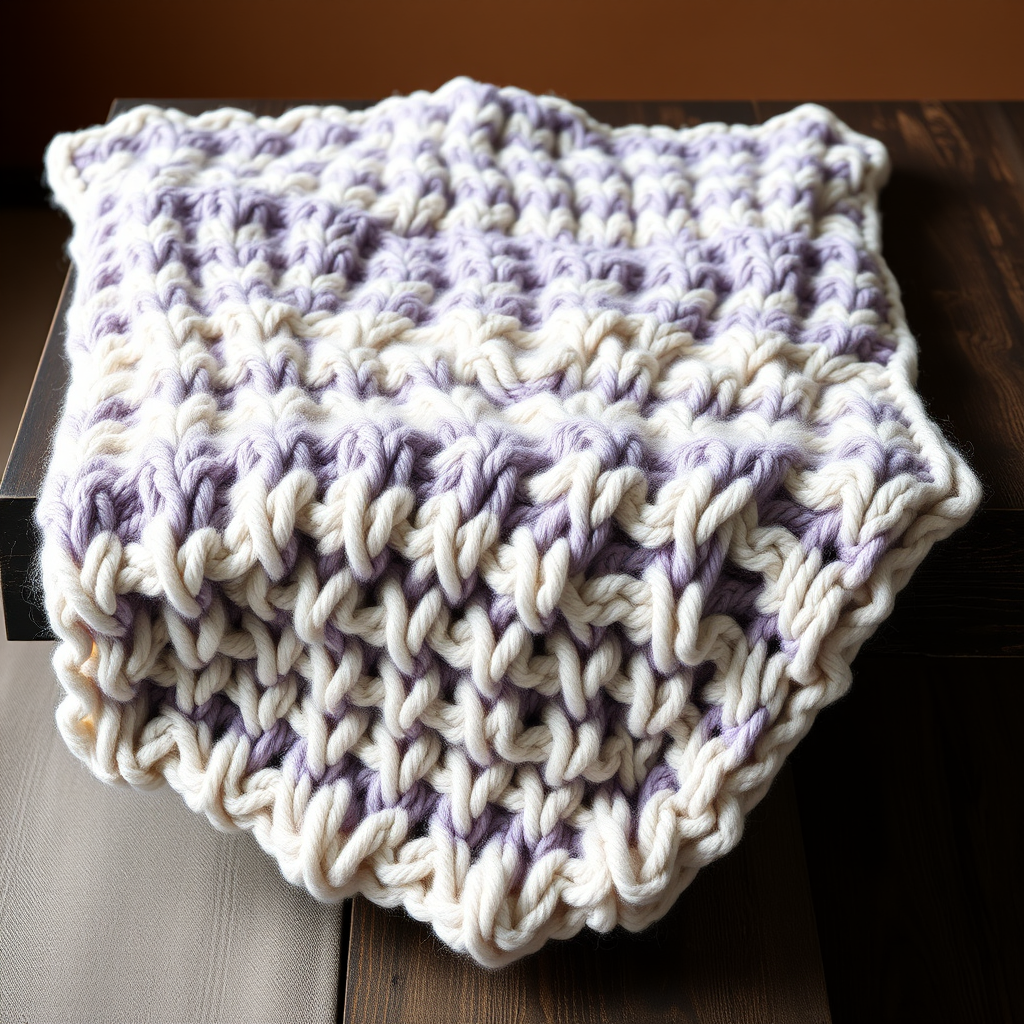
Wrap yourself in the ethereal softness of a hand-knitted cloud with this mesmerizing textured blanket. The alternating waves of garter and stockinette create a dreamy, dimensional landscape that feels like floating on air. This modern, pastel ombre throw is the perfect project for knitters looking to create a stunning statement piece for their home or a heartfelt handmade gift. With its simple 8-row repeat and chunky yarn, this pattern is surprisingly accessible, making it an ideal weekend project that yields a luxurious, cloud-like result.
Materials Needed
Before you begin your journey to crafting this celestial masterpiece, gather the following materials. The quality of your yarn will greatly impact the final drape and softness, so choose a super bulky weight yarn that feels wonderful against your skin.
- Yarn: Super bulky weight yarn (size 6) in 3 shades: Misty White (A), Pale Lavender (B), Soft Sky Blue (C) - approximately 1200g total (roughly 400g of each color).
- Needle: US 13 (9mm) circular knitting needle, 40-inch cable (the long cable is essential for holding all 120 stitches comfortably).
- Notions: Tapestry needle for weaving in ends, stitch markers (optional but helpful), scissors.
- Gauge: 8 stitches and 12 rows = 4 inches in stockinette stitch (after blocking). Always check your gauge to ensure your blanket turns out the correct size.
Step-by-Step Instructions
This blanket is knitted in one piece from the bottom up. The pattern uses a simple 8-row repeat that creates a beautiful undulating texture. Don't be intimidated by the yarn overs; they are simple increases that create the delicate eyelets in the wave pattern.
Abbreviations
- K = knit
- P = purl
- K2tog = knit two stitches together (a right-leaning decrease)
- YO = yarn over (bring yarn to front, then over the needle to the back, creating a new loop)
- Sl = slip stitch purlwise (not used in this pattern, but good to know)
- RS = right side (the front of the blanket)
- WS = wrong side (the back of the blanket)
Foundation
Step 1: With Color A (Misty White), cast on 120 stitches loosely. A long-tail cast-on is perfect here. Ensure your cast-on is not too tight, as this will be the bottom edge of your blanket and needs to stretch.
Garter Border
Step 2 (Rows 1-4): Knit all stitches across all 4 rows. This creates a sturdy, non-curling garter stitch border for the bottom of your blanket.
Begin the Wave Pattern
Now you will begin the main body of the blanket. The pattern repeat is 8 rows, but the first 4 rows establish the pattern with Color A.
Step 3 (Row 5 - RS): With Color A, K1, *K2tog, YO, K1, YO, K2tog, K3; repeat from * to last 3 stitches, K3.
Detailed breakdown: Knit 1. Then repeat the sequence in the asterisks: Knit 2 together (decrease), yarn over (increase), knit 1, yarn over (increase), knit 2 together (decrease), knit 3. Repeat this sequence across the row until you have 3 stitches left, then knit those final 3 stitches.
Step 4 (Row 6 - WS): Purl all stitches. This is a simple purl row across the entire row.
Step 5 (Row 7 - RS): K1, *K3, K2tog, YO, K1, YO, K2tog; repeat from * to last 3 stitches, K3.
Detailed breakdown: Knit 1. Then repeat the sequence in the asterisks: Knit 3, knit 2 together (decrease), yarn over (increase), knit 1, yarn over (increase), knit 2 together (decrease). Repeat this sequence across the row until you have 3 stitches left, then knit those final 3 stitches. Notice how the decreases and yarn overs are offset from Row 5, creating the wave effect.
Step 6 (Row 8 - WS): Purl all stitches.
Color Transition & Pattern Repeat
Now you will introduce the other colors to create the beautiful ombre effect. You will simply repeat the exact same 4 rows (Rows 5-8) you just completed, but with different colors.
Step 7 (Rows 9-12): Repeat Rows 5-8 with Color B (Pale Lavender).
Step 8 (Rows 13-16): Repeat Rows 5-8 with Color C (Soft Sky Blue).
Step 9 (Rows 17-20): Repeat Rows 5-8 with Color B (Pale Lavender).
Step 10 (Rows 21-24): Repeat Rows 5-8 with Color A (Misty White).
Continue the Pattern
Step 11: Repeat Rows 5-24 (the full color sequence) until the blanket measures approximately 60 inches from the cast-on edge. It is best to end with a Row 8 or Row 16 (a purl row) to ensure you are ready to start the final border on a right-side row. You can easily adjust the length here by adding or removing pattern repeats to make the blanket larger or smaller.
Final Border
Step 12: With Color A (Misty White), knit 4 rows of garter stitch. This mirrors the bottom border and creates a clean, finished edge.
Bind Off
Step 13: Bind off loosely in knit on the next row. To bind off loosely, knit the first two stitches, then pass the first stitch over the second and off the needle. Knit the next stitch, pass the previous stitch over, and repeat. Be careful not to pull the yarn too tight as you bind off, as this will pucker the edge. You can use a larger needle to bind off if you find it too tight.
Step 14: Weave in all ends with a tapestry needle. Take your time to weave in the ends securely, following the path of the yarn through the stitches to hide them completely.
Blocking
Blocking is the final, magical step that transforms your knitting into a professional-looking blanket. It opens up the yarn overs and creates a beautiful, airy drape.
Step 15: Soak the blanket in lukewarm water with a gentle wool wash for 20 minutes. Gently squeeze out excess water (do not wring, as this can felt the wool). Lay flat on a clean towel, gently stretch to shape (aim for approximately 50 inches wide and 60 inches long), and allow to dry completely. This will open up the yarn overs and create a beautiful, airy drape.
Once dry, your Celestial Drift Cloud Blanket is ready to be draped over a sofa, curled up with on a chilly evening, or gifted to someone special. The soft, undulating waves and serene color palette will bring a touch of heavenly comfort to any space. Happy knitting!