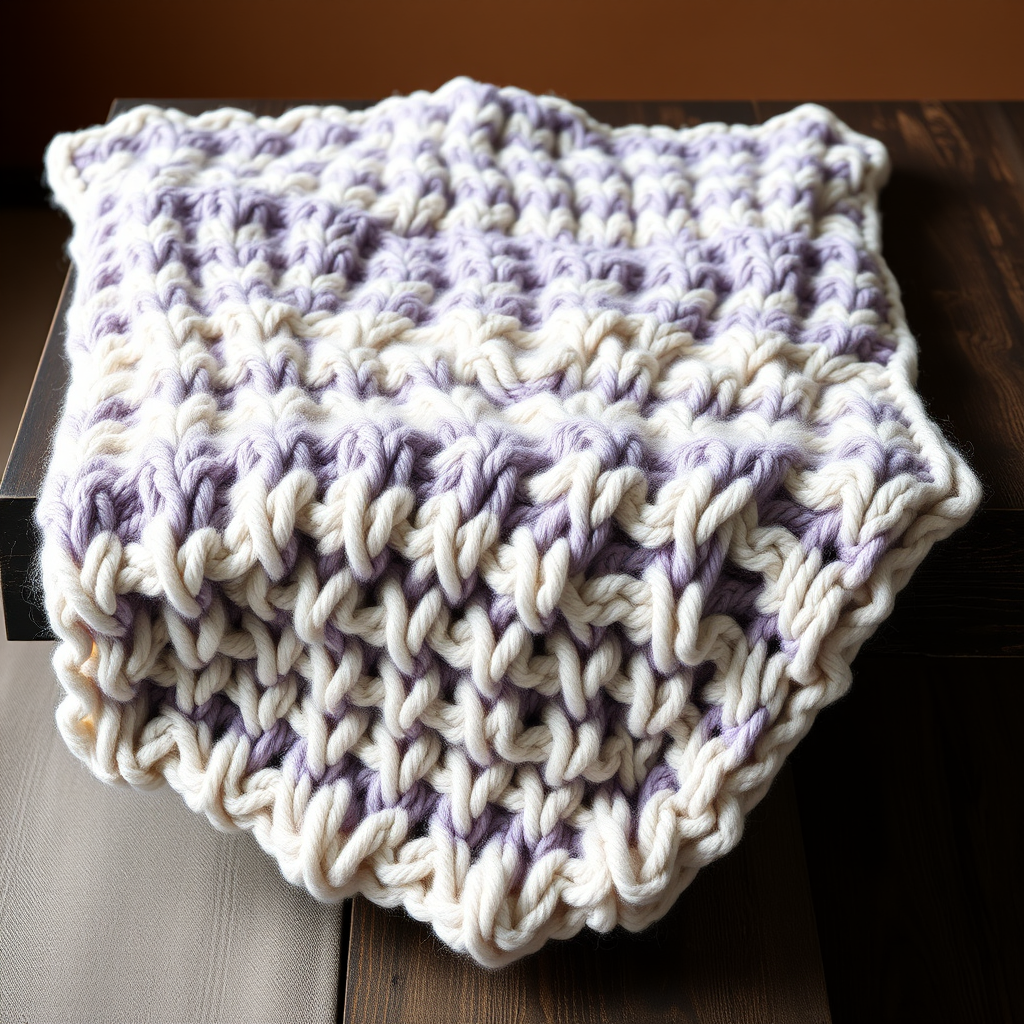
The Aurora Dune Blanket Free Pattern – A Knitted Gradient Mosaic Throw with Woven Cloud Stitches
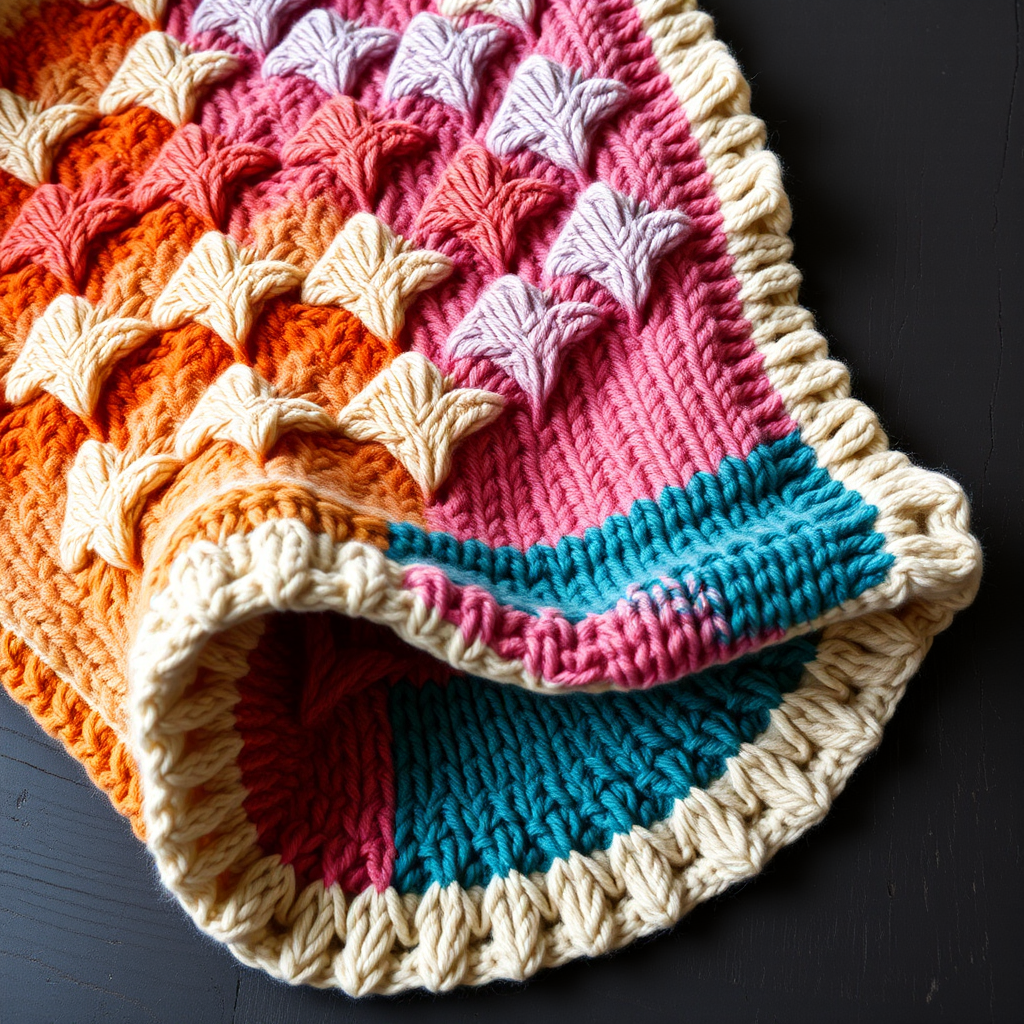
The Aurora Dune Blanket: A Free Knitted Gradient Mosaic Throw with Woven Cloud Stitches
Imagine wrapping yourself in the shifting hues of a desert sunset—warm sand melting into terracotta, then blooming into dusty rose and lavender before settling into deep teal. That's the magic of the Aurora Dune Blanket. This free knitting pattern combines a modern gradient mosaic technique with a unique woven cloud stitch, creating a throw that's as much a piece of art as it is a cozy companion. Whether you're an intermediate knitter looking for a rewarding project or a confident beginner ready to stretch your skills, this pattern offers a satisfying journey with a stunning, textured result that will elevate any living space.
Materials Needed
Before you begin, gather the following supplies. The quality of your yarn will greatly impact the final drape and feel of your blanket, so choose a soft, durable worsted weight yarn you love.
- Yarn: Worsted weight yarn in 5 colors (approx. 400g each):
- Color A: Sand (warm beige)
- Color B: Terracotta (burnt orange)
- Color C: Dusty Rose (muted pink)
- Color D: Lavender (soft purple)
- Color E: Deep Teal (dark blue-green)
- Needle: US 9 (5.5mm) circular knitting needle, 32-inch length (or longer for comfortable stitch capacity)
- Notions: Tapestry needle for weaving in ends and embroidery, stitch markers (optional but helpful), blocking pins and mat
Gauge
16 stitches and 22 rows = 4 inches in stockinette stitch (knit on RS, purl on WS). Always knit a gauge swatch to ensure your blanket matches the intended dimensions and drape. Adjust needle size if necessary.
Step-by-Step Instructions
This blanket is worked in one piece from the bottom up. The mosaic technique uses slipped stitches to create geometric patterns without carrying multiple yarns across rows. The woven cloud stitch is added as a beautiful embroidery detail afterward. Follow these instructions carefully, and you'll create a masterpiece.
Blanket Construction Overview
The blanket is built in 8 distinct color blocks, each featuring a 12-row pattern repeat. You'll work the pattern once per block, changing the base and pattern colors as directed. The slipped stitches create the mosaic effect, while the garter stitch borders keep the edges neat and stable.
Foundation
- Cast On: With Color A (Sand), cast on 160 stitches loosely. A long-tail cast on works beautifully here.
- Garter Border: Knit 6 rows in garter stitch (knit every row). This creates a sturdy, non-curling bottom edge. After these 6 rows, you'll be ready to start the main pattern on a Right Side (RS) row.
Main Pattern: The 12-Row Repeat
This is the heart of the mosaic design. Pay close attention to the color changes and the slipped stitch instructions. "sl1 wyif" means slip one stitch purlwise with the yarn in front. This is essential for creating the woven texture.
Row 1 (RS): With Color A, knit all stitches.
Row 2 (WS): With Color A, purl all stitches.
Row 3 (RS): With Color B, *k1, sl1 wyif, k3, sl1 wyif, k1*; repeat from * to end of row.
Row 4 (WS): With Color B, *p1, sl1 wyif, p3, sl1 wyif, p1*; repeat from * to end of row.
Row 5 (RS): With Color B, knit all stitches.
Row 6 (WS): With Color B, purl all stitches.
Row 7 (RS): With Color C, *k2, sl1 wyif, k1, sl1 wyif, k2*; repeat from * to end of row.
Row 8 (WS): With Color C, *p2, sl1 wyif, p1, sl1 wyif, p2*; repeat from * to end of row.
Row 9 (RS): With Color C, knit all stitches.
Row 10 (WS): With Color C, purl all stitches.
Row 11 (RS): With Color D, *k1, sl1 wyif, k3, sl1 wyif, k1*; repeat from * to end of row.
Row 12 (WS): With Color D, *p1, sl1 wyif, p3, sl1 wyif, p1*; repeat from * to end of row.
Tip: When slipping stitches, always slip them purlwise (as if to purl) to keep them untwisted. Keep the yarn in front (wyif) for both knit and purl rows to create the horizontal strand that forms the mosaic pattern.
Color Block Sequence
Now, you'll work the 12-row pattern repeat eight times, following this color sequence. The first color listed is the "base" color used for the knit/purl rows (Rows 1-2, 5-6, 9-10), and the second is the "pattern" color used for the slipped stitch rows (Rows 3-4, 7-8, 11-12).
- Block 1: Base A (Sand) + Pattern B (Terracotta)
- Block 2: Base B (Terracotta) + Pattern C (Dusty Rose)
- Block 3: Base C (Dusty Rose) + Pattern D (Lavender)
- Block 4: Base D (Lavender) + Pattern E (Deep Teal)
- Block 5: Base E (Deep Teal) + Pattern D (Lavender)
- Block 6: Base D (Lavender) + Pattern C (Dusty Rose)
- Block 7: Base C (Dusty Rose) + Pattern B (Terracotta)
- Block 8: Base B (Terracotta) + Pattern A (Sand)
After completing all 8 blocks, you should be at the end of a 12-row repeat. Cut your yarn, leaving a tail for weaving in.
Top Border
- With Color A (Sand), knit 6 rows in garter stitch (knit every row) to mirror the bottom border.
- Bind Off: Bind off all stitches loosely. A stretchy bind-off (like the knitted bind-off or Jeny's surprisingly stretchy bind-off) is recommended to prevent a tight edge.
Woven Cloud Stitch Detail
This is what elevates the Aurora Dune Blanket from beautiful to extraordinary. This embroidery adds a plush, dimensional cloud-like texture to the center of each color block.
- Thread Your Needle: Thread a tapestry needle with a contrasting color. Use Color E (Deep Teal) for Blocks 1-4, and Color A (Sand) for Blocks 5-8.
- Locate the Slipped Stitches: Identify the vertical columns of slipped stitches created in the pattern. These are the strands that run horizontally across the surface.
- Create the Cloud Stitch: Working along the center of a block, make a small diagonal stitch over 2 stitches wide and 2 rows tall. Start at the bottom left of a 2x2 area, bring the needle up, and insert it at the top right, creating a diagonal line.
- Alternate Direction: For the next stitch, work from bottom right to top left, creating an opposite diagonal. Continue alternating these directions to form a subtle diamond pattern across the width of the blanket.
- Repeat: Create a row of these diamond patterns along the center of each color block. Space them evenly for a consistent, woven look.
Finishing
- Weave in Ends: Using your tapestry needle, carefully weave in all loose yarn ends on the wrong side of the blanket. Ensure they are secure but not visible from the front.
- Blocking: This step is crucial for a professional finish. Soak the blanket in lukewarm water with a gentle wool wash for 20-30 minutes. Gently squeeze out excess water (do not wring). Lay the blanket flat on a blocking mat and pin it to the desired dimensions (approx. 50 x 60 inches). Use a steamer or a cool iron on low heat with a pressing cloth to gently steam the fabric, then allow it to dry completely before removing the pins.
Your Aurora Dune Blanket is now complete! The gradient of colors and the plush woven cloud stitches create a stunning, tactile piece that's perfect for draping over a sofa, layering on a bed, or gifting to someone special. Enjoy the warmth and artistry of your handmade creation.