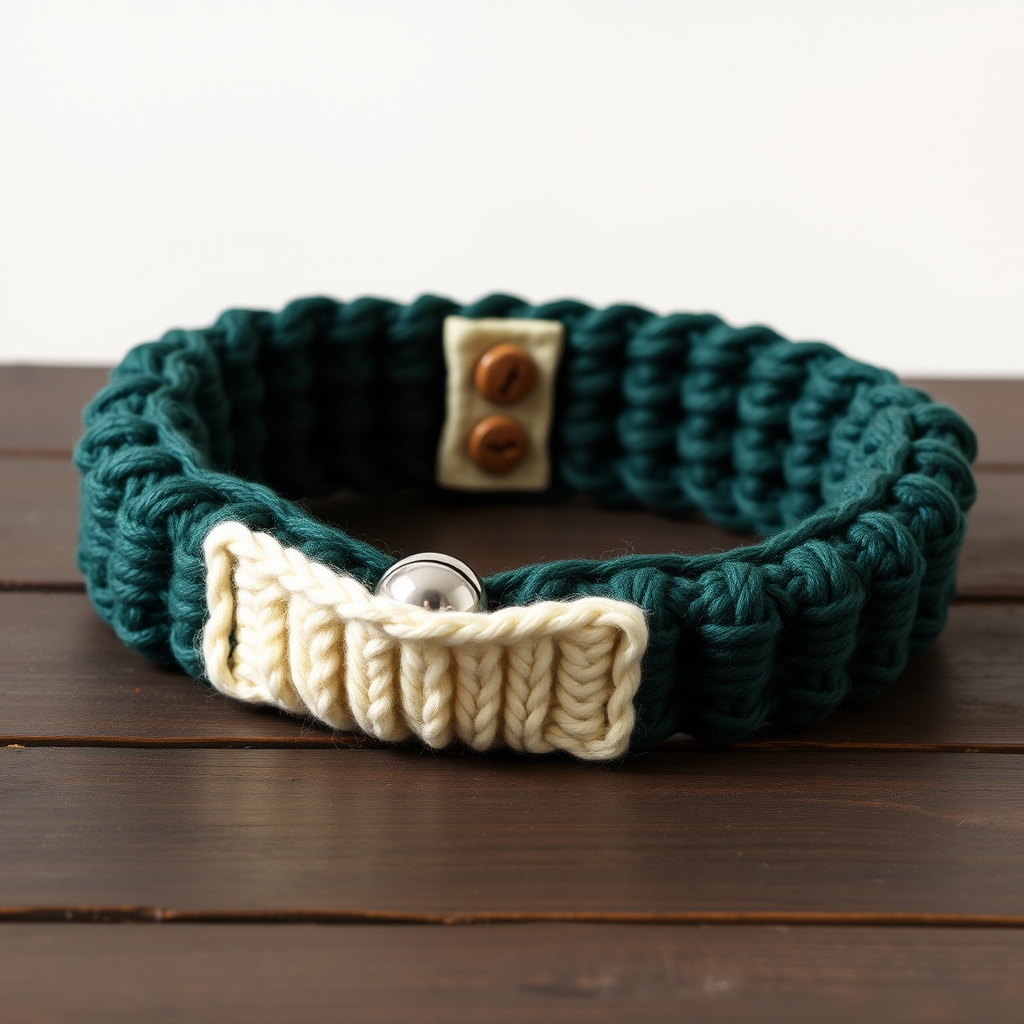
Clover Meadow Dog Collar Free Pattern – Knitted Cable & Leaf Motif

Wrap Your Pup in Woodland Charm: The Clover Meadow Dog Collar
Are you looking for a truly special handmade gift for your furry best friend? Move over, plain store-bought collars! Today, we're diving into a delightful knitting project that combines rustic charm with a touch of elegance: the Clover Meadow Dog Collar. This isn't just a functional accessory; it's a cozy statement piece featuring a richly textured central cable flanked by delicate, organic leaf motifs. Knitted in soft, durable cotton, this collar is completely customizable and perfect for everyday adventures, from park strolls to cozy couch cuddles. Whether you're a seasoned knitter or a confident beginner looking for a new challenge, this free pattern is a joy to create. Let's get those needles clicking and craft a woodland treasure for your beloved companion.
Materials Needed: Gathering Your Knitting Kit
Before we cast on, let's make sure you have everything you need. This project uses simple, readily available materials to create a professional-looking finish.
- Yarn: Worsted weight cotton or cotton-blend yarn (e.g., Lion Brand 24/7 Cotton) in two colors:
- Main Color (MC): Forest Green
- Contrast Color (CC): Cream or Soft White
- Needles & Tools:
- US 6 (4.0 mm) knitting needles (straight or circular for flat knitting)
- Cable needle
- Tapestry needle for weaving in ends
- 1 button (1 inch / 2.5 cm diameter) for closure
- Gauge: 20 stitches and 28 rows = 4 inches (10 cm) in stockinette stitch (after blocking). Adjust needle size if needed to match gauge.
Step-by-Step Instructions: Knitting the Clover Meadow Collar
This pattern is worked flat and seamed, making it easy to manage. Follow these detailed instructions carefully, and you'll have a beautiful collar in no time.
Understanding Your Pattern & Abbreviations
Finished Size: Fits neck circumference 12–16 inches (30–40 cm), adjustable via button placement. Width: 2.5 inches (6.5 cm).
Abbreviations:
- CO: Cast on
- K: Knit
- P: Purl
- K2tog: Knit two together (decrease)
- SSK: Slip, slip, knit (decrease)
- C4F: Cable 4 front (slip 2 stitches to cable needle, hold in front, knit 2 from left needle, then knit 2 from cable needle)
- C4B: Cable 4 back (slip 2 stitches to cable needle, hold in back, knit 2 from left needle, then knit 2 from cable needle)
- M1: Make one (increase)
- BO: Bind off
Part 1: Knitting the Collar Body (The Cable Pattern)
We'll start with the main body of the collar, which features the beautiful central cable.
- Cast On: With your Main Color (MC), CO 14 stitches.
- Row 1 (Right Side): K2, P2, K6, P2, K2.
- Row 2 (Wrong Side): P2, K2, P6, K2, P2.
- Row 3: K2, P2, C4F, C4B, P2, K2. (This creates the central cable twist).
- Row 4: P2, K2, P6, K2, P2.
- Row 5: K2, P2, K6, P2, K2.
- Row 6: P2, K2, P6, K2, P2.
- Row 7: K2, P2, C4B, C4F, P2, K2. (Alternate cable twist direction).
- Row 8: P2, K2, P6, K2, P2.
- Repeat: Repeat Rows 1–8 until the collar measures 1 inch (2.5 cm) less than your dog's neck circumference (or desired length). End with a Wrong Side row.
Part 2: Creating the Leaf Motif Border
Now for the charming, scalloped edge that gives this collar its name. We'll pick up stitches along one long edge and work the leaf pattern.
- Pick Up Stitches: With the Right Side facing you, pick up and knit 1 stitch for every 2 rows along the long edge of the collar (about 30–40 stitches, depending on length).
- Stockinette Base: Work in stockinette stitch for 4 rows (knit on RS, purl on WS).
- Leaf Motif Row (RS): K1, M1, K2, SSK, K2tog, K2, M1, K1 repeat from * to * across, ending with K1. This creates small leaf-shaped increases and decreases.
- Next Row (WS): Purl all stitches.
- Repeat: Repeat the Leaf Motif Row and purl row 3 more times. To create a more organic, alternating leaf pattern, you can shift the motif on the second repeat by starting with K2 instead of K1. This will create a staggered, scalloped, leaf-like edge.
Part 3: Finishing Touches & Button Closure
Let's put it all together and make it functional!
- Bind Off: BO all stitches loosely. Weave in all ends with your tapestry needle.
- Create the Button Loop: On the opposite long edge (the one without the leaf border), fold the collar end over to create a loop for the button. Using MC, sew the folded edge to the back of the collar, leaving a gap just wide enough for your button to fit through.
- Attach the Button: Attach the button to the other end of the collar, positioning it to overlap the loop. Ensure the button is securely sewn.
- Fit Check: The collar should fit comfortably. You should be able to fit two fingers between the collar and your dog's neck.
Pro-Tip for Extra Durability
For a collar that can withstand all kinds of play, consider lining the inside with a soft fabric or sewing a thin cotton ribbon along the inside edge. This adds an extra layer of comfort and protects the knitting from wear and tear.
And there you have it—a stunning, handcrafted Clover Meadow Dog Collar! This project is a wonderful way to show your pet how much you care, creating a unique accessory that's as beautiful as it is durable. We'd love to see your finished creations! Share your photos and tag us in your woodland adventures.