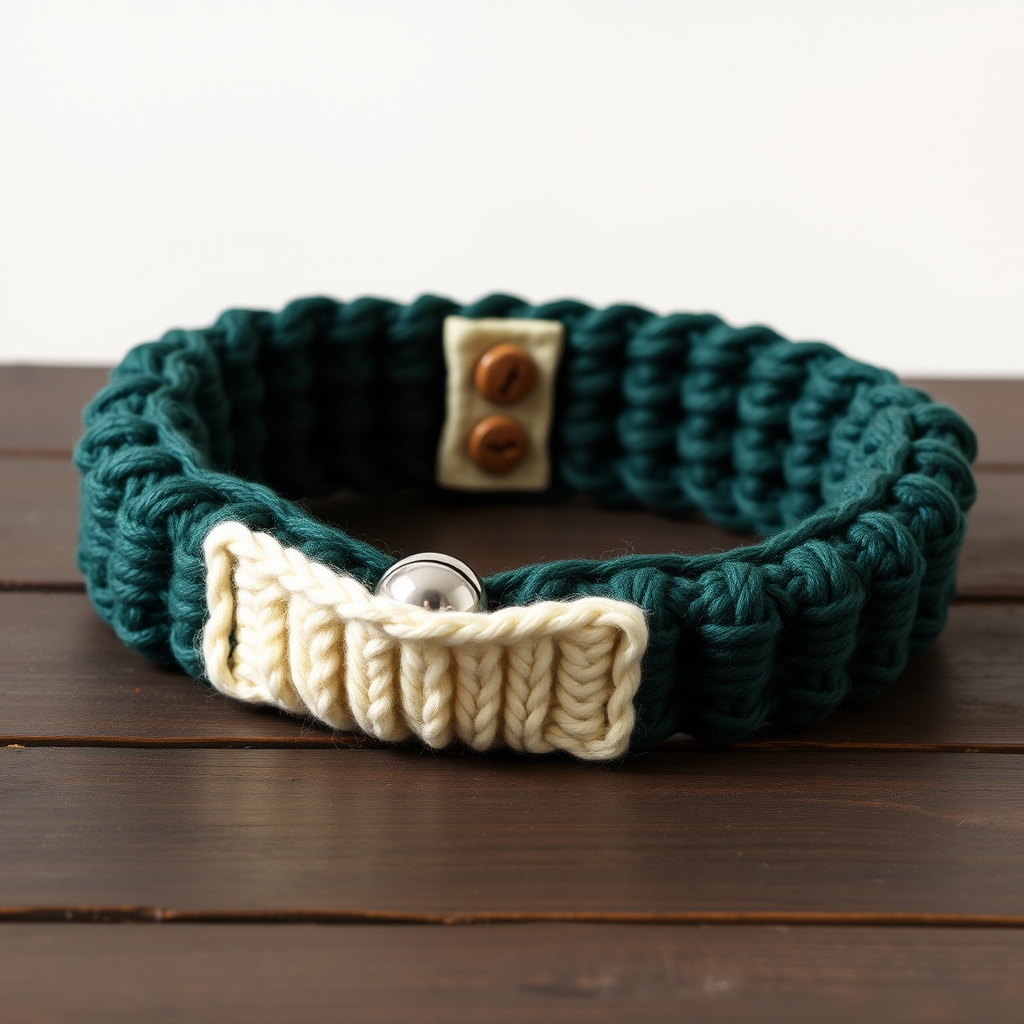
Meadowmoss Dog Collar Free Pattern – Knit a Wildflower Charm Collar

Knit a Wildflower Charm: The Meadowmoss Dog Collar Pattern
There's something deeply satisfying about crafting a handmade accessory for your furry best friend. The Meadowmoss Dog Collar is more than just a practical pet accessory—it's a wearable piece of botanical art. Knitted with a dense, textured moss stitch and adorned with delicate crocheted clover accents, this collar brings a touch of woodland charm to your daily walks. Whether you're a seasoned maker or a curious beginner, this free pattern is designed to guide you through every step with clarity and confidence. Let's create something beautiful together.
Materials Needed
Before you begin, gather these supplies to ensure a smooth crafting session:
- Yarn: Worsted weight cotton yarn in three colors:
- Sage green (main collar color)
- Cream (clover leaves)
- Butter yellow (clover centers)
- Knitting Needles: US 6 (4.0 mm)
- Crochet Hook: US D (3.25 mm)
- Tapestry needle for weaving in ends and sewing
- One wooden button (or snap closure) for the overlap
- Scissors
- Measuring tape
Gauge: 20 stitches and 28 rows = 4 inches in moss stitch (knit).
Tip: Always knit a small swatch first to check your gauge. This ensures the collar fits perfectly.
Step-by-Step Instructions
Part 1: Knitted Collar Base (Moss Stitch)
Step 1: Measure and Calculate
Measure your dog's neck circumference with a soft measuring tape. Add 2 inches to this measurement for the overlap closure. For example, if your dog's neck is 14 inches, your target length is 16 inches.
Step 2: Cast On
Cast on a multiple of 2 stitches, plus 1. Here's a quick reference:
- For a 12-inch neck: cast on 21 stitches
- For a 14-inch neck: cast on 25 stitches
- For a 16-inch neck: cast on 29 stitches
Use a long-tail cast-on for a neat, stretchy edge.
Step 3: Knit the Moss Stitch Pattern
The moss stitch creates that beautiful, bumpy texture. Follow these two rows:
- Row 1: K1, *p1, k1; repeat from * to end of row.
- Row 2: P1, *k1, p1; repeat from * to end of row.
Repeat Rows 1 and 2 alternately until the collar measures your desired length (e.g., 16 inches). The pattern naturally alternates, creating a reversible, textured fabric.
Step 4: Bind Off
Bind off loosely to maintain the collar's stretch. Use a needle one size larger for binding off if you tend to knit tightly. Cut the yarn, leaving a 6-inch tail for weaving in later.
Part 2: Crocheted Clover Accents (Make 3)
Each clover consists of three leaves and a center. You'll make three complete clovers total.
Leaf 1:
With cream yarn, chain 6. In the 2nd chain from the hook, work: single crochet (sc), half double crochet (hdc), double crochet (dc), hdc, sc. This creates a rounded leaf shape. Slip stitch to the end to secure. Fasten off, leaving a 4-inch tail.
Leaf 2:
Repeat Leaf 1 exactly, but this time, when you reach the base, slip stitch through the base of Leaf 1 to attach them. This connects the leaves at the center.
Leaf 3:
Repeat Leaf 1 again, attaching it to the center in the same way. You now have a three-leaf clover shape.
Center:
With butter yellow yarn, make a magic ring. Chain 2, then work 5 single crochets into the ring. Slip stitch to close the ring. Fasten off, leaving a tail for sewing.
Assemble Each Clover:
Using the tails, sew the three leaves together at their base point. Then, place the yellow center on top and sew it securely in place. Weave in the ends or leave them for attaching to the collar.
Part 3: Assembly
Step 1: Position the Clovers
Lay the knitted collar flat. Place the three clovers evenly along the collar, spacing them about 3 inches apart. For a 16-inch collar, position them at approximately 3, 8, and 13 inches from one end. Adjust spacing based on your collar length.
Step 2: Sew the Clovers
Using a tapestry needle and matching cream thread (or the tails you left), sew each clover securely to the knitted collar. Make small, firm stitches around the base of each clover, catching the yarn of the collar underneath. Ensure the clovers lie flat and are well-attached.
Step 3: Add the Closure
At the overlap end of the collar, sew on a wooden button. On the opposite end, create a small loop by crocheting a chain of 6-8 stitches with sage green yarn, or simply use a store-bought button loop. Alternatively, you can sew on a snap closure for a cleaner look. Position the button or snap so the collar fits snugly around your dog's neck.
Step 4: Weave in All Ends
Using your tapestry needle, carefully weave in every loose end on the wrong side of the collar. Trim any excess yarn.
Part 4: Finishing
Block the Collar
Gently wet the collar with cool water. Lay it flat on a clean towel, shaping it to its proper dimensions. Gently press the clovers so they lie flat and even. Allow it to dry completely, away from direct sunlight or heat.
Final Check
Once dry, try the collar on your dog to ensure a comfortable fit. The moss stitch is naturally stretchy, so it should conform nicely. Adjust the button placement if needed.
Care Instructions
To keep your Meadowmoss Collar looking fresh, hand wash in cold water with mild soap. Gently squeeze out excess water (do not wring), and lay flat to dry. Avoid machine washing or drying, as this can felt the cotton and distort the clovers.
Why You'll Love This Pattern
This project is perfect for beginners because it combines simple knit stitches with basic crochet techniques. The moss stitch is repetitive and meditative, while the clover accents add a playful, handmade touch. Plus, you'll end up with a one-of-a-kind accessory that reflects your care and creativity. Your pup will strut with style, and you'll beam with pride knowing you made it yourself.
Happy crafting, and enjoy your woodland walks with your beautifully adorned companion!