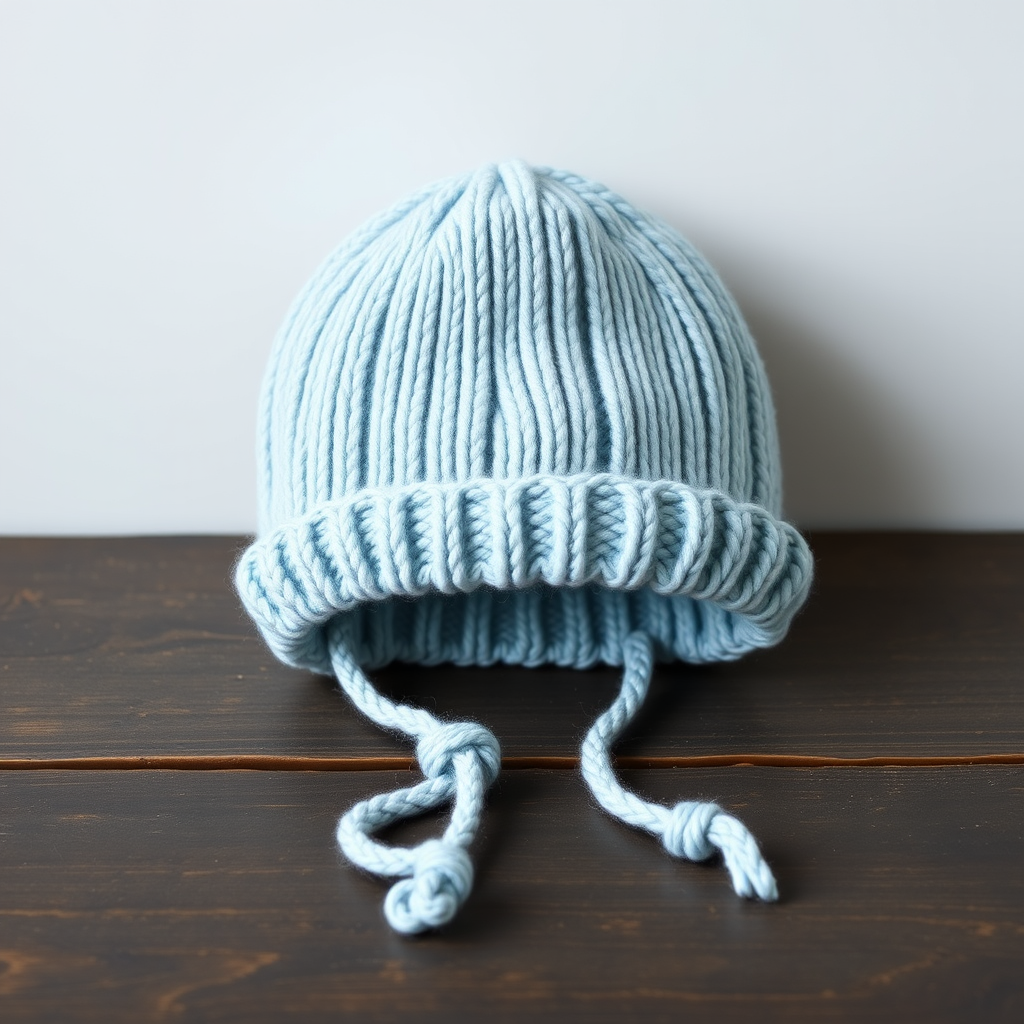
Cozy Cloud Newborn Hat with Twisted Rib and Pom Pom Free Pattern

Cozy Cloud Newborn Hat with Twisted Rib and Pom Pom – Free Knitting Pattern
There is nothing quite as heartwarming as knitting for a new arrival. This Cozy Cloud Newborn Hat is the perfect first project for a baby shower gift, a hospital bag essential, or simply a weekend make for your own little one. Designed with a beautifully textured twisted rib brim and a cloud-soft body, this hat is as delightful to knit as it is to gift. The pattern is simple enough for a confident beginner, yet the elegant stitch details make it a joy for seasoned knitters. Let’s get those needles clicking and create something truly special.
Materials Needed
Before you begin, gather these simple supplies. This project is wonderfully portable and quick to complete—perfect for a cozy afternoon.
- Yarn: Worsted weight (Category 4) super soft acrylic or merino blend, approx 50g (100 yards) in a pastel color like baby blue, mint green, or butter yellow. A soft, squishy yarn will make the hat extra comfy.
- Needles: US 7 (4.5 mm) 16-inch circular knitting needle for the brim and body, and a set of double-pointed needles (DPNs) in the same size for the crown shaping.
- Notions: Stitch marker, tapestry needle for weaving in ends, and a faux fur pom pom for the top (optional but adorable).
- Gauge: 20 stitches and 28 rows = 4 inches in stockinette stitch (knit one row, purl one row) after blocking. Always check your gauge to ensure a perfect fit.
Step-by-Step Instructions
This pattern is worked in the round from the brim up. Follow along carefully, and you’ll have a beautiful hat in no time. The instructions are written for a Newborn (0-3 months) size, fitting a head circumference of 13-14 inches.
Abbreviations
- K = knit
- P = purl
- K2tog = knit two stitches together (decrease)
- P2tog = purl two stitches together (decrease)
- St(s) = stitch(es)
- Rnd = round
Getting Started: The Twisted Rib Brim
Cast on 72 stitches loosely. If you tend to cast on tightly, use a larger needle for the cast-on row only, or use a long-tail cast-on method for extra stretch. Join in the round, being very careful not to twist your stitches. Place a stitch marker on your right-hand needle to mark the beginning of the round.
Rnds 1-6: Work the twisted rib pattern: *K1 through the back loop (K1tbl), P1*; repeat from * to * around. This twisted rib creates a neat, elastic, and beautifully defined brim that will hold its shape wonderfully.
Knitting the Body
Once the brim is complete, it’s time to knit the smooth, cozy body of the hat.
Rnds 7-18: Knit every stitch (stockinette stitch) for about 3 inches from the cast-on edge. This creates a clean, classic fabric that feels soft against a baby’s delicate skin. You can measure from the cast-on edge to ensure you have the right length.
Shaping the Crown
Now we’ll shape the top of the hat with gentle decreases. This is where you’ll switch to your double-pointed needles when the circular needle becomes too long. When you have about 40 stitches left, it’s easiest to distribute the stitches evenly across three or four DPNs.
- Rnd 19: *K7, K2tog*; repeat from * to * around (64 sts).
- Rnd 20: Knit all stitches.
- Rnd 21: *K6, K2tog*; repeat from * to * around (56 sts).
- Rnd 22: Knit all stitches.
- Rnd 23: *K5, K2tog*; repeat from * to * around (48 sts).
- Rnd 24: Knit all stitches.
- Rnd 25: *K4, K2tog*; repeat from * to * around (40 sts).
- Rnd 26: Knit all stitches.
- Rnd 27: *K3, K2tog*; repeat from * to * around (32 sts).
- Rnd 28: Knit all stitches.
- Rnd 29: *K2, K2tog*; repeat from * to * around (24 sts).
- Rnd 30: *K1, K2tog*; repeat from * to * around (16 sts).
- Rnd 31: *K2tog*; repeat from * to * around (8 sts).
Cut your yarn, leaving a 6-inch tail. Thread the tail through a tapestry needle, then slide the needle through the remaining 8 stitches, removing them from the knitting needle. Pull the yarn tight to close the hole at the top of the hat, and secure it with a knot on the inside.
Finishing Touches
Weave in all loose ends with your tapestry needle, being careful to hide them neatly on the inside of the hat. Attach the faux fur pom pom to the top center using the yarn tail or a separate piece of yarn—tie it securely and weave in the ends.
Finally, block your hat gently. Wet it with lukewarm water, gently squeeze out the excess (never wring), and lay it flat to dry on a towel. This will even out your stitches and give the hat a perfect, professional finish.
And there you have it—a gorgeous, cloud-soft newborn hat ready to be gifted or treasured. This pattern is a wonderful way to practice twisted rib and decreases, and the result is a practical, beautiful accessory. Happy knitting!