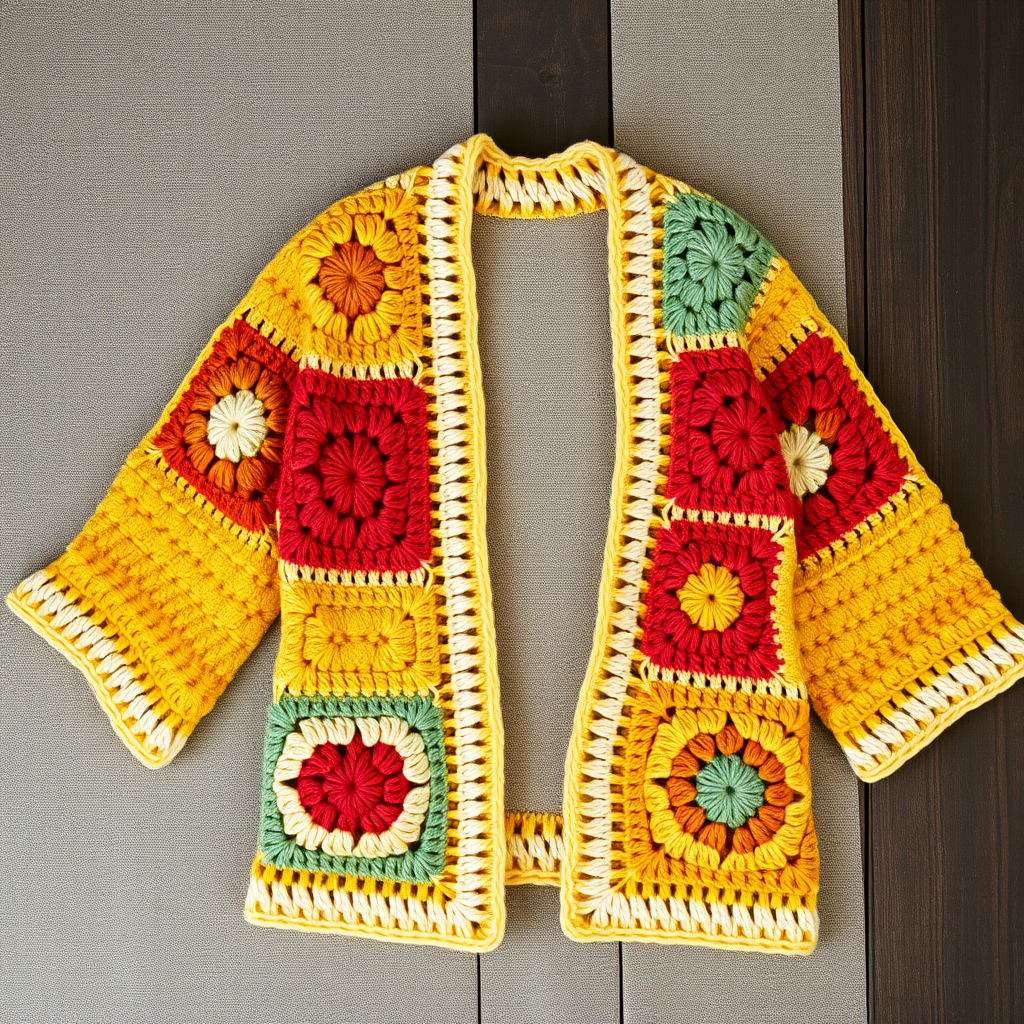
Cozy Colorblock Cocoon Cardigan Free Crochet Pattern

Cozy Colorblock Cocoon Cardigan: A Beginner-Friendly Crochet Pattern
Wrap yourself in the plush comfort of this oversized colorblock cocoon cardigan. Featuring a modern geometric patchwork design and a cloud-soft alpaca blend, this beginner-friendly crochet pattern creates a stylish, wearable blanket that's perfect for chilly evenings. With its simple construction—just two large rectangles and two sleeves—this project is ideal for those new to garment making. The dramatic drape and cozy fit make it a standout piece in any wardrobe, and the colorblock design adds a contemporary twist to a classic silhouette.
Materials Needed
Before you begin, gather the following supplies to ensure a smooth crocheting experience:
- Yarn: Worsted weight yarn in 3 colors:
- Color A (Cream) – approximately 500g
- Color B (Dusty Rose) – approximately 400g
- Color C (Sage Green) – approximately 300g
- Hook: 6.0mm (J-10) crochet hook
- Other: Yarn needle for seaming, scissors, stitch markers (optional but helpful)
Gauge
14 double crochet (dc) x 8 rows = 4 inches (10 cm). Always check your gauge before starting to ensure your finished cardigan matches the intended size. If your gauge is off, adjust your hook size accordingly.
Step-by-Step Instructions
This pattern is worked in flat panels and then seamed together. The cocoon shape is created by two large rectangles sewn at an angle, giving it that beautiful, flowing drape. Follow these detailed instructions carefully, and you'll have your own cozy cardigan in no time.
Panel 1 (Back/Right Side)
- Foundation Chain: With Color A (Cream), chain 80.
- Row 1: Double crochet (dc) in the 4th chain from the hook (the first 3 chains count as your first dc) and in each chain across. You should have 78 dc total. Turn.
- Rows 2-10: Chain 3 (counts as a dc), then dc in each dc across. Turn. (78 dc)
- Switch to Color B (Dusty Rose): Fasten off Color A, or carry it up the side if you prefer (though fastening off is cleaner for this pattern).
- Rows 11-20: With Color B, repeat Row 2: Chain 3, dc in each dc across. Turn. (78 dc)
- Switch to Color C (Sage Green): Fasten off Color B.
- Rows 21-30: With Color C, repeat Row 2. Turn. (78 dc)
- Switch back to Color A: Fasten off Color C.
- Rows 31-40: With Color A, repeat Row 2. Turn. (78 dc)
- Finish: Fasten off and weave in the ends. Set this panel aside.
Panel 2 (Front/Left Side)
- Work exactly as you did for Panel 1, following the same color sequence and row counts.
- Fasten off and weave in ends. You should now have two identical rectangular panels, each measuring approximately 22 inches wide by 20 inches tall (based on gauge).
Sleeves (Make 2)
- Foundation Chain: With Color B (Dusty Rose), chain 40.
- Row 1: Dc in the 4th chain from the hook and in each chain across. You should have 38 dc. Turn.
- Rows 2-20: Chain 3, dc in each dc across. Turn. (38 dc)
- Switch to Color C (Sage Green): Fasten off Color B.
- Rows 21-30: With Color C, repeat Row 2: Chain 3, dc in each dc across. Turn. (38 dc)
- Finish: Fasten off and weave in ends. Repeat to make the second sleeve.
Seaming the Cocoon Shape
This is where the magic happens. The cocoon shape is formed by joining the two panels at a right angle, creating that beautiful, wrap-around effect.
- Prepare Panel 1: Lay Panel 1 flat on your work surface. Fold it in half lengthwise to find the center point. Mark this center point on one of the long edges with a stitch marker. This will be your shoulder point.
- Position Panel 2: Place Panel 2 perpendicular to Panel 1. Align the center point of Panel 2's long edge with the shoulder mark you just made on Panel 1. The two panels should form an L-shape.
- Sew the Shoulder/Seam: Using your yarn needle and a length of Color A yarn, sew the top edge of Panel 2 to the side edge of Panel 1. Start at the aligned center points and sew outward to the edge of the panels. This creates the shoulder seam and the side seam simultaneously. Repeat this process on the other side to create the second shoulder.
- Tip: You are essentially sewing the top of one rectangle to the side of the other, leaving the bottom edges open to form the cocoon drape.
Attaching the Sleeves
- Prepare the Sleeves: Fold each sleeve in half lengthwise to find the center point of the top edge. Mark this with a stitch marker.
- Align and Sew: Align the center marker of the sleeve's top edge with the shoulder seam you just created. Pin or hold in place.
- Sew the Sleeve: Using your yarn needle and Color B yarn (or a matching color), sew the sleeve into the armhole opening. Ease in any fullness as you go, ensuring a smooth, even attachment. Repeat for the second sleeve.
Finishing Touches
- Weave in Ends: Carefully weave in all loose ends from color changes and seaming using your yarn needle.
- Add a Border (Optional but Recommended): To give your cardigan a clean, professional finish, add a simple single crochet (sc) border around the entire opening of the cardigan (the front edges and bottom hem).
- With Color A (Cream), attach your yarn at any corner of the opening.
- Work 1 sc in each dc across the bottom edge, and 1 sc in each row-end along the vertical edges. Work 3 sc in each corner to keep the corners neat.
- Continue around the entire opening, then join with a slip stitch to the first sc. Fasten off and weave in the end.
And there you have it—a stunning, cozy colorblock cocoon cardigan that you made yourself! This piece is perfect for layering over jeans and a tee, or for snuggling up on the couch. The oversized fit and soft alpaca blend make it an absolute joy to wear. Enjoy your new favorite handmade garment!