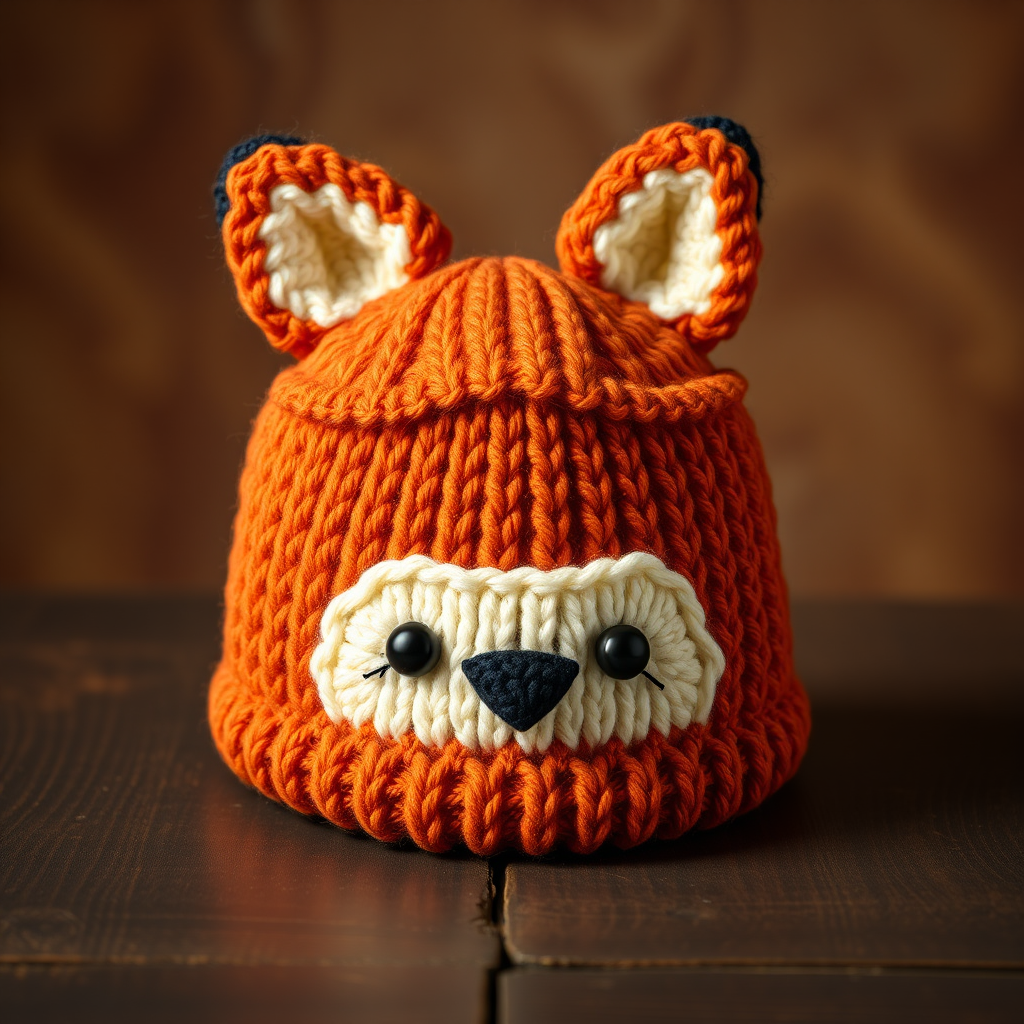
Dino-Roar Braided Earflap Hat Free Pattern – Knit a Prehistoric Cozy Crown

Dino-Roar Braided Earflap Hat Free Pattern – Knit a Prehistoric Cozy Crown
Channel your inner paleontologist with this adorable dinosaur-inspired earflap hat, complete with braided ties and a scaly textured crown. Knit in soft, chunky yarn, it’s the perfect prehistoric accessory for chilly adventures. Whether you're crafting for your little explorer or embracing your own playful side, this pattern delivers both warmth and whimsy. The rich forest green body with moss green spikes creates a striking, nature-inspired look that stands out in any crowd. Let's dive into this fun, rewarding project that combines classic knitting techniques with a touch of prehistoric charm!
Materials Needed
Before you begin your knitting adventure, gather these essential supplies:
- Yarn: Worsted weight yarn in two colors:
- Main Color (MC) – Forest Green: approximately 200g
- Contrast Color (CC) – Moss Green: approximately 50g
- Needles: US 7 (4.5mm) 16-inch circular needle and double-pointed needles (or size needed to achieve gauge)
- Gauge: 20 stitches and 26 rows = 4 inches in stockinette stitch
- Notions: Stitch markers, tapestry needle for weaving in ends, scissors
Pattern Overview
This hat is worked in the round from the brim up, with earflaps picked up and knit afterward. The dinosaur spikes are knit separately and sewn on, giving you complete control over their placement. The braided ties add both function and flair, keeping the hat securely in place while adding a playful touch.
Sizes and Measurements
- Sizes: Child (Adult)
- Finished circumference: 18 (20) inches
- Length from cast-on to crown: Approximately 5 (6) inches before decreases
Abbreviations
- CO: cast on
- K: knit
- P: purl
- K2tog: knit two together (right-leaning decrease)
- SSK: slip slip knit (left-leaning decrease)
- PM: place marker
- SM: slip marker
- St(s): stitch(es)
- MC: main color
- CC: contrast color
- M1: make one (increase by picking up the bar between stitches and knitting through the back loop)
Step-by-Step Instructions
Brim
With MC, CO 90 (100) sts. Join in the round, being careful not to twist your stitches. PM at the beginning of the round to mark your starting point.
Rounds 1-8: *K1, P1; repeat from * around. This creates a stretchy, ribbed brim that will fit comfortably and hold the hat in place.
Body
Switch to stockinette stitch (knit every round) and continue until the piece measures 5 (6) inches from the cast-on edge. This gives you the main body of the hat, which will have that smooth, classic knitted texture.
Crown Decreases
Now we'll shape the top of the hat with a series of decrease rounds. Follow these carefully, noting that the numbers in parentheses are for the adult size:
Round 1: *K8 (9), K2tog; repeat from * around. (81 (90) sts)
Round 2: Knit around.
Round 3: *K7 (8), K2tog; repeat from * around. (72 (80) sts)
Round 4: Knit around.
Round 5: *K6 (7), K2tog; repeat from * around. (63 (70) sts)
Round 6: Knit around.
Round 7: *K5 (6), K2tog; repeat from * around. (54 (60) sts)
Round 8: Knit around.
Round 9: *K4 (5), K2tog; repeat from * around. (45 (50) sts)
Round 10: Knit around.
Round 11: *K3 (4), K2tog; repeat from * around. (36 (40) sts)
Round 12: Knit around.
Round 13: *K2 (3), K2tog; repeat from * around. (27 (30) sts)
Round 14: Knit around.
Round 15: *K1 (2), K2tog; repeat from * around. (18 (20) sts)
Round 16: Knit around.
Round 17: *K2tog; repeat from * around. (9 (10) sts)
Cut yarn, leaving a long tail (about 12 inches). Thread the tail through a tapestry needle, then pass it through the remaining stitches. Pull tight to close the crown, and secure with a knot. Weave in the end on the inside of the hat.
Earflaps
With MC, pick up and knit 20 (22) sts along the bottom edge of the hat, centered over each ear. To find the right spot, place the hat on your head (or the recipient's) and mark where the ears fall—typically about 2 inches from the front seam on each side.
Work back and forth in stockinette stitch (knit on RS, purl on WS) for 2 inches. This creates the flap that will cover the ears.
Decrease row (RS): K1, SSK, knit to last 3 sts, K2tog, K1.
Repeat the decrease row every other row (i.e., on every RS row) until 4 sts remain. Knit 1 row even (WS). Cut yarn, leaving a long tail for braiding.
Braided Ties
Cut 3 strands of MC and 3 strands of CC, each about 24 inches long. Fold all 6 strands in half together, creating a loop at one end. Pull the folded loop through the remaining 4 sts of the earflap (from front to back), then pull the loose ends through the loop and tighten to secure. This creates a sturdy attachment point.
Now braid the 6 strands together tightly. A simple three-strand braid works beautifully—just divide the strands into three groups of two (one MC and one CC per group) and braid as usual. Continue until the braid measures about 6-7 inches, then tie a knot at the end. Trim the ends evenly. Repeat for the other earflap.
Dinosaur Spikes (make 5)
With CC, CO 2 sts. These spikes are knit flat and will be sewn onto the hat.
Row 1: Knit into front and back of each st (4 sts).
Row 2: Knit.
Row 3: K1, M1, K2, M1, K1 (6 sts).
Row 4: Knit.
Row 5: K1, M1, K4, M1, K1 (8 sts).
Row 6: Knit.
Row 7: K1, M1, K6, M1, K1 (10 sts).
Row 8: Knit.
Row 9: K1, M1, K8, M1, K1 (12 sts).
Row 10: Knit.
Row 11: K1, M1, K10, M1, K1 (14 sts).
Row 12: Knit.
Row 13: K1, M1, K12, M1, K1 (16 sts).
Row 14: Knit.
Row 15: K1, M1, K14, M1, K1 (18 sts).
Row 16: Knit.
Row 17: K1, M1, K16, M1, K1 (20 sts).
Row 18: Knit.
Row 19: K1, M1, K18, M1, K1 (22 sts).
Row 20: Knit.
Bind off all sts. The spike will naturally curl into a triangular shape. Sew the spikes in a line from the crown to the back of the hat, spacing them evenly. For the child size, place them about 1 inch apart; for adult, slightly wider. The largest spike should be at the crown, with smaller ones trailing down the back.
Finishing
Weave in all loose ends using a tapestry needle, being careful to secure them on the inside of the hat so they're invisible from the outside. Block lightly if desired—this helps even out the stitches and gives the hat a professional finish. To block, dampen the hat and lay it flat to dry, shaping it gently.
Tips for Success
- Gauge matters: Always check your gauge before starting. If your stitches are too tight or loose, adjust your needle size accordingly.
- Mark your decreases: Use a stitch marker to track where each decrease round begins—this prevents mistakes and keeps your crown shaping even.
- Try it on: When placing the earflaps, don't guess—try the hat on the recipient to ensure perfect placement.
- Customize: Feel free to adjust the braid length or spike size to suit your taste. You can also add a pom-pom to the crown for extra flair!
This Dino-Roar Braided Earflap Hat is a delightful project that's perfect for intermediate knitters looking to expand their skills, or confident beginners ready for a fun challenge. The result is a cozy, playful hat that will be treasured for years. Whether it's for a dinosaur-obsessed kiddo or a kid-at-heart, this prehistoric crown is sure to bring smiles and warmth all winter long. Happy knitting!