Driftwood Dune Compound Pocket Scarf Free Pattern – Knit a Cozy Textured Wrap

Driftwood Dune Compound Pocket Scarf Free Pattern – Knit a Cozy Textured Wrap
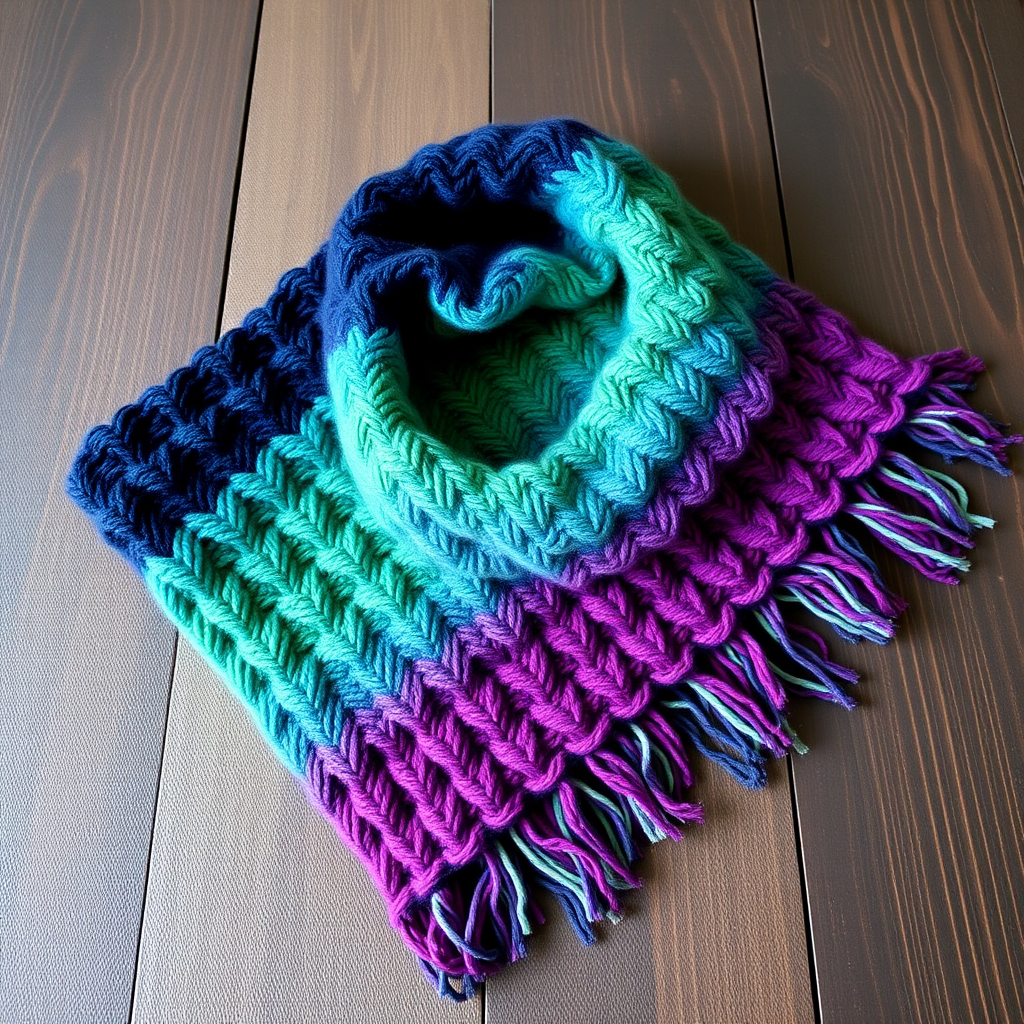
Wrap yourself in the warmth of a hand-knit scarf with cleverly integrated pockets, perfect for chilly strolls or keeping your hands toasty. This pattern combines rich textures and a modern silhouette for a truly unique accessory. The Driftwood Dune Compound Pocket Scarf is an intermediate-level knitting project that yields a stunning, functional piece—a long, rectangular wrap featuring a ribbed center panel, garter stitch borders, and two discreet, color-blocked pockets on each end. The contrast between the warm oatmeal main color and the deep forest green pocket linings creates a striking, rustic aesthetic that's both cozy and contemporary.
Whether you're a seasoned knitter looking for a satisfying project or a confident beginner ready to tackle something special, this free pattern offers clear, step-by-step instructions to guide you from cast-on to final weave-in. The result is a luxurious, textured scarf that will become a winter wardrobe staple.
Materials Needed
Before you begin, gather the following materials to ensure a smooth knitting experience:
- Yarn: Worsted weight yarn in two complementary colors:
- Main Color (MC): 450g (e.g., Lion Brand Wool-Ease in Oatmeal)
- Contrast Color (CC): 150g (e.g., Lion Brand Wool-Ease in Forest Green)
- Needles: US 8 (5mm) knitting needles
- Notions: Cable needle (for optional texture work, though not strictly required for this pattern), stitch holders (at least 4), stitch markers, tapestry needle for weaving in ends
- Gauge: 18 stitches and 24 rows = 4 inches in stockinette stitch. Always check your gauge to ensure proper sizing.
Step-by-Step Instructions
This pattern is worked in one piece from the bottom up, with pocket linings knit separately and attached. Follow each step carefully, and you'll have a beautiful, functional pocket scarf in no time.
Pocket Linings (Make 2)
These are the inner pouches of your pockets, knit in the Contrast Color (CC).
- Using CC, cast on 20 stitches.
- Row 1: Knit all stitches.
- Row 2: Purl all stitches.
- Repeat Rows 1 and 2 (stockinette stitch) until the piece measures 6 inches from the cast-on edge.
- Place the 20 stitches on a stitch holder and set aside. Repeat to make a second lining.
Main Scarf Body
Now we'll begin the main body of the scarf using the Main Color (MC).
- With MC, cast on 60 stitches.
- Work in garter stitch (knit every row) for 6 rows. This creates a neat, non-curling edge.
- Next Row (Right Side - RS): Knit 6 stitches, place a stitch marker, work the next 48 stitches in a rib pattern as follows: *K2, P2*; repeat from * to * until 6 stitches remain before the marker, knit the final 6 stitches. (You will have a 6-stitch garter border on each side, with a 48-stitch ribbed center.)
- Continue in this pattern—keeping the first and last 6 stitches in garter stitch (knit every row) and the center 48 stitches in K2, P2 rib—until the piece measures 8 inches from the cast-on edge.
First Pocket Opening
This is where we create the opening for the first set of pockets.
- Row 1 (RS): Knit 6 (border), place the next 20 stitches on a stitch holder (these will form the front of the pocket opening), knit the next 20 stitches (these will be the back of the pocket), place the next 20 stitches on another stitch holder, knit the remaining 14 stitches (6 border + 8 from the rib section).
- Row 2 (Wrong Side - WS): Purl across all stitches, working the 20 stitches from the back of the pocket as normal. (You will have 40 stitches on your needle: 6 border + 20 back pocket + 14 remaining.)
- Continue in pattern (with garter borders and ribbing on the remaining center stitches) until the piece measures 16 inches from the cast-on edge.
Attach First Pocket Linings
Now we'll join the pocket linings to the main body, creating the actual pockets.
- Next Row (RS): Knit 6 (border), then knit the 20 stitches from the first holder together with the 20 stitches of the first pocket lining (insert your right needle through one stitch from the holder and one stitch from the lining, knit them together as one). This joins the lining to the front of the pocket opening.
- Knit the 20 back pocket stitches.
- Knit the 20 stitches from the second holder together with the 20 stitches of the second pocket lining, just as before.
- Knit the final 14 stitches. You now have all 60 stitches back on your needle, with pocket openings on both sides of the scarf.
- Continue in pattern (garter borders, ribbed center) until the piece measures 24 inches from the cast-on edge.
Second Pocket Opening
We'll now create the second set of pockets on the opposite end of the scarf, ensuring symmetry.
- Repeat the "First Pocket Opening" instructions exactly as written above. This will create the openings for the second set of pockets.
- Continue in pattern until the piece measures 32 inches from the cast-on edge.
Attach Second Pocket Linings
- Repeat the "Attach First Pocket Linings" instructions exactly as written. This secures the second set of pocket linings.
- Continue in pattern until the piece measures 40 inches from the cast-on edge, or until the scarf reaches your desired length (remember to account for the edging).
Edging
Finish the scarf with a clean, matching edge.
- Work in garter stitch (knit every row) for 6 rows.
- Bind off all stitches loosely. A loose bind-off (using a larger needle or a stretchy bind-off method) will prevent the edge from pulling.
Finishing
The final touches bring your scarf together.
- Weave in all loose ends using a tapestry needle. Be sure to secure them well so they don't unravel with wear.
- Fold the scarf so the pockets align on each end. For a secure closure, you can optionally sew a button or toggle to the inside of one pocket and create a small loop on the corresponding pocket edge. This is a lovely, functional detail that keeps your hands snug and your pockets closed.
- Block your scarf gently to even out the stitches and enhance the texture. Lay it flat to dry.
Your Driftwood Dune Compound Pocket Scarf is now complete! This versatile accessory is perfect for keeping your hands warm on brisk walks, adding a touch of rustic elegance to any winter outfit, or gifting to a loved one. The combination of the textured ribbed center, the smooth garter borders, and the contrasting pocket linings makes this scarf a true standout piece. Enjoy your handiwork and the cozy warmth it provides!