Luminous Lagoon Shell Scarf Free Pattern – Knit a Gradient Ocean Dream

Luminous Lagoon Shell Scarf Free Pattern – Knit a Gradient Ocean Dream
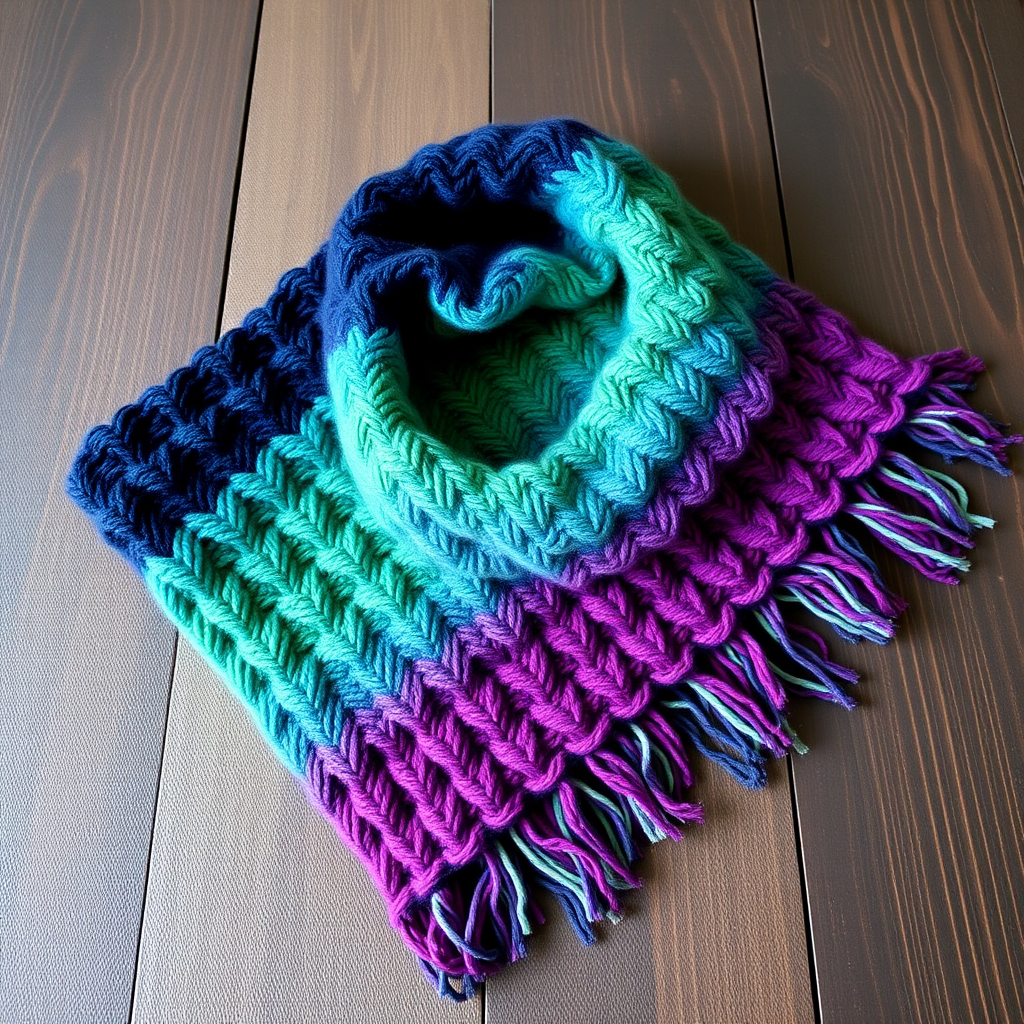
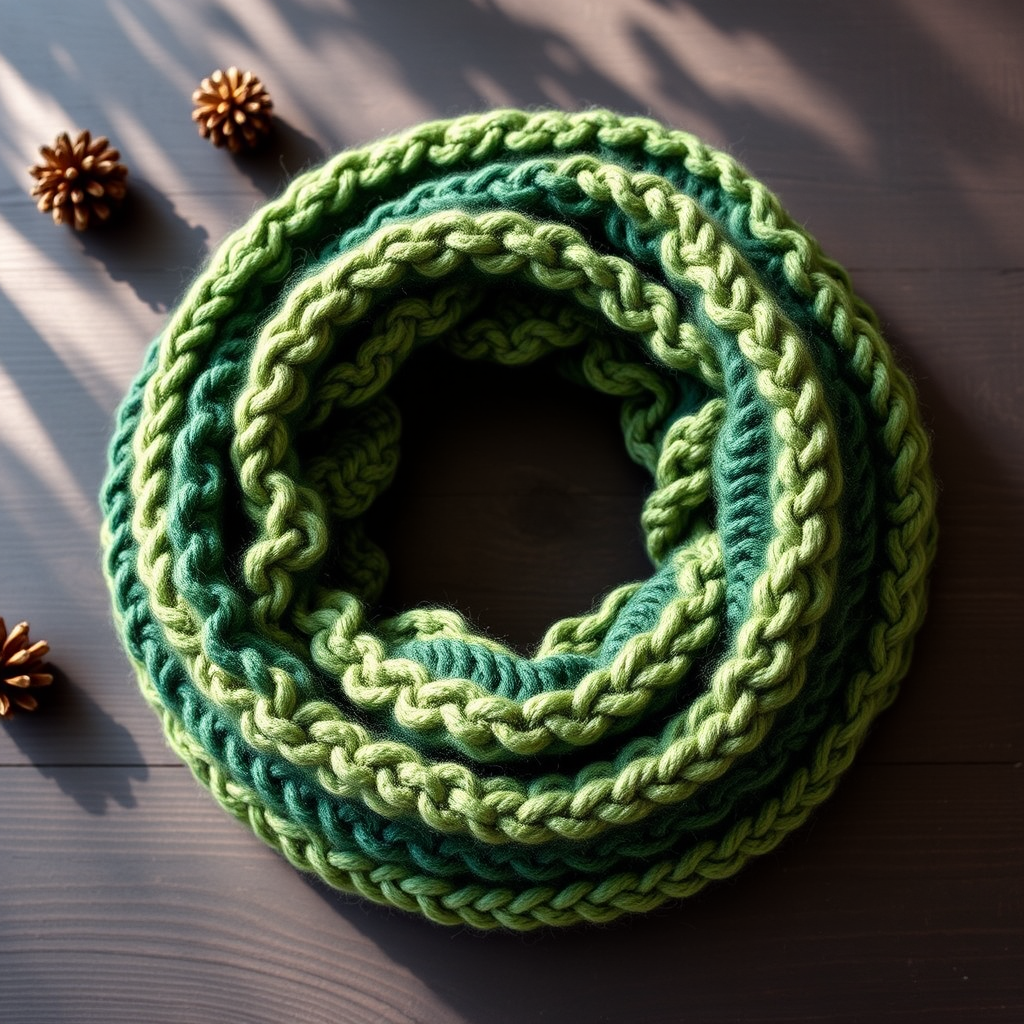
Dive into a sea of texture with this stunning shell-stitch scarf, knitted in a mesmerizing gradient of teal, aqua, and seafoam. The delicate scalloped edges and airy lace create a lightweight yet cozy wrap that evokes sun-dappled waves. Whether you're a seasoned knitter looking for a meditative project or a brave beginner ready for a beautiful challenge, this pattern is your ticket to a wearable piece of ocean art. The all-over shell stitch creates a series of overlapping, fan-like scallops that are both dimensional and cozy, with a subtle sheen from the yarn that catches the light beautifully.
This free knitting pattern is perfect for those who love textured, lace-inspired accessories. The gradient yarn does all the colorwork for you, so you can focus on the rhythmic, meditative stitch pattern. The result is a rectangular scarf, approximately 8 inches wide and 60 inches long, with gently undulating scalloped edges that drape elegantly around your neck or over your shoulders.
Materials Needed
Before you cast on, gather your supplies. This project is wonderfully portable and requires minimal tools, making it perfect for knitting on the go.
- Yarn: Red Heart Unforgettable (worsted weight, 4 ply) in 'Tidal' – 2 skeins (approx. 590 yards total). This yarn is a soft, variegated gradient transitioning from deep teal through aqua and turquoise to a pale seafoam green, creating the ocean effect effortlessly.
- Needles: US Size 7 (4.5 mm) knitting needles. A straight pair is fine, though a circular needle can also be used for flat knitting if you prefer.
- Other Tools: A tapestry needle for weaving in ends, scissors, and blocking pins (optional but recommended for the finishing touches).
Gauge: 18 stitches and 24 rows = 4 inches in stockinette stitch (blocked). While gauge is important for sizing, this scarf is forgiving—even if your gauge is slightly off, the scarf will still be beautiful and wearable. However, for the best drape and to achieve the intended dimensions, it's worth doing a quick swatch.
Step-by-Step Instructions
This pattern is worked flat in one piece, from one end to the other. The shell pattern is a multiple of 8 + 1 stitches. We'll cast on 57 stitches, which fits this multiple perfectly (8 x 7 = 56 + 1 = 57).
Important Notes for Success:
- Edge Stitches: Slip the first stitch of every row purlwise with yarn in front. This creates a neat, chain-like edge that makes seaming (if you ever need to) and blocking much easier.
- Blocking is Essential: Do not skip blocking! This step is crucial to open up the lace, define the shells, and give the scarf its beautiful, airy drape. We'll cover this in detail at the end.
Cast On & Setup
Cast On: Loosely cast on 57 stitches. A long-tail cast-on works beautifully here, but any stretchy cast-on will do. The key is to keep it loose so the edge doesn't pucker.
Setup Row (WS): Slip 1, purl to end. This row establishes your foundation and ensures the right side is ready for the pattern.
The Shell Pattern
Now for the fun part! The pattern is a simple 8-row repeat. Once you get the rhythm, it's incredibly soothing. Remember to slip the first stitch of every row purlwise with yarn in front.
Row 1 (RS): Slip 1, k2, *k2tog, yo, k1, yo, ssk, k3; repeat from * to last 2 stitches, k2.
Explanation: You're creating decreases (k2tog and ssk) that lean toward each other, with yarn overs (yo) in between to create the eyelet holes and the shell shape. The k3 between each shell provides the spacing.
Row 2 (WS): Slip 1, purl to end.
Explanation: A simple purl row to stabilize the pattern. The yarn overs from the previous row are purled as normal stitches.
Row 3 (RS): Slip 1, k1, *yo, ssk, k1, k2tog, yo, k3; repeat from * to last 3 stitches, yo, ssk, k1.
Explanation: Notice how the pattern shifts. The yarn over now comes first, and the decreases are reversed (ssk before k2tog). This creates the staggered, overlapping effect of the shells.
Row 4 (WS): Slip 1, purl to end.
Row 5 (RS): Slip 1, k2, *yo, ssk, k1, k2tog, yo, k3; repeat from * to last 2 stitches, k2.
Explanation: This row mirrors Row 3 but with the edge stitches adjusted. You're building the second half of the shell.
Row 6 (WS): Slip 1, purl to end.
Row 7 (RS): Slip 1, k1, *k2tog, yo, k1, yo, ssk, k3; repeat from * to last 3 stitches, k2tog, yo, k1.
Explanation: This mirrors Row 1, completing the full shell cycle. The decreases lean inward, and the yarn overs create the fan-like opening.
Row 8 (WS): Slip 1, purl to end.
Continuing the Pattern
Repeat Rows 1–8 until the scarf measures approximately 60 inches from the cast-on edge, ending with a WS row (Row 2, 4, 6, or 8). This ensures you finish on a clean purl row, ready for a neat bind-off.
Binding Off & Finishing
Bind Off: Bind off loosely on the next RS row (knitwise). To keep the edge stretchy and match the cast-on, you can use a simple knit bind-off but be sure to work it very loosely. Alternatively, use a stretchy bind-off method like the "Jeny's Surprisingly Stretchy Bind-Off" if you're comfortable with it.
Weave in Ends: Using your tapestry needle, carefully weave in all loose ends on the wrong side of the fabric. Take your time to ensure they're secure and invisible from the right side.
Blocking: The Magic Step
This is where your scarf transforms from a scrunched-up tube of knitting into a beautiful, lacy ocean dream.
- Soak: Fill a basin with lukewarm water and a drop of mild wool wash or gentle detergent. Submerge the scarf and let it soak for 15-20 minutes. Do not agitate.
- Rinse & Squeeze: Gently squeeze out the excess water (do not wring or twist). Roll the scarf in a clean towel to remove more moisture.
- Pin & Shape: Lay the scarf flat on a blocking mat or a clean, dry towel. Gently stretch it to the desired dimensions (approximately 8 inches wide and 60 inches long). Use blocking pins to secure the scalloped edges, pulling them out gently to emphasize the points of the shells. Pin the straight edges as well to keep the width even.
- Dry: Leave it to dry completely, ideally overnight. Once dry, unpin and admire your handiwork!
Your Luminous Lagoon Shell Scarf is now ready to wear. The gradient will flow beautifully from deep teal to seafoam, and the lace will catch the light with every movement. This scarf makes a wonderful gift for a loved one—or a well-deserved treat for yourself. Happy knitting!