Emberwood Textured Throw Pillow Free Pattern – Crochet a Cozy Autumn Forest Cushion
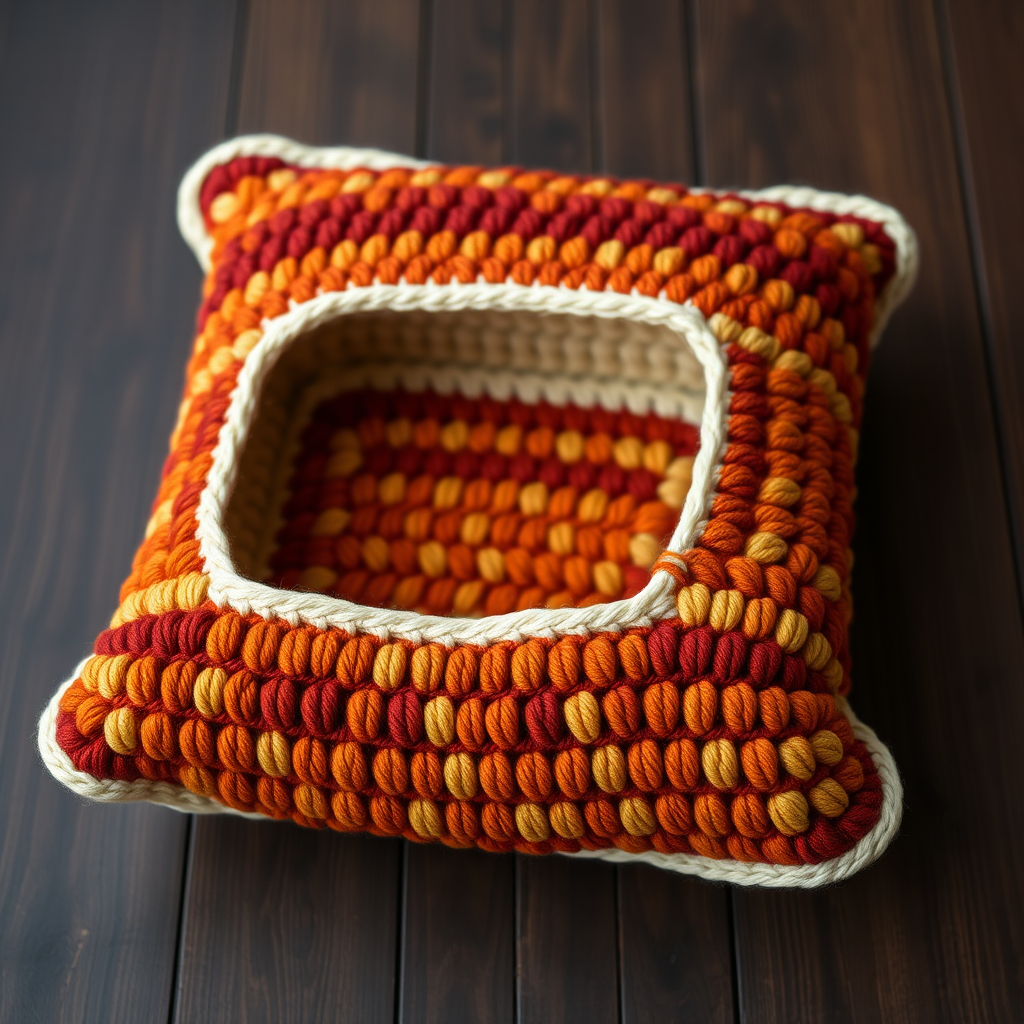
Emberwood Textured Throw Pillow Free Pattern – Crochet a Cozy Autumn Forest Cushion
Wrap your living space in the warmth of an autumn forest with this richly textured crochet pillow. Featuring a mosaic of burnt orange, deep rust, and golden amber, this pattern creates a plush, dimensional surface that invites you to sink in and stay awhile. The alternating front post and back post double crochet stitches produce a woven, basket-like texture that adds depth and sophistication to any room. Perfect for beginners looking to expand their skills or seasoned crocheters seeking a satisfying weekend project, this pillow measures approximately 18 inches square and brings the cozy essence of crackling fires and fallen leaves right into your home.
Materials Needed
Before you begin, gather the following supplies to ensure a smooth and enjoyable crochet experience:
- Yarn: Worsted weight yarn in four colors – burnt orange (Color A), deep rust (Color B), golden amber (Color C), and cream (Color D). You will need approximately 250g of each color.
- Crochet Hook: 5.5mm (I-9) crochet hook
- Tapestry Needle: For weaving in ends and seaming panels together
- Pillow Form or Stuffing: An 18x18 inch pillow form, or approximately 2-3 pounds of polyester fiberfill for a firm, plump finish
- Scissors: For cutting yarn
Gauge: 14 stitches and 12 rows = 4 inches in half double crochet. Be sure to check your gauge before starting to ensure your pillow panels come out to the correct size.
Step-by-Step Instructions
Understanding the Stitches
This pattern uses a few key stitches that create the beautiful textured effect. If you're new to post stitches, here's a quick refresher:
- Half Double Crochet (hdc): Yarn over, insert hook into stitch, yarn over and pull through, yarn over and pull through all three loops on hook.
- Front Post Double Crochet (fpdc): Yarn over, insert hook from front to back to front around the post of the stitch in the row below, yarn over and pull through, complete as a regular double crochet.
- Back Post Double Crochet (bpdc): Yarn over, insert hook from back to front to back around the post of the stitch in the row below, yarn over and pull through, complete as a regular double crochet.
Panel (Make 2)
Each panel is worked flat, back and forth in rows. The color changes create beautiful horizontal bands of autumn hues.
Foundation: With Color A (burnt orange), chain 66.
Row 1: Half double crochet (hdc) in the 3rd chain from hook and in each chain across. Turn. (64 hdc)
Row 2: Chain 2 (counts as hdc), hdc in each stitch across. Turn.
Row 3: Chain 2, *front post double crochet (fpdc) around next 2 stitches, back post double crochet (bpdc) around next 2 stitches*; repeat from * to * across, ending with hdc in top of turning chain. Turn.
Row 4: Chain 2, *bpdc around next 2 stitches, fpdc around next 2 stitches*; repeat from * to * across, ending with hdc in top of turning chain. Turn.
Rows 3 and 4 create the alternating basket-weave texture. Note how Row 4 reverses the stitch order – this is what creates the woven effect. Continue following the color sequence below, repeating Rows 3-4 for each color band:
- Rows 5-6: Repeat rows 3-4 with Color B (deep rust)
- Rows 7-8: Repeat rows 3-4 with Color C (golden amber)
- Rows 9-10: Repeat rows 3-4 with Color A (burnt orange)
- Rows 11-12: Repeat rows 3-4 with Color D (cream)
- Rows 13-14: Repeat rows 3-4 with Color B (deep rust)
- Rows 15-16: Repeat rows 3-4 with Color C (golden amber)
- Rows 17-18: Repeat rows 3-4 with Color A (burnt orange)
- Rows 19-20: Repeat rows 3-4 with Color D (cream)
- Rows 21-22: Repeat rows 3-4 with Color B (deep rust)
- Rows 23-24: Repeat rows 3-4 with Color C (golden amber)
- Rows 25-26: Repeat rows 3-4 with Color A (burnt orange)
- Rows 27-28: Repeat rows 3-4 with Color D (cream)
- Rows 29-30: Repeat rows 3-4 with Color B (deep rust)
- Rows 31-32: Repeat rows 3-4 with Color C (golden amber)
- Rows 33-34: Repeat rows 3-4 with Color A (burnt orange)
- Rows 35-36: Repeat rows 3-4 with Color D (cream)
- Rows 37-38: Repeat rows 3-4 with Color B (deep rust)
- Rows 39-40: Repeat rows 3-4 with Color C (golden amber)
- Rows 41-42: Repeat rows 3-4 with Color A (burnt orange)
Row 43: With Color A, chain 2, hdc in each stitch across. Turn.
Row 44: With Color A, chain 2, hdc in each stitch across. Fasten off.
Repeat the entire panel process to create a second identical panel.
Finishing and Assembly
Step 1: Seaming the Panels
Place the two panels with right sides together, ensuring all edges align perfectly. Using Color A yarn and a tapestry needle, whip stitch around three sides of the pillow, leaving one side completely open. The whip stitch should be worked through both layers, catching the top loops of the stitches for a secure seam.
Step 2: Turning Right Side Out
Carefully turn the pillow right side out through the open side. Use a blunt tool like a knitting needle or the back of a crochet hook to gently push out the corners for a crisp, square shape.
Step 3: Stuffing
Insert your 18x18 inch pillow form through the opening. If using fiberfill, stuff firmly but evenly, paying attention to the corners to ensure they're well-filled. The pillow should feel plump and supportive, not overly hard or lumpy.
Step 4: Closing the Opening
Whip stitch the remaining side closed using Color A yarn. Work carefully to ensure the seam is invisible and secure. Weave in all loose ends throughout the pillow with your tapestry needle.
Step 5: Optional Decorative Border
For a polished finish, add a decorative border by single crocheting evenly around the entire pillow edge with Color D (cream). Work 3 single crochet stitches in each corner to help the border lay flat and turn corners neatly. This cream border beautifully frames the warm autumn colors and adds a professional touch.
Care Instructions
To keep your Emberwood pillow looking its best, hand wash gently in cool water with a mild detergent. Lay flat to dry, reshaping as needed. Avoid wringing or twisting, as this can distort the textured stitches.
This pattern is perfect for using up worsted weight yarn scraps from your stash, or for creating a coordinated set of pillows in different colorways. The textured stitch pattern is forgiving and works beautifully with any color combination – try cool blues and greens for a winter forest theme, or soft pastels for a spring garden feel.
Enjoy your cozy new addition to your home decor! The Emberwood pillow makes a wonderful handmade gift for housewarmings, weddings, or holiday celebrations. Happy crocheting!


