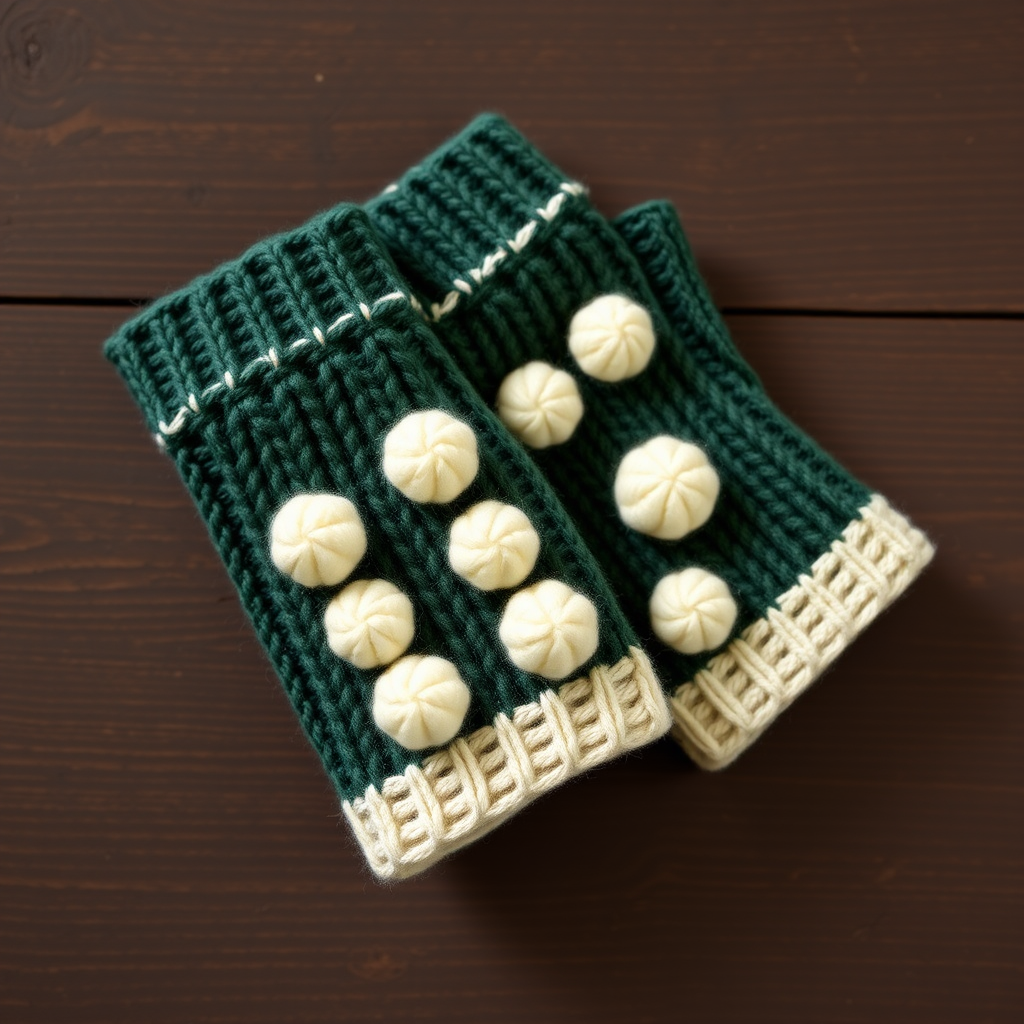
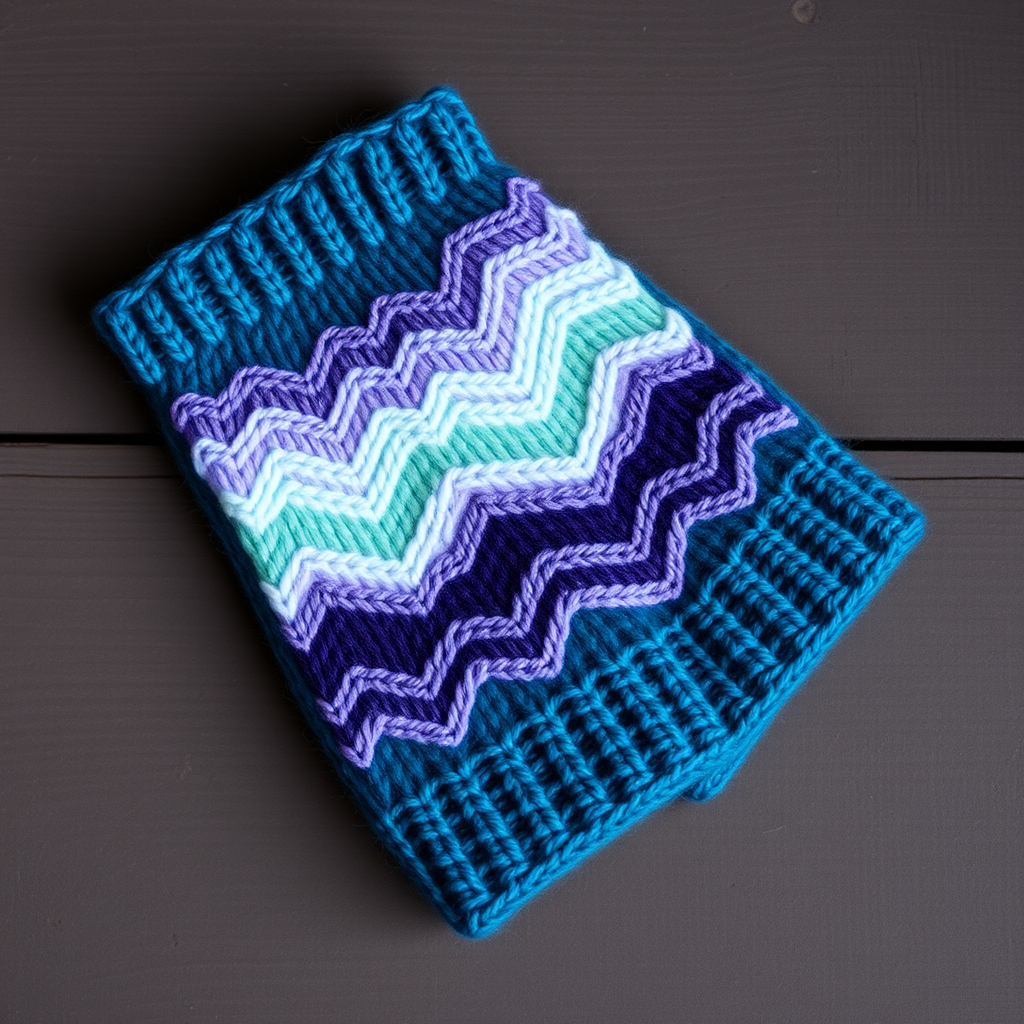
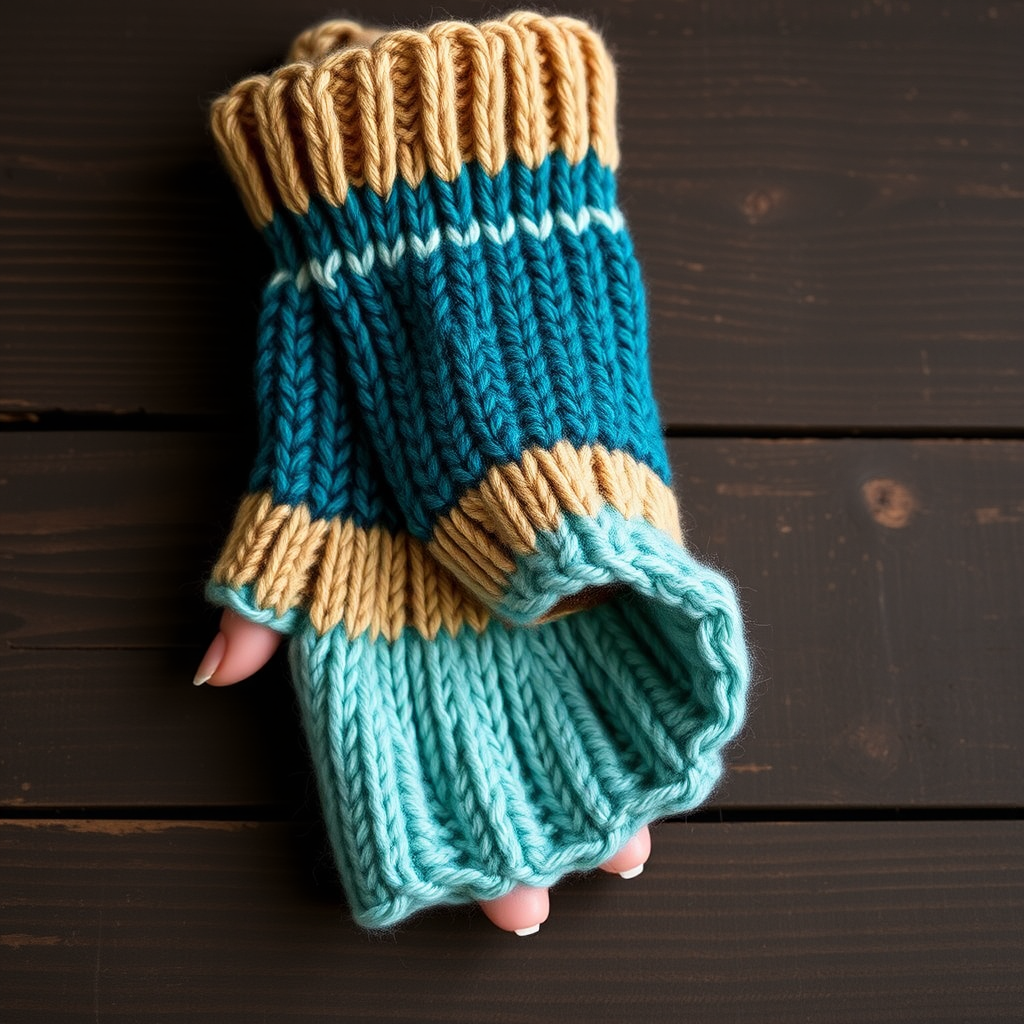
Enchanted Meadow Bloom Fingerless Gloves Free Pattern

Enchanted Meadow Bloom Fingerless Gloves: A Free Knitting Pattern for Botanical Beauty
Wrap your hands in a garden of textured cables and delicate lace with our Enchanted Meadow Bloom Fingerless Gloves. This free knitting pattern transforms a simple accessory into a botanical masterpiece, featuring intertwining vine-like cables and scattered lace eyelets that mimic tiny blossoms. Designed for women's medium (7-inch hand circumference), these gloves are the perfect cozy companion for cool days, creative work, or simply adding a touch of handmade elegance to your wardrobe. Whether you're a seasoned knitter or an adventurous beginner ready for a rewarding challenge, this pattern offers a delightful journey into textured knitting.
In this comprehensive guide, we'll walk you through every step, from gathering your materials to binding off the final stitch. The combination of cable and lace techniques creates a stunning, tactile fabric that feels as beautiful as it looks. Let's cast on and bring this misty meadow to life!
Materials Needed
Before you begin, gather the following supplies to ensure a smooth and enjoyable knitting experience. The quality of your materials will directly impact the final look and feel of your gloves.
Yarn
- Worsted weight yarn (e.g., Lion Brand Wool-Ease or similar) in two colors:
- Main Color (MC): Soft sage green – approximately 150 yards
- Contrast Color (CC): Dusty rose – approximately 50 yards (for cuffs and top ribbing)
Needles & Tools
- US 7 (4.5 mm) knitting needles – preferably circular needles (16-inch) for knitting in the round, or double-pointed needles if you prefer
- Cable needle – for creating the intricate cable patterns
- Tapestry needle – for weaving in ends and finishing
- Stitch markers – at least 4 markers to track the thumb gusset and round beginnings
- Stitch holder or scrap yarn – to hold thumb stitches while you knit the hand
Gauge
20 stitches and 26 rows = 4 inches in stockinette stitch (knit every round). Always knit a gauge swatch before starting to ensure your gloves fit perfectly. If your gauge is off, adjust your needle size accordingly.
Step-by-Step Instructions
Follow these detailed instructions carefully. The pattern is written for knitting in the round, which creates a seamless, professional finish. Take your time with the cable sections – they're easier than they look!
Abbreviations
- CO: Cast on
- K: Knit
- P: Purl
- K2tog: Knit two stitches together (right-leaning decrease)
- SSK: Slip, slip, knit (left-leaning decrease)
- YO: Yarn over (creates a lace hole)
- C4F: Slip 2 stitches to cable needle, hold in front, knit 2, knit 2 from cable needle
- C4B: Slip 2 stitches to cable needle, hold in back, knit 2, knit 2 from cable needle
- PM: Place marker
- RM: Remove marker
- M1L: Make one left (increase)
- M1R: Make one right (increase)
- St(s): Stitch(es)
Right Glove
Cast On & Ribbing
With MC, CO 40 stitches. Join in the round, being very careful not to twist your stitches. Place a marker to indicate the beginning of the round.
Rounds 1-8: *K2, P2* repeat from * to * around. This creates a neat, stretchy ribbed cuff that will hug your wrist comfortably.
Main Pattern – The Botanical Body
Now we begin the beautiful textured pattern that gives these gloves their name. The pattern repeat is 20 stitches, so it will repeat twice around the glove.
Round 9: *K4, P2, K2, P2, K4, P2, K2, P2* – repeat from * to * once more. (40 sts)
Round 10: *C4F, P2, K2, P2, C4B, P2, K2, P2* – repeat from * to * once more. This is where the cables begin to twist!
Round 11: *K4, P2, K2, P2, K4, P2, K2, P2* – repeat from * to * once more.
Round 12: *K4, P2, YO, K2tog, P2, K4, P2, SSK, YO, P2* – repeat from * to * once more. The yarn overs create delicate lace eyelets.
Round 13: *K4, P2, K2, P2, K4, P2, K2, P2* – repeat from * to * once more.
Round 14: *C4B, P2, K2, P2, C4F, P2, K2, P2* – repeat from * to * once more. Notice the cables now twist in the opposite direction!
Round 15: *K4, P2, K2, P2, K4, P2, K2, P2* – repeat from * to * once more.
Round 16: *K4, P2, YO, K2tog, P2, K4, P2, SSK, YO, P2* – repeat from * to * once more.
Repeat Rounds 9-16 until the piece measures 4 inches from the cast-on edge, ending with Round 16. This ensures your pattern is at the right point before starting the thumb gusset.
Thumb Gusset – Shaping for Comfort
The thumb gusset adds extra stitches to accommodate your thumb's natural position. We'll increase gradually over several rounds.
Round 17: Work in pattern across first 20 sts (this is the back of your hand), PM, M1L, K1, M1R, PM, work in pattern across remaining 19 sts (this is your palm). (42 sts total)
Round 18: Work in pattern to marker, slip marker, K to next marker, slip marker, work in pattern to end. (No increases this round – just knit the thumb stitches plain.)
Round 19: Work in pattern to marker, slip marker, M1L, K to 1 st before next marker, M1R, slip marker, work in pattern to end. (44 sts total)
Repeat Rounds 18-19 until there are 13 stitches between the markers (this is your thumb gusset). The increases will gradually widen the thumb area.
Separating the Thumb
Next round: Work in pattern to marker, RM, place next 13 sts on a stitch holder (or scrap yarn), CO 1 st, RM, work in pattern to end. (40 sts remain on your needles)
The cast-on stitch bridges the gap between your hand and thumb, keeping the fabric seamless.
Knitting the Hand
Continue in pattern (Rounds 9-16) until the glove measures 7 inches from the cast-on edge, or your desired length to the knuckles. Try it on as you go – everyone's hands are different!
Top Ribbing – Finishing the Hand
Switch to your Contrast Color (dusty rose) for a beautiful pop of color at the top edge.
Rounds 1-6: *K2, P2* repeat from * to * around.
Bind off loosely in pattern (knit the knits and purl the purls as you bind off). This ensures the edge remains stretchy enough to slip over your hand.
Knitting the Thumb
Transfer the 13 sts from the holder to your needles. Pick up and knit 1 st from the gap (the cast-on stitch you made earlier), then knit across the 13 sts. (14 sts total)
Work in K2, P2 ribbing for 4 rounds. This creates a neat, stretchy thumb opening.
Bind off loosely. Weave in the yarn end.
Left Glove
Work the left glove exactly the same as the right, but place the thumb gusset on the opposite side. Instead of placing the markers after the first 20 sts, work as follows:
Round 17 (Left Glove): Work in pattern across first 19 sts (palm), PM, M1L, K1, M1R, PM, work in pattern across remaining 20 sts (back of hand).
Continue with the same increase pattern (Rounds 18-19) until you have 13 sts between markers, then separate the thumb as instructed above. This mirror-image construction ensures both gloves fit perfectly on their respective hands.
Finishing Touches
Weave in all ends using your tapestry needle. Be sure to secure them well so they don't unravel with wear.
Block gently to shape. Wet blocking is ideal for this pattern – it will relax the cables and lace, making them look more defined and professional. Lay flat to dry, shaping the gloves to their proper dimensions.
Tips for Success
- Mark your pattern repeats: Use different colored markers to track the beginning of the round and the pattern repeats. This helps you catch mistakes early.
- Keep your cable needle handy: Always hold it in front (C4F) or back (C4B) as instructed – this determines the direction of the cable twist.
- Count your stitches regularly: Especially after lace rounds (12 and 16), to ensure you haven't accidentally dropped or added a stitch.
- Try on as you go: The beauty of knitting in the round is that you can easily test the fit. Adjust the length to your preference.
Your Enchanted Meadow Bloom Fingerless Gloves are now complete! These botanical beauties are perfect for keeping your hands warm while leaving your fingers free for typing, crafting, or simply admiring the intricate cable work. The soft sage green with dusty rose accents evokes a misty spring meadow, making these gloves a truly special handmade gift or a delightful treat for yourself.
We'd love to see your finished creations! Share your photos on social media with the hashtag #EnchantedMeadowGloves and inspire fellow knitters. Happy knitting!