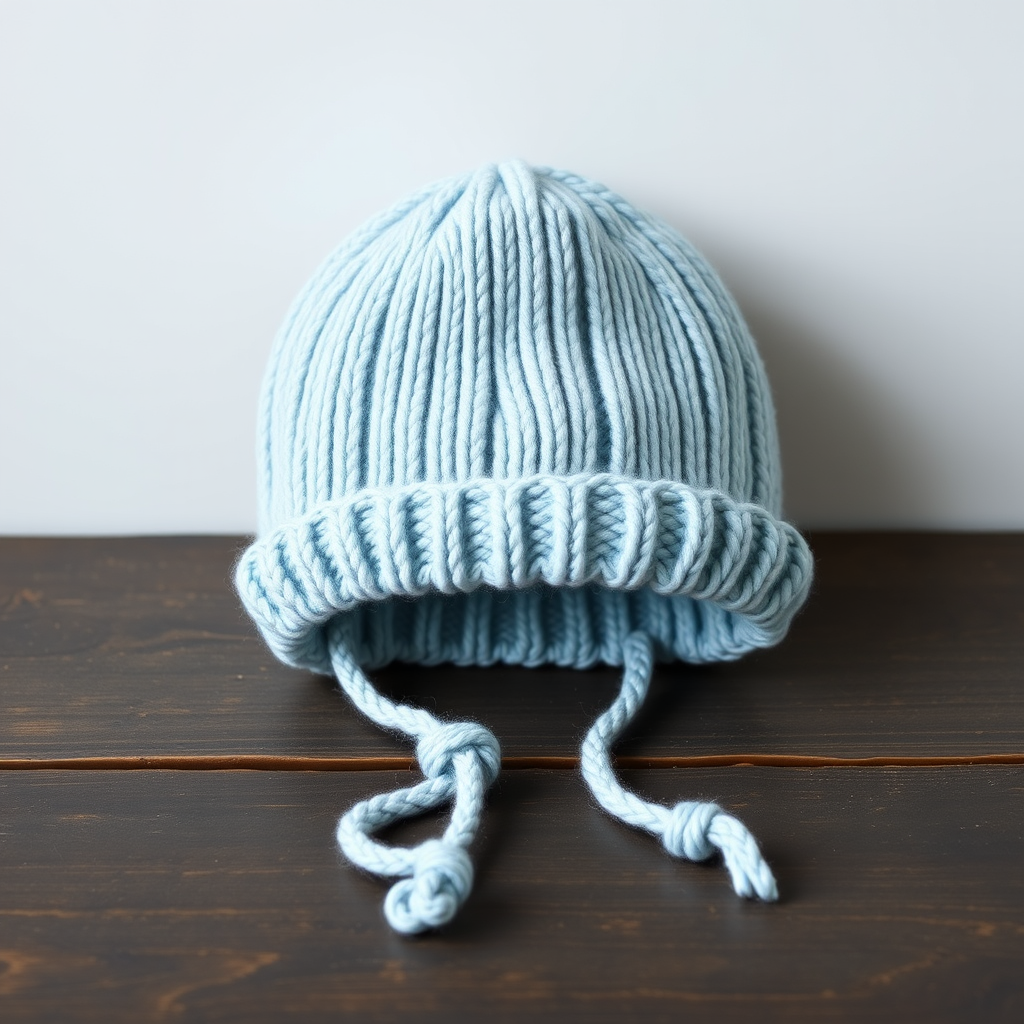
Enchanted Rose Petal Newborn Hat Free Knitting Pattern
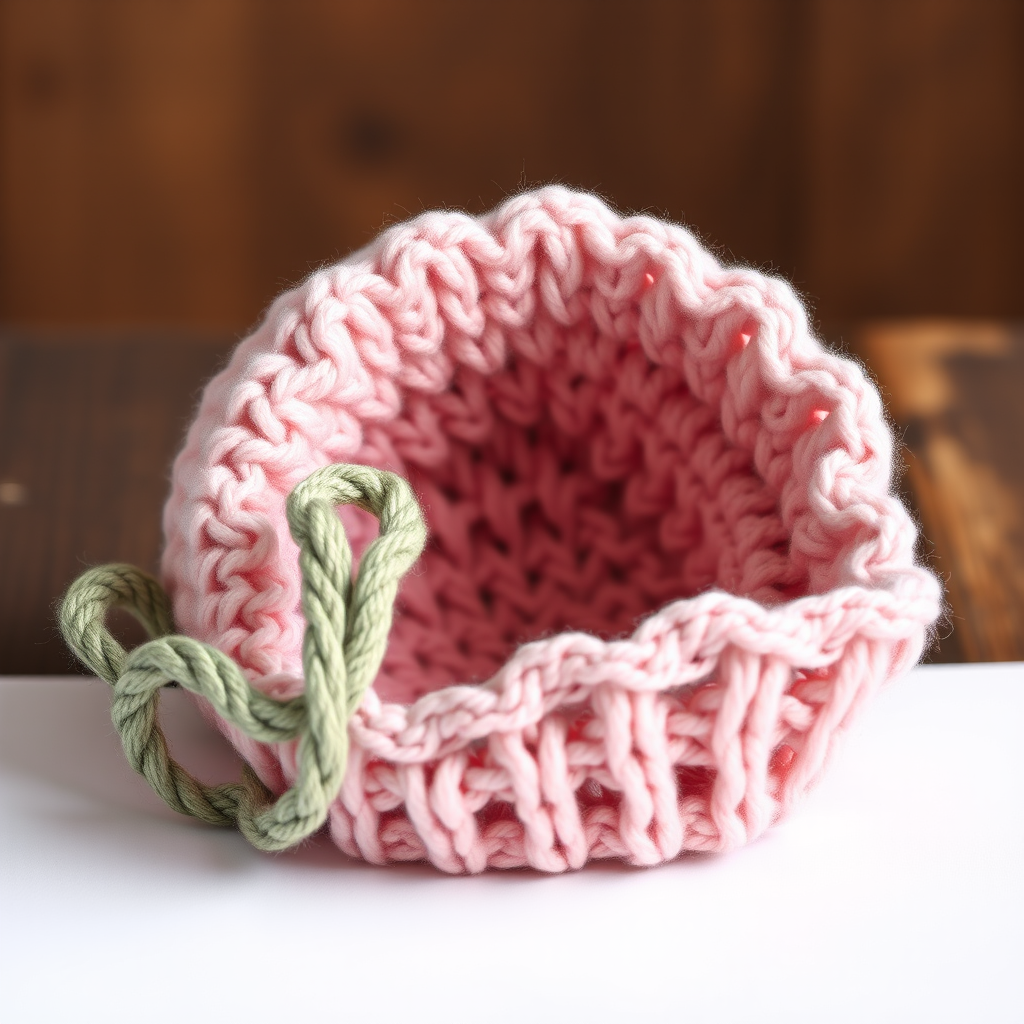
Enchanted Rose Petal Newborn Hat: A Free Knitting Pattern for a Blooming Little One
Welcome to a world where knitting meets the delicate beauty of a garden in full bloom. Today, I'm thrilled to share a pattern that has captured the hearts of everyone who sees it: the Enchanted Rose Petal Newborn Hat. This isn't just a hat; it's a tiny work of art, designed to wrap your little one in the softness of a blossoming rose. Featuring a smooth, cozy crown and a whimsical, ruffled brim that mimics rose petals, this quick knit is the perfect project for baby showers, newborn photoshoots, or simply to add a touch of magic to your little one's wardrobe. Whether you're a seasoned knitter or a confident beginner looking for a charming challenge, this free pattern is your gateway to creating a stunning, handmade keepsake.
Materials Needed: Gathering Your Garden Tools
Before we cast on, let's gather our supplies. This project is wonderfully portable and requires minimal materials, making it an ideal on-the-go knit. Here is everything you'll need to bring this enchanting hat to life:
- Yarn: Worsted weight yarn in two colors:
- Main Color (MC): Soft blush pink (approximately 100 yards) for the hat body and brim.
- Contrast Color (CC): Sage green (approximately 20 yards) for the twisted stem.
- Needles: US 6 (4.0 mm) 16-inch circular knitting needle and a set of double-pointed needles (DPNs) for the crown decreases. (Or the size needed to obtain gauge.)
- Notions: Stitch marker, tapestry needle for weaving in ends and assembly, and scissors.
Gauge: 20 stitches and 28 rows = 4 inches in stockinette stitch. Always take the time to check your gauge to ensure a perfect fit for your newborn.
Step-by-Step Instructions: Knitting Your Enchanted Rose
This pattern is broken down into three main parts: the hat body, the rose petal brim, and the optional twisted stem. We'll work through each section carefully, and by the end, you'll have a beautiful, garden-inspired hat ready to gift.
Part 1: The Hat Body (Worked in the Round)
We'll start with the foundation of our hat, working from the ribbed brim up to the gathered crown. The circular needle is perfect for this stage.
- Cast On & Join: With your Main Color (MC), cast on 72 stitches onto your 16-inch circular needle. Place a stitch marker on your right-hand needle to mark the beginning of the round. Carefully join in the round, ensuring that your cast-on edge is not twisted.
- Ribbed Brim: Work the ribbing for a neat, stretchy edge.
- Rounds 1-6: Work in *K1, P1* ribbing across all 72 stitches. This creates a classic, snug fit around the forehead.
- Stockinette Body: Now we'll create the smooth, sleek body of the hat.
- Rounds 7-20: Knit every stitch. This is stockinette stitch, which naturally curls at the edges, but since we're working in the round, it will form a smooth tube. Continue for these 14 rounds.
Part 2: Decreasing for the Crown
Now we'll shape the top of the hat with a series of decreases. This is where you'll switch to your double-pointed needles as the circumference becomes too small for the circular needle. Don't worry if this feels new—it's a simple and rewarding process.
- Begin Decreases: We will decrease 6 stitches every other round. When your circular needle becomes too long, distribute the stitches evenly across three or four DPNs and continue.
- Round 21: *K10, K2tog*; repeat from * to * around. (66 stitches)
- Round 22: Knit all stitches.
- Round 23: *K9, K2tog*; repeat from * to * around. (60 stitches)
- Round 24: Knit all stitches.
- Round 25: *K8, K2tog*; repeat from * to * around. (54 stitches)
- Round 26: Knit all stitches.
- Round 27: *K7, K2tog*; repeat from * to * around. (48 stitches)
- Round 28: *K6, K2tog*; repeat from * to * around. (42 stitches)
- Round 29: *K5, K2tog*; repeat from * to * around. (36 stitches)
- Round 30: *K4, K2tog*; repeat from * to * around. (30 stitches)
- Round 31: *K3, K2tog*; repeat from * to * around. (24 stitches)
- Round 32: *K2, K2tog*; repeat from * to * around. (18 stitches)
- Round 33: *K1, K2tog*; repeat from * to * around. (12 stitches)
- Round 34: *K2tog*; repeat from * to * around. (6 stitches)
- Finish the Crown: Cut your yarn, leaving a 6-inch tail. Thread the tail onto a tapestry needle, slide it through the remaining 6 stitches, and pull tight to gather the top of the hat closed. Secure with a knot and weave in the end.
Part 3: The Rose Petal Brim (Worked Flat)
This is where the magic happens! This flat piece features a series of eyelet rows that, when gathered and attached, create a beautiful, ruffled petal effect. This piece is worked back and forth in rows.
- Cast On: With MC, cast on 12 stitches onto your circular or straight needles.
- Foundation Rows:
- Row 1 (Right Side): Knit all stitches.
- Row 2 (Wrong Side): Purl all stitches.
- Eyelet Pattern: This is the key to the ruffled look. We'll repeat this 4-row pattern.
- Row 3 (RS): K1, *Yo, K2tog*; repeat from * to * until 1 stitch remains, K1. (12 stitches)
- Row 4 (WS): Purl all stitches.
- Row 5 (RS): Knit all stitches.
- Row 6 (WS): Purl all stitches.
- Repeat the Pattern: Repeat Rows 3-6 three more times. You will have worked a total of 4 eyelet rows (Rows 3, 7, 11, and 15).
- Final Rows:
- Row 17 (RS): Knit all stitches.
- Row 18 (WS): Purl all stitches.
- Bind Off: Bind off all stitches loosely. Cut yarn and pull through the last loop.
Part 4: The Twisted Stem (Optional)
This little detail adds the perfect whimsical touch, resembling a curling vine. It's made using the I-cord technique, which is incredibly simple and fun.
- Cast On: With your Contrast Color (CC), cast on 3 stitches onto a double-pointed needle.
- Knit I-Cord: *Knit 3 stitches. Do not turn your work. Slide the stitches back to the right end of the needle. Repeat from * until the cord measures 6 inches.
- Bind Off: Bind off the 3 stitches. Cut yarn and weave in the end.
Part 5: Assembly – Bringing It All Together
Now for the final, satisfying step: assembling your masterpiece.
- Attach the Brim: With your tapestry needle and MC yarn, sew the rose petal brim to the bottom edge of the hat, just above the ribbing. As you sew, gently gather the brim to create a ruffled effect. The eyelet rows will naturally want to ruffle, so just guide them evenly around the hat's circumference.
- Attach the Stem: Take your I-cord and twist it into a loose spiral. Sew it securely to the side of the hat, just above the brim, to resemble a curling stem.
- Weave in Ends: Weave in all remaining loose ends with your tapestry needle to ensure a clean, professional finish.
And there you have it—your very own Enchanted Rose Petal Newborn Hat! This pattern is a joy to knit and creates a truly special gift that will be treasured. The combination of the soft pink, the delicate ruffled brim, and the whimsical green stem makes it a standout piece for any little one. Happy knitting, and may your needles always be full of magic!